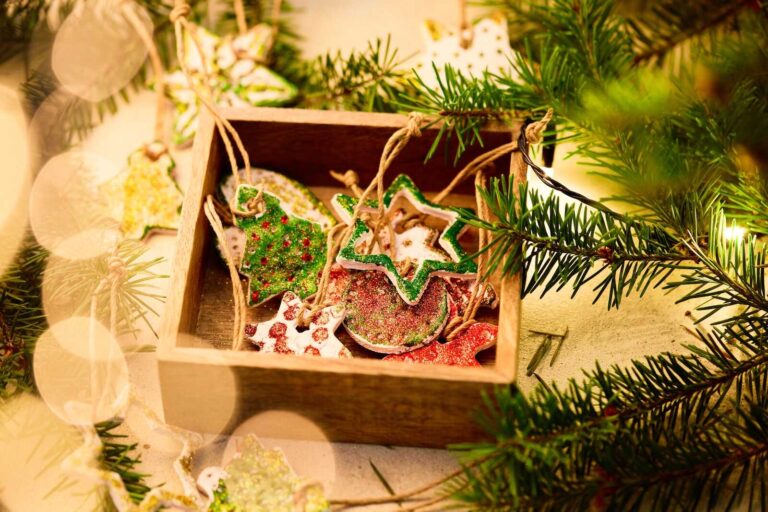
DIY Christmas Train Village Display on a Budget
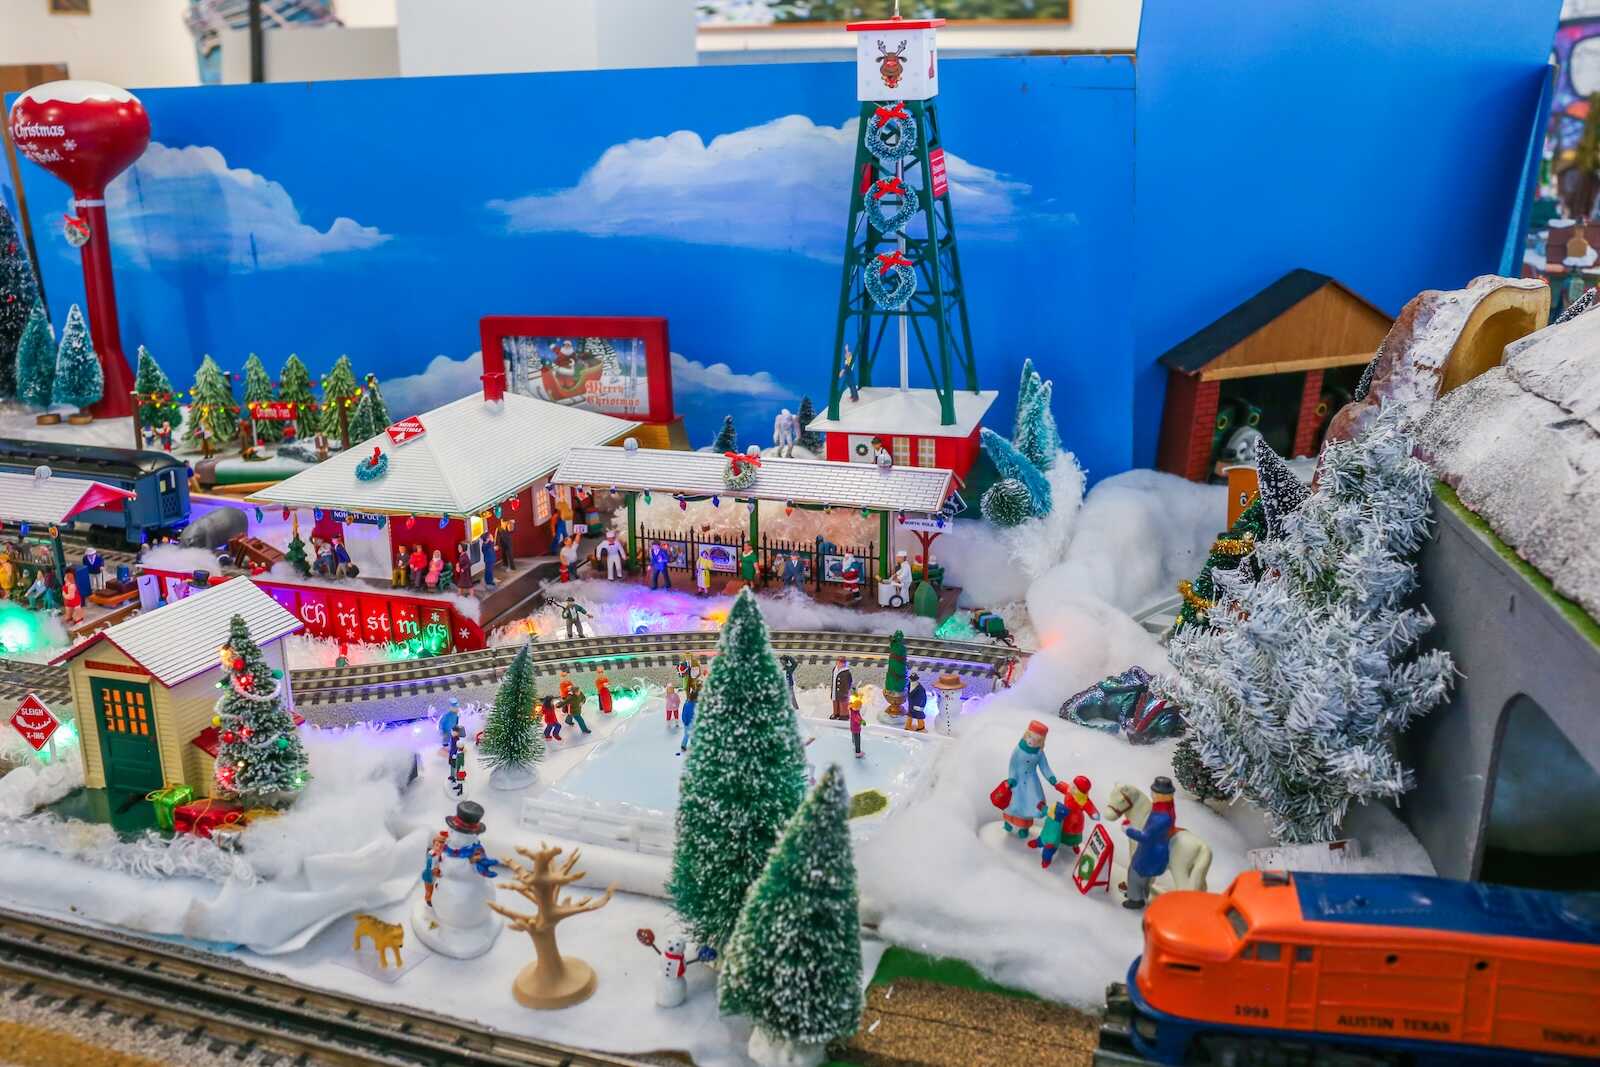
There’s something heartwarming about a miniature Christmas village display, especially when it includes a festive train weaving through twinkling lights and snowy rooftops. Whether it sparks childhood memories or brings fresh holiday joy to your home, a Christmas train village creates a magical world that delights kids and adults alike.
But building a beautiful display doesn’t have to cost a fortune. With a bit of creativity, some repurposed items, and a few clever finds from budget stores, you can create an enchanting Christmas train village display without overspending. This guide will walk you through how to design, build, and decorate your own DIY Christmas village on a budget — including where to shop, how to make your own pieces, and clever ways to reuse materials you already have.
Why Create a DIY Christmas Train Village?
Before we dive in, let’s talk about why so many families love creating a Christmas village. It’s more than just a decoration — it becomes a family tradition, a conversation starter, and a nostalgic nod to old-fashioned holiday charm.
Including a train brings motion and sound to your scene, capturing the wonder of the season. Whether it circles around your tree or winds through a snowy village on a mantle or side table, the train brings your miniature world to life.
Step 1: Set a Budget and Gather Your Supplies
Creating a Christmas village can get pricey fast — especially if you shop high-end brands. But with a few smart choices, you can build your entire setup for $50 to $100, depending on how elaborate you want to go.
Budget-Friendly Shopping Spots:
- Dollar Tree – great for small figurines, faux snow, LED lights, and DIY supplies.
- Thrift stores – find old holiday decorations, secondhand model trains, and used holiday villages.
- Facebook Marketplace / Craigslist – often have people selling entire village sets or trains for cheap.
- Walmart / Target (after Christmas sales) – ideal for scoring affordable village houses, mini trees, and snow blankets.
Step 2: Choose Your Display Location
Think about where your display will go. Here are a few space-saving and budget-conscious ideas:
- Under the Christmas tree – the classic choice. Add a train track around the base for extra charm.
- Top of a bookshelf or piano – gives height and visibility.
- Card table or folding table – easy to set up and move.
- Window ledge or mantel – perfect for a smaller village with no train, or a tiny battery-operated train.
Once you’ve chosen your space, take measurements so you can plan accordingly.
Step 3: Choose a Train Set
Model trains can get expensive, but you can still find great budget options.
Budget Train Ideas:
- Battery-operated train sets (found at Walmart, Amazon, or even Walgreens) often cost under $30 and work great for light use.
- Thrifted or secondhand sets – check before buying that they run!
- Mini trains for tight spaces – look for table-top sized trains or even toy trains that can be repurposed for display only.
Make sure the train track fits the area you’ve chosen. If it’s going around the tree, measure the width to ensure the train can circle it comfortably.
Step 4: Build Your Base and Landscape
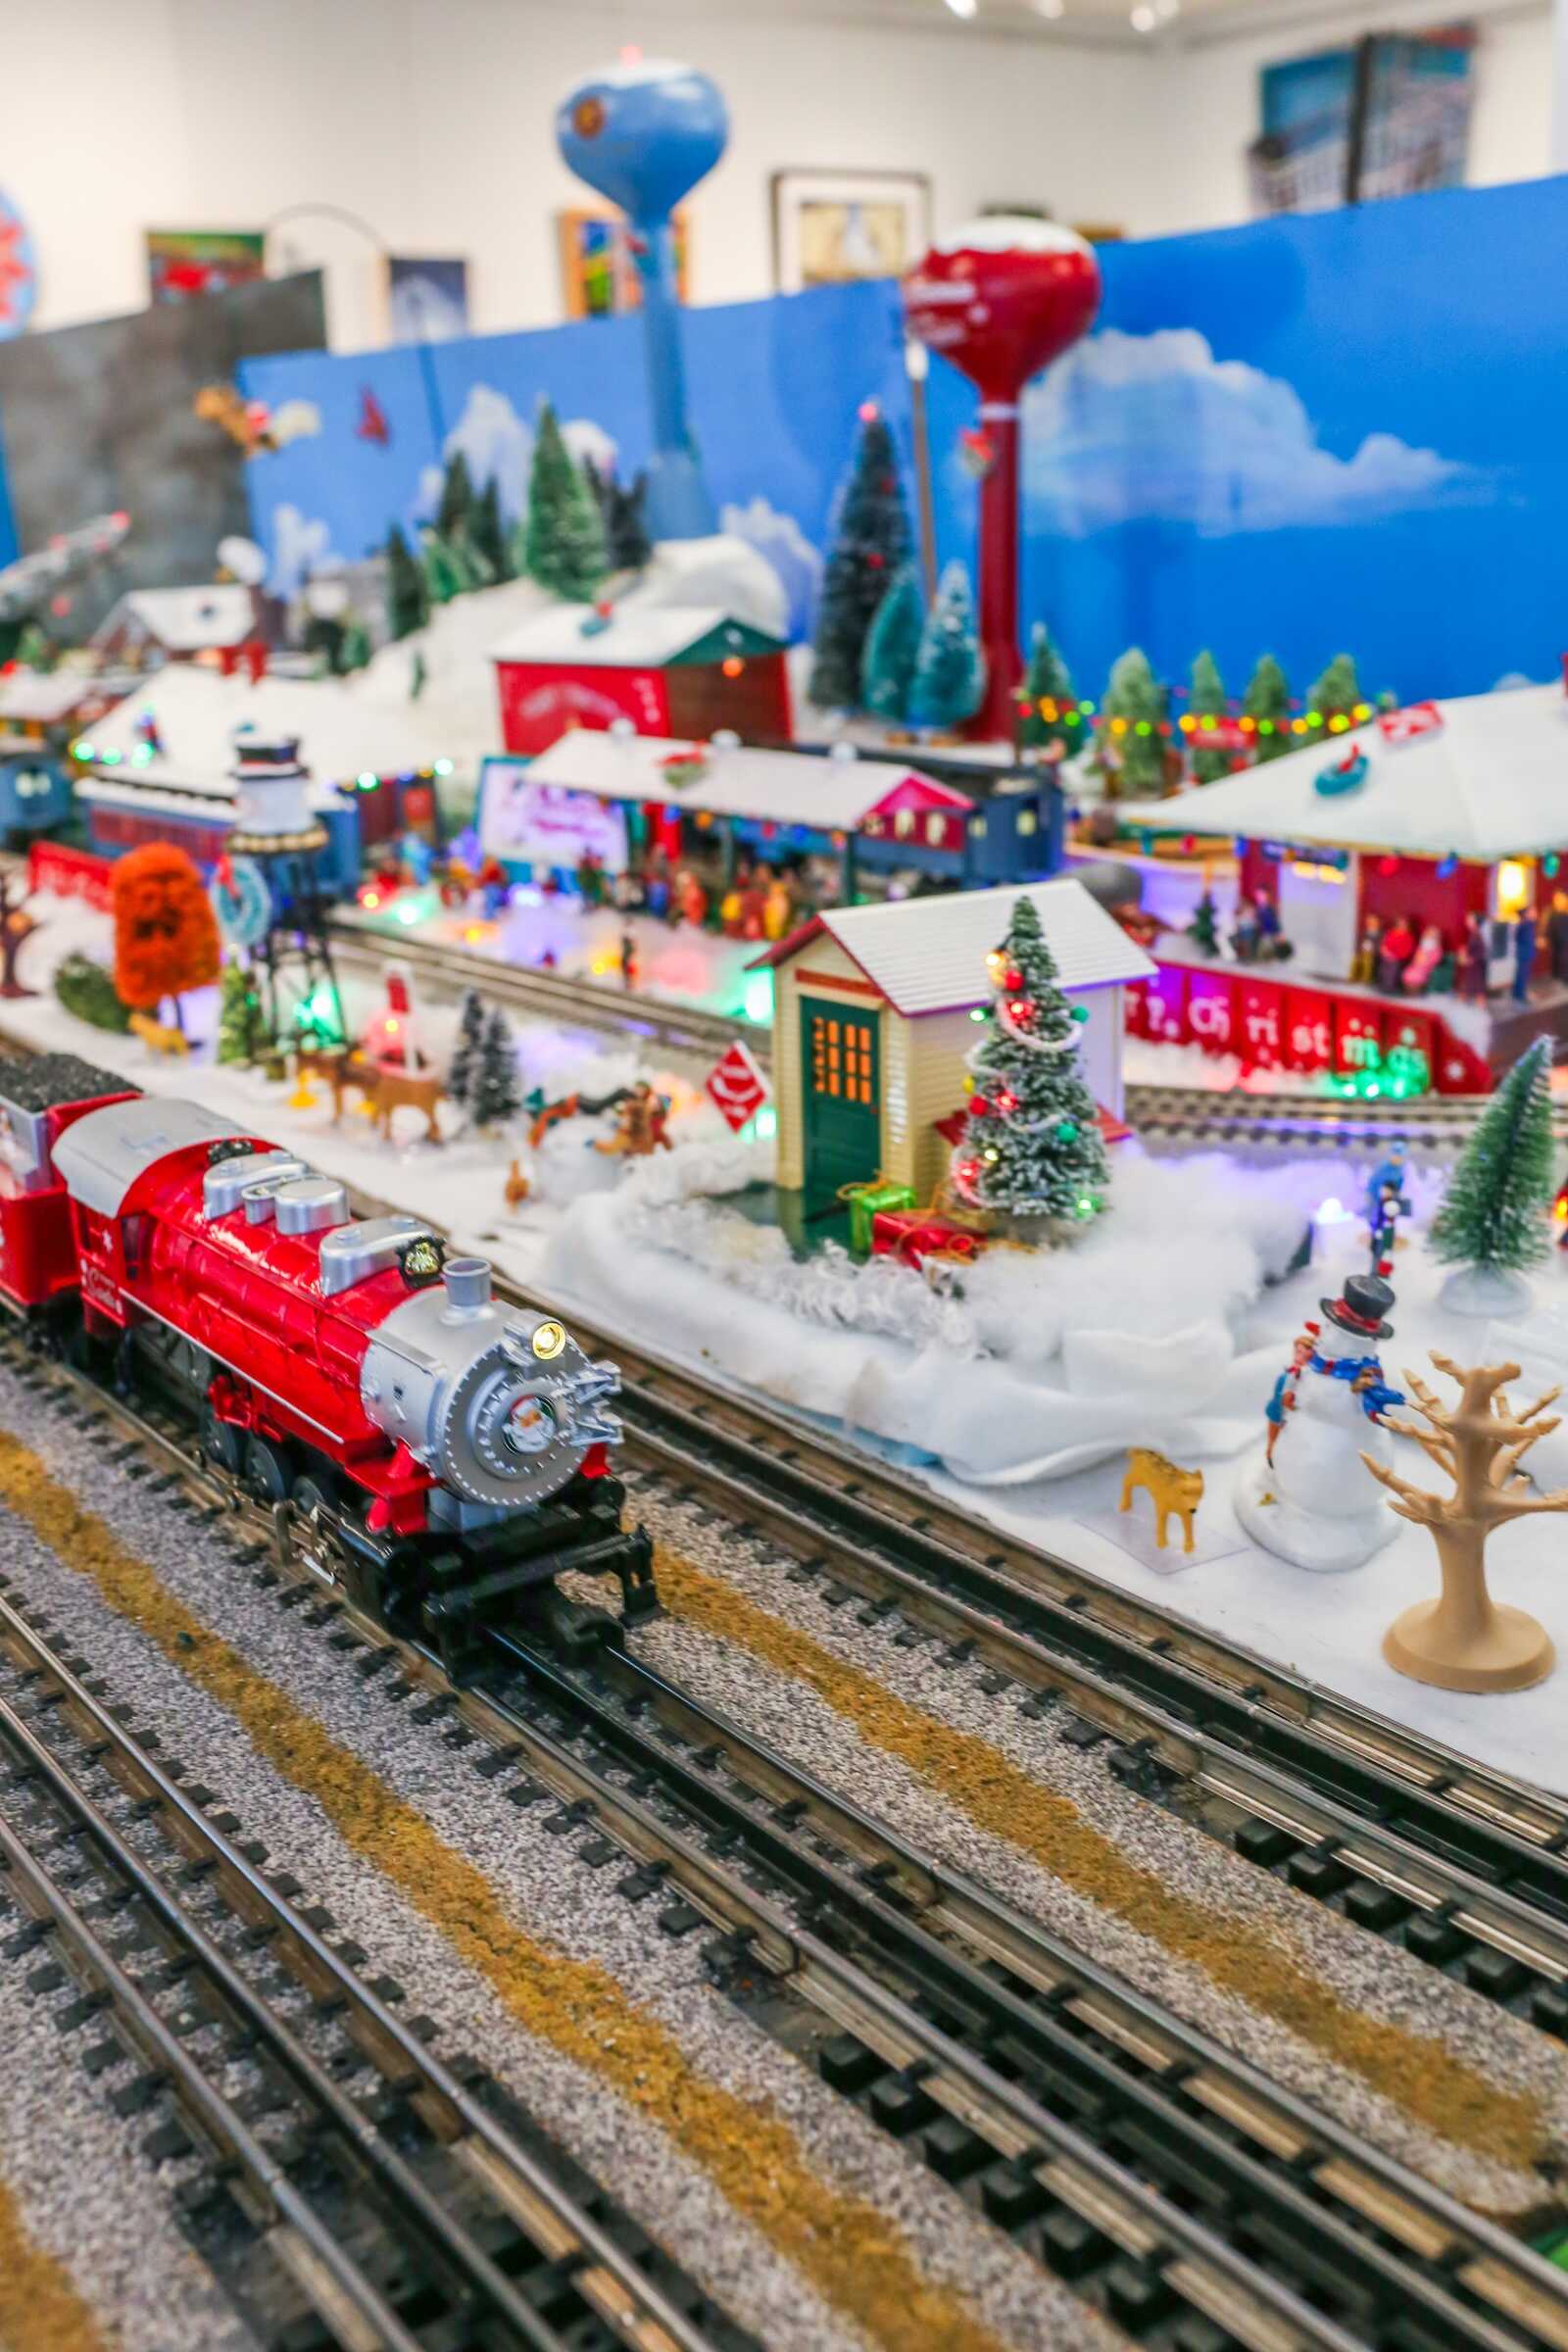
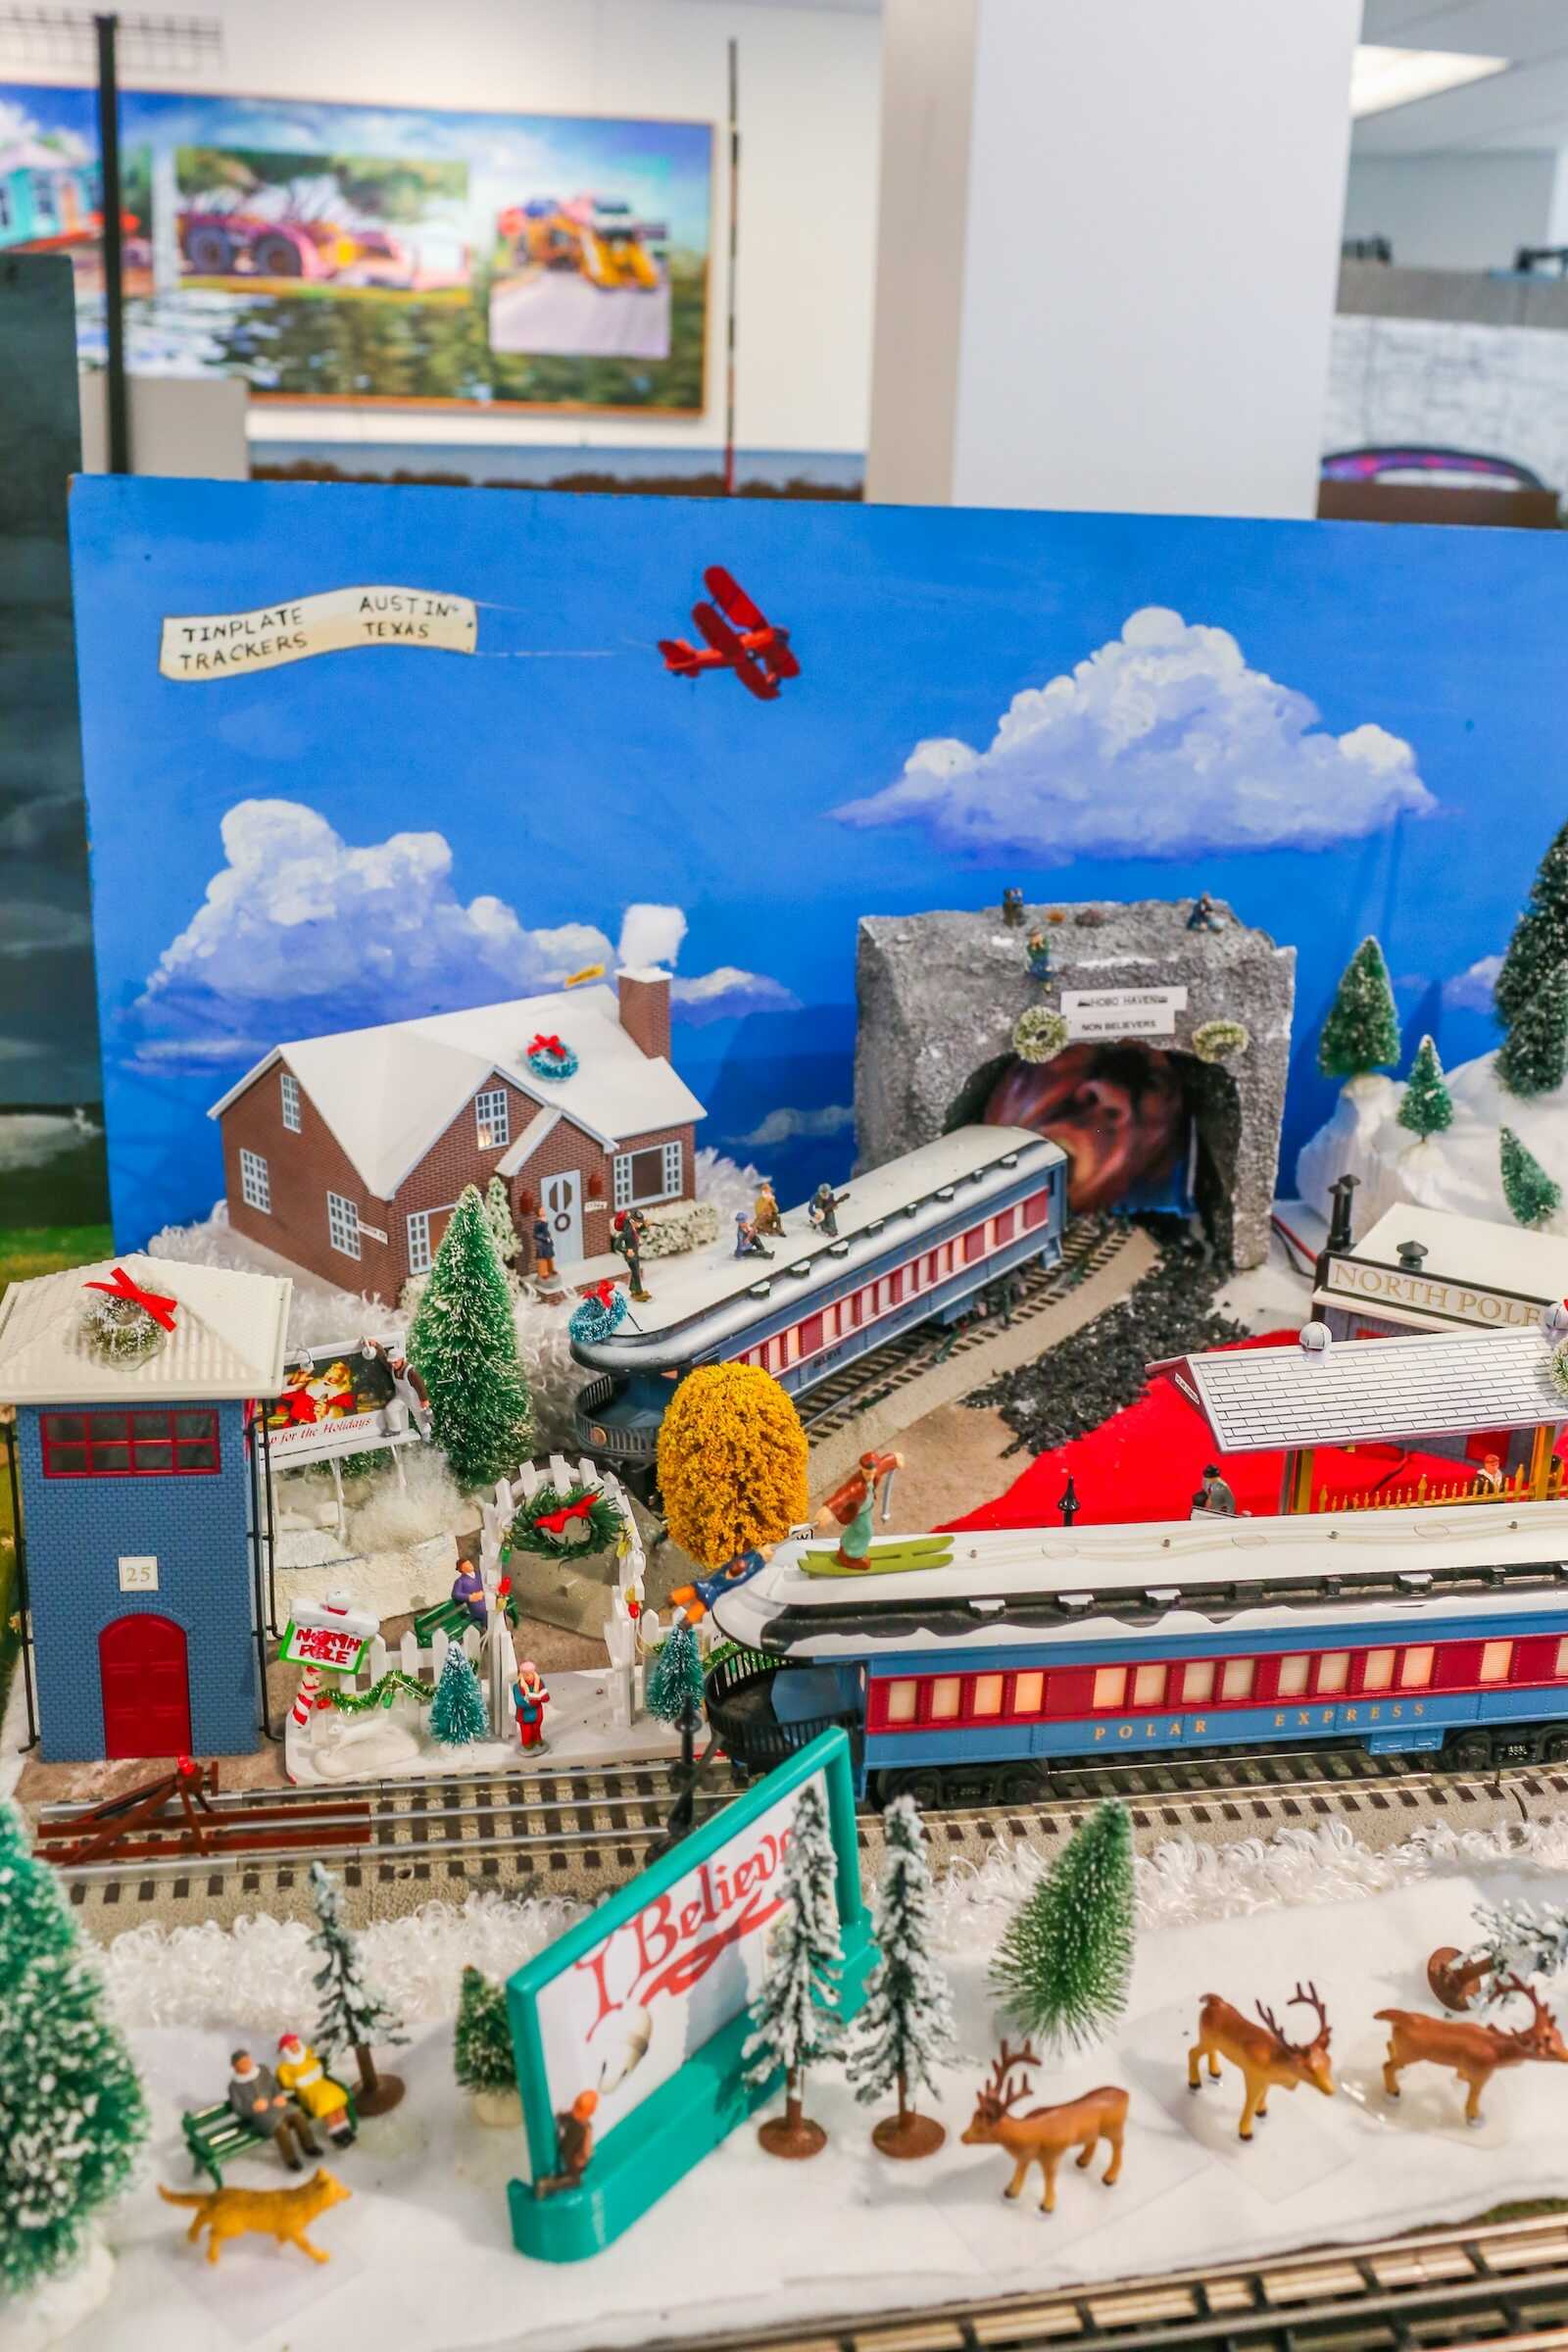
This is where the magic happens. Creating the illusion of a snowy village doesn’t have to be hard or expensive.
DIY Display Base Ideas:
- Use cardboard boxes covered in white craft paper or snow blankets to create elevation.
- Styrofoam sheets or insulation foam from a hardware store work great for building hills or raised platforms.
- White felt or snow blankets can cover the entire base to give a soft, snowy look.
Layering different levels makes your display more dynamic and visually interesting. Try elevating the train or village houses on small boxes to give a sense of depth.
Step 5: Add Village Houses (DIY or Budget-Friendly)
A classic Christmas village is filled with miniature buildings – cozy homes, churches, shops, and more.
Budget-Friendly Village House Ideas:
- Dollar store ceramic houses – paint them yourself or display as-is.
- Thrift store finds – mix and match different styles for an eclectic charm.
- Make your own out of cardboard or recycled boxes – cover in white paper and decorate with paint, glitter, or faux snow.
You don’t need dozens of houses. Start with 3 to 5 key pieces and build out over time. Think of your village as a growing tradition!
Step 6: Add People, Trees, and Holiday Details
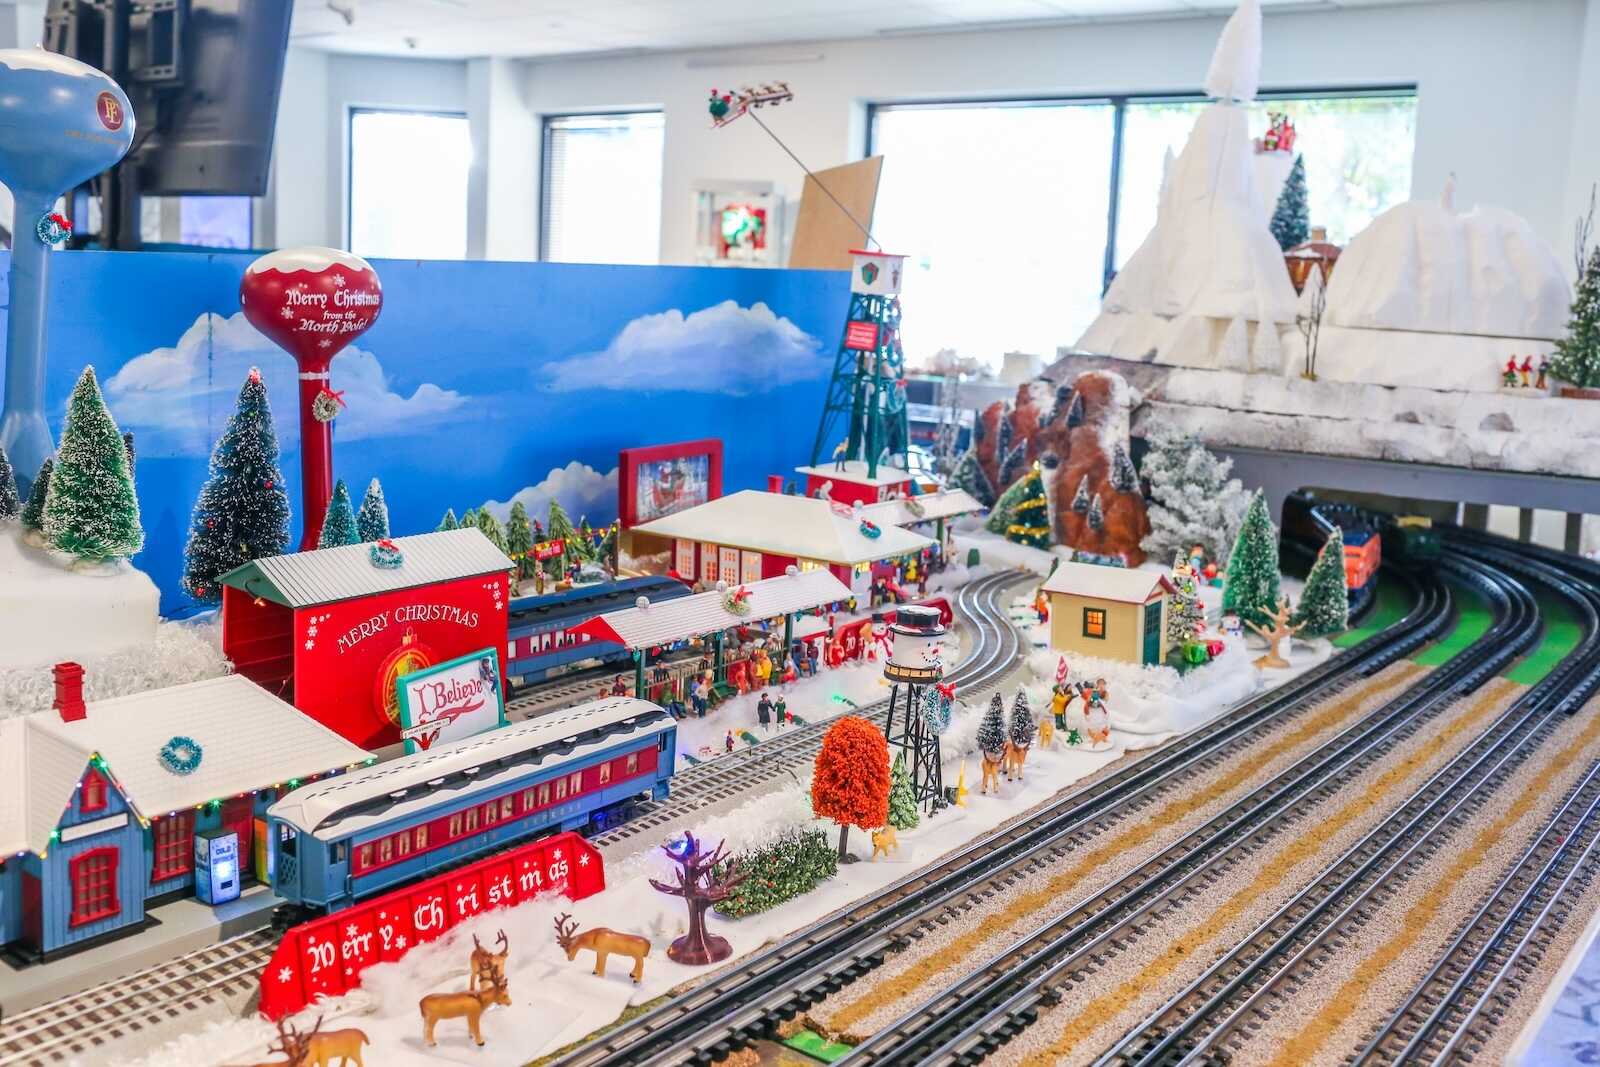
Now it’s time to breathe life into your scene. Add miniature figurines, tiny trees, lampposts, snowmen, and animals. These finishing touches bring a story to your village.
Where to Find Mini Accessories:
- Dollar Tree – sells mini Christmas village figurines and accessories.
- Model train hobby stores – sometimes have clearance bins with affordable trees and figures.
- Craft your own – use bottle caps for tree bases, mini pinecones for rustic trees, or paint wooden beads as snowmen.
Faux snow can be sprinkled across the display using:
- Epsom salt (for a sparkly snow look)
- Baking soda (safe and cheap)
- Fluffy fiberfill or cotton balls pulled apart
Add a sprinkle of glitter to make it sparkle under the lights!
Step 7: Light It Up!
Lighting adds a warm, cozy glow that brings your village to life at night.
Budget Lighting Ideas:
- Battery-powered LED tea lights inside ceramic houses.
- Fairy string lights draped along the edges or around the tree.
- Dollar store battery-operated mini lights – often come in packs of 10-20 for $1.25.
Make sure to place lights safely and avoid cords running across walkways if children or pets are around.
Step 8: Keep It Organized
One of the biggest frustrations with holiday displays is storing everything after the season ends.
Budget-Friendly Storage Tips:
- Wrap village houses in newspaper or bubble wrap and store in a labeled bin.
- Use ziplock bags for small accessories and keep them in shoe boxes.
- Store your train in its original box or use a plastic bin with padding to avoid damage.
Label everything clearly so next year’s setup is easier and more fun.
Bonus Ideas for an Even More Magical Display
Want to take your display up a notch without spending much more? Here are a few creative additions:
Add a Backdrop
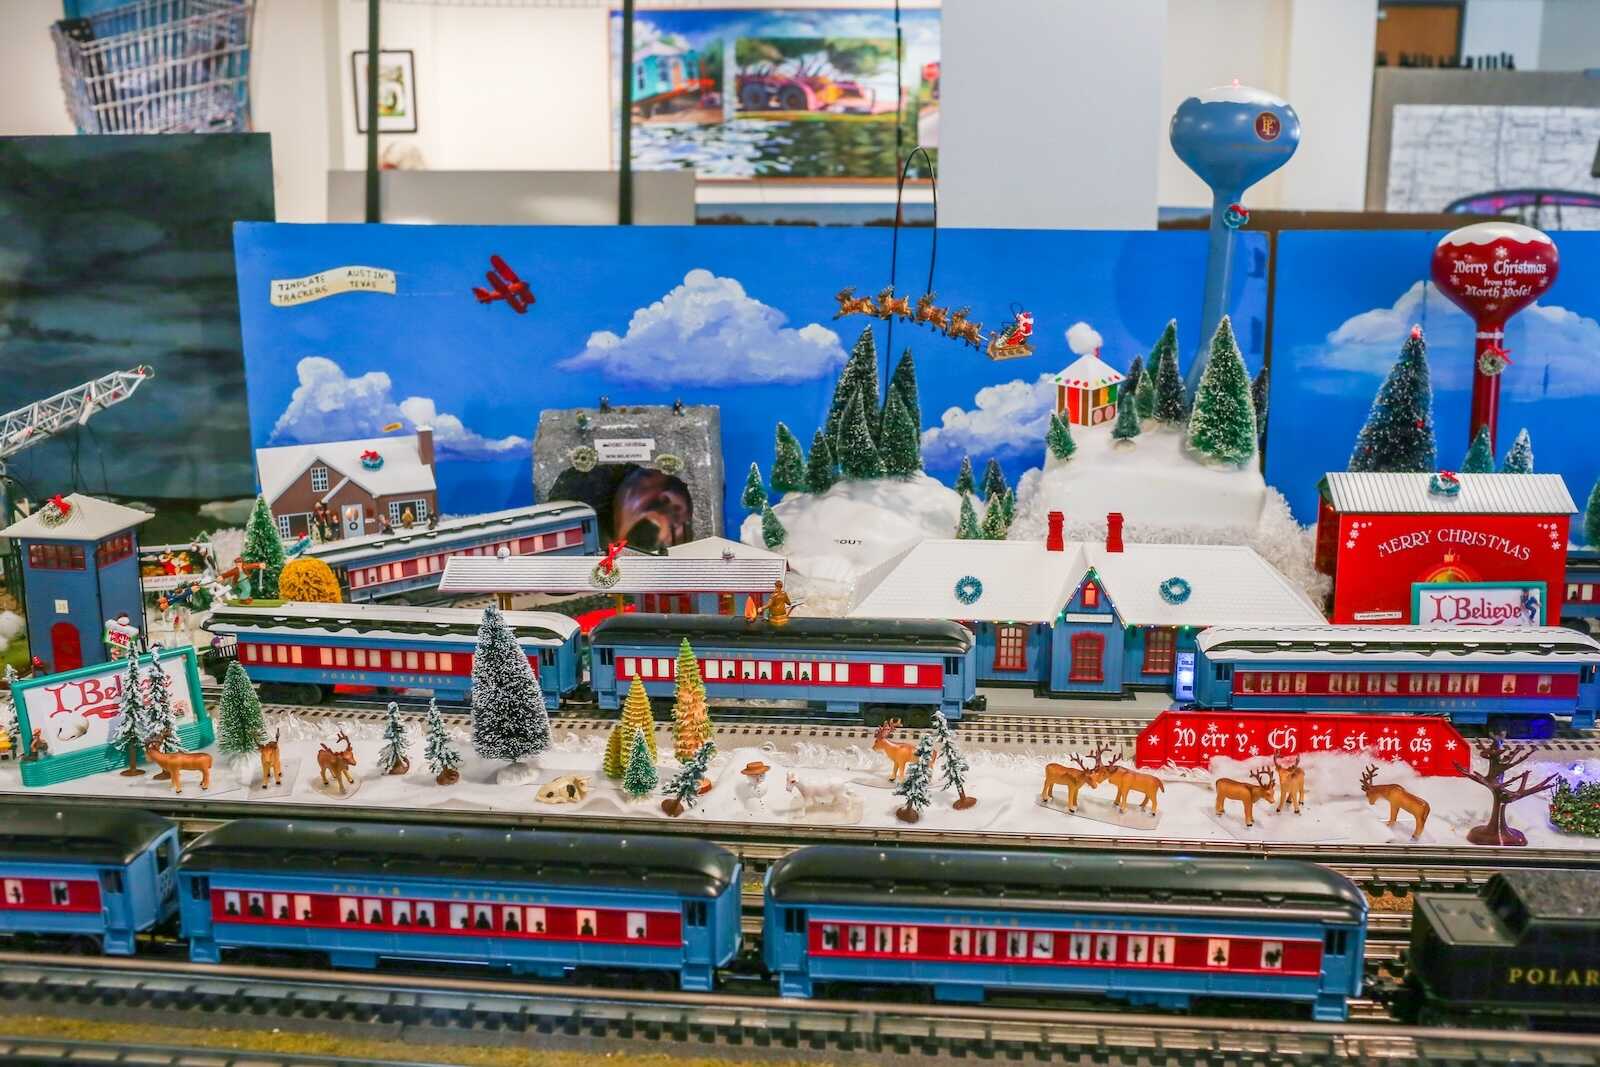
Use a large piece of cardboard or poster board to create a snowy sky, complete with painted mountains, trees, or stars. You can even print a scenic winter photo and tape it behind your village.
Make a “Frozen Lake”
Cut a piece of clear plastic or mirror to look like a skating rink. Add tiny skaters or sprinkle with glitter for an icy effect.
Sound Effects
Use a small Bluetooth speaker to play soft Christmas music or train sounds to bring your village to life with audio.
Include Your Family
Let your kids help build and name the buildings in your village — “Emma’s Toy Shop” or “Dad’s Café” — for a personal touch that makes it even more meaningful.
Conclusion: A Magical Tradition Without the Price Tag
You don’t need a huge budget or a collection of Department 56 houses to create a magical Christmas train village display. With a little DIY spirit and some smart shopping, you can build a festive, cozy scene that becomes a cherished part of your holiday décor year after year.
Whether you’re building a snowy wonderland under the tree or a tiny village tucked on a shelf, the joy is in the process — gathering as a family, DIY crafting pieces by hand, and watching it all come to life. Start simple, use what you have, and enjoy the magic of creating your very own Christmas story.


