Paper Plate Santa Craft: Easy Christmas Craft for Kids
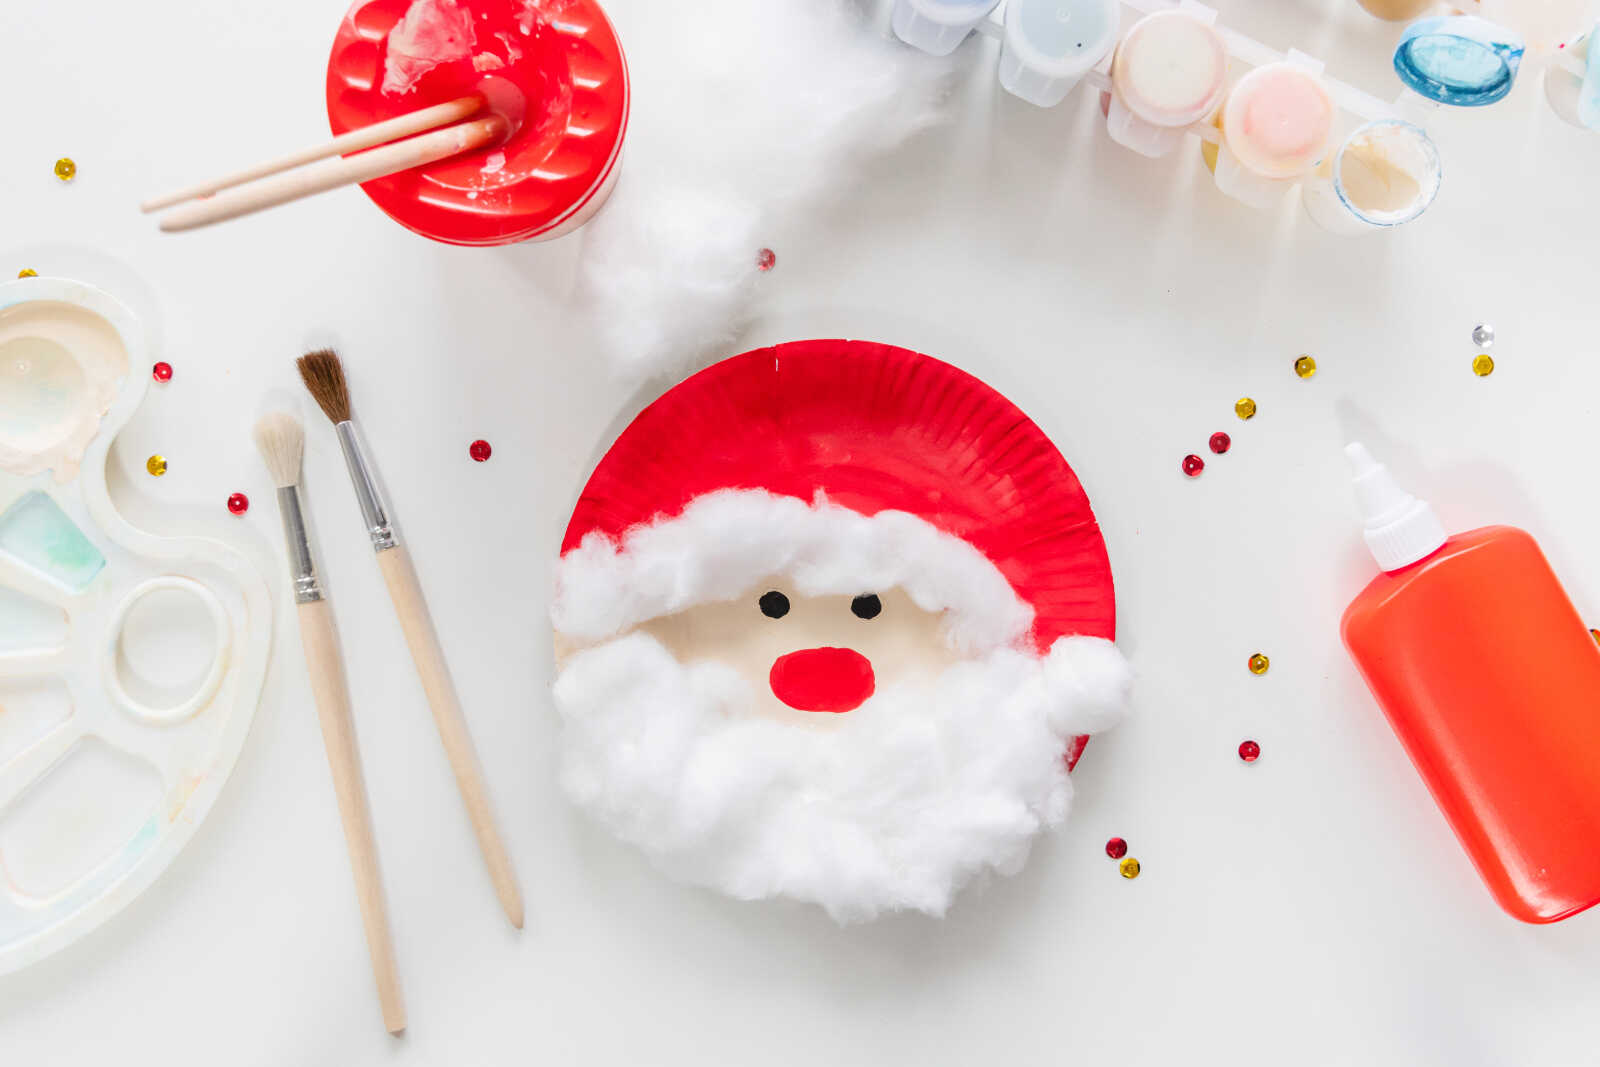
This easy Paper Plate Santa Craft is a festive Christmas activity kids can make with simple supplies like a paper plate, paint, cotton balls, glue, and a paintbrush. It’s a fun holiday craft for preschoolers, kindergarteners, and elementary-aged kids because it combines painting, gluing, and decorating into one cheerful Santa face.
This craft is also perfect for a Christmas classroom project, winter break activity, holiday party craft table, or cozy afternoon at home. The finished Santa paper plate can be displayed on the fridge, taped to a wall, added to a Christmas bulletin board, or used as homemade holiday decor.
Why Kids Will Love This Paper Plate Santa Craft
Kids love crafts that feel playful and a little messy, and this Santa craft checks all the boxes. They get to paint Santa’s bright red hat, add his rosy red nose, create simple black eyes, and glue fluffy cotton onto his beard and hat trim.
The best part is that every Santa will look a little different. Some kids may make a giant fluffy beard, while others may keep their Santa simple with just a few cotton pieces. This makes the project feel personal, creative, and low-pressure.
Supplies Needed
To make this paper plate Santa craft, you will need:
- White paper plate
- Red paint
- Beige, cream, or skin-tone paint
- Black paint or black marker
- Paintbrushes
- Cotton balls or pulled-apart cotton
- White school glue
- Pencil
- Small red paint dish or palette
- Craft mat, newspaper, or washable table covering
Optional supplies:
- Googly eyes
- Red pom pom for the nose
- Hole punch and ribbon for hanging
- Glitter glue for extra sparkle
Step-by-Step Instructions
Step 1: Set Up Your Craft Space
Before starting, cover your table with a washable craft mat, newspaper, or parchment paper. This craft uses paint and glue, so having a protected surface makes cleanup much easier.
Place the paper plate in the center of the table and set out the paints, brushes, cotton balls, and glue. If younger kids are making this craft, pour small amounts of paint into a palette or paper dish so they can dip their brushes easily.
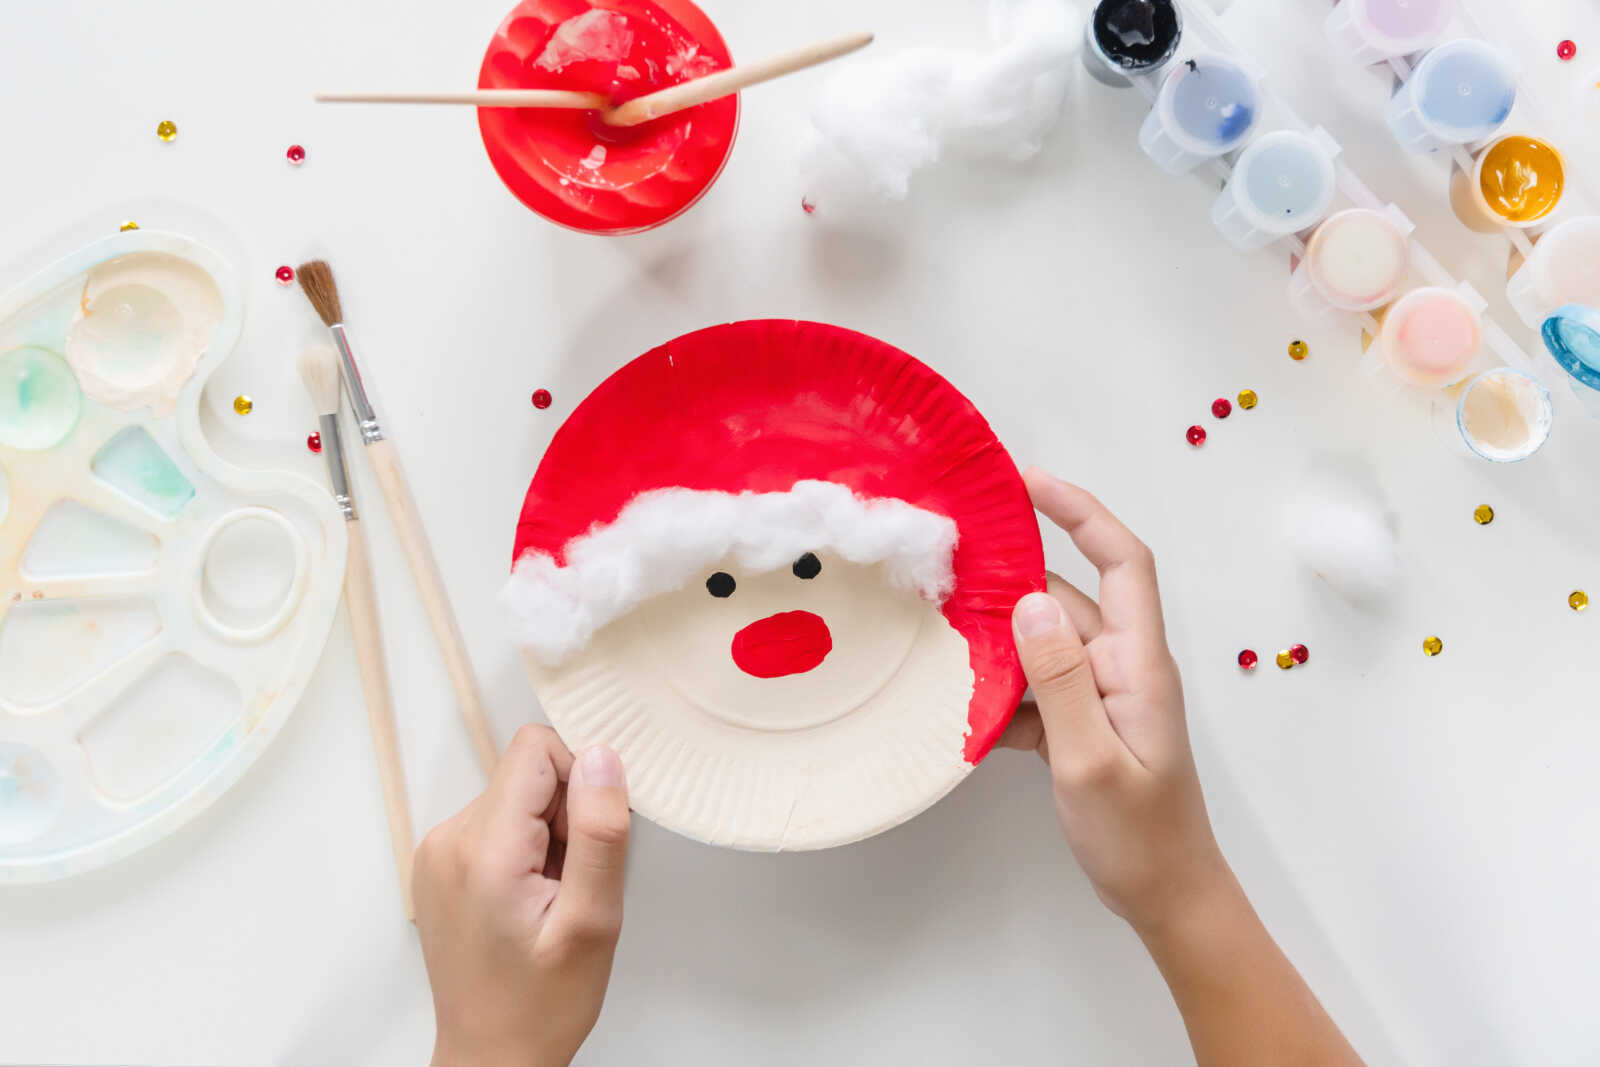
Step 2: Draw Santa’s Hat Line
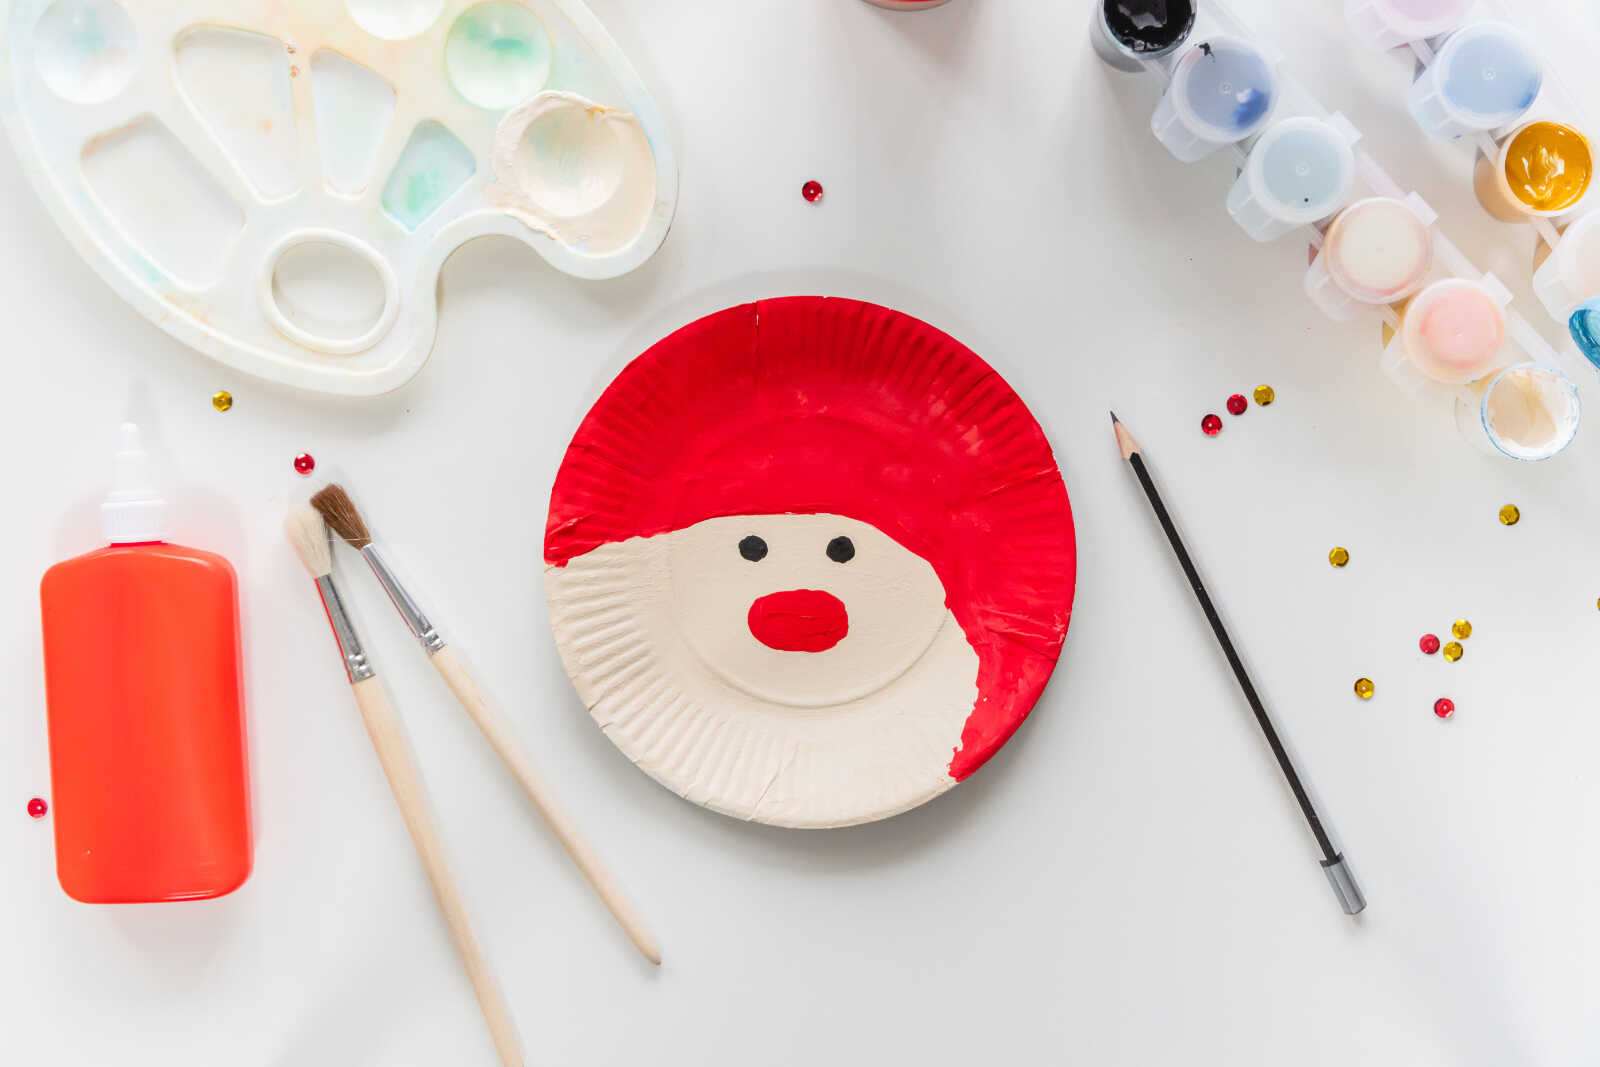
Use a pencil to lightly draw a curved line across the upper portion of the paper plate. This line will separate Santa’s red hat from his face.
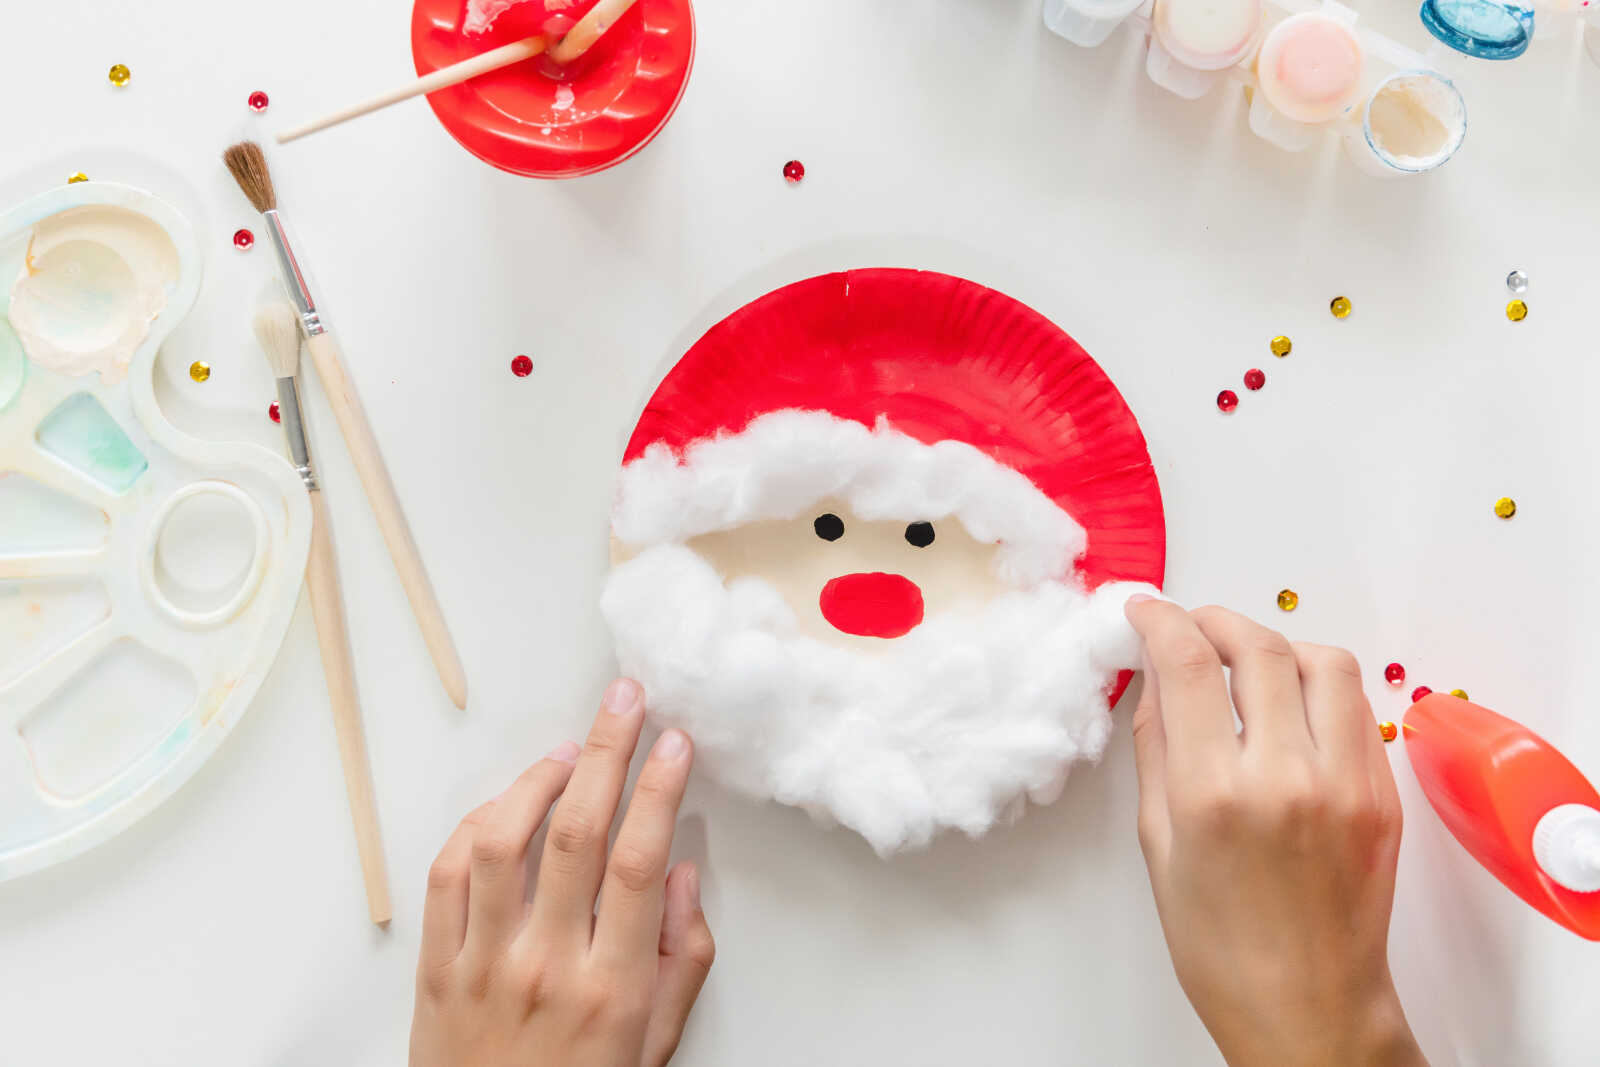
The line does not need to be perfect. A slightly wavy or angled shape actually makes the Santa face look cute and handmade. In the photos, the red hat curves across the top of the plate and comes down one side, creating the classic Santa hat shape.
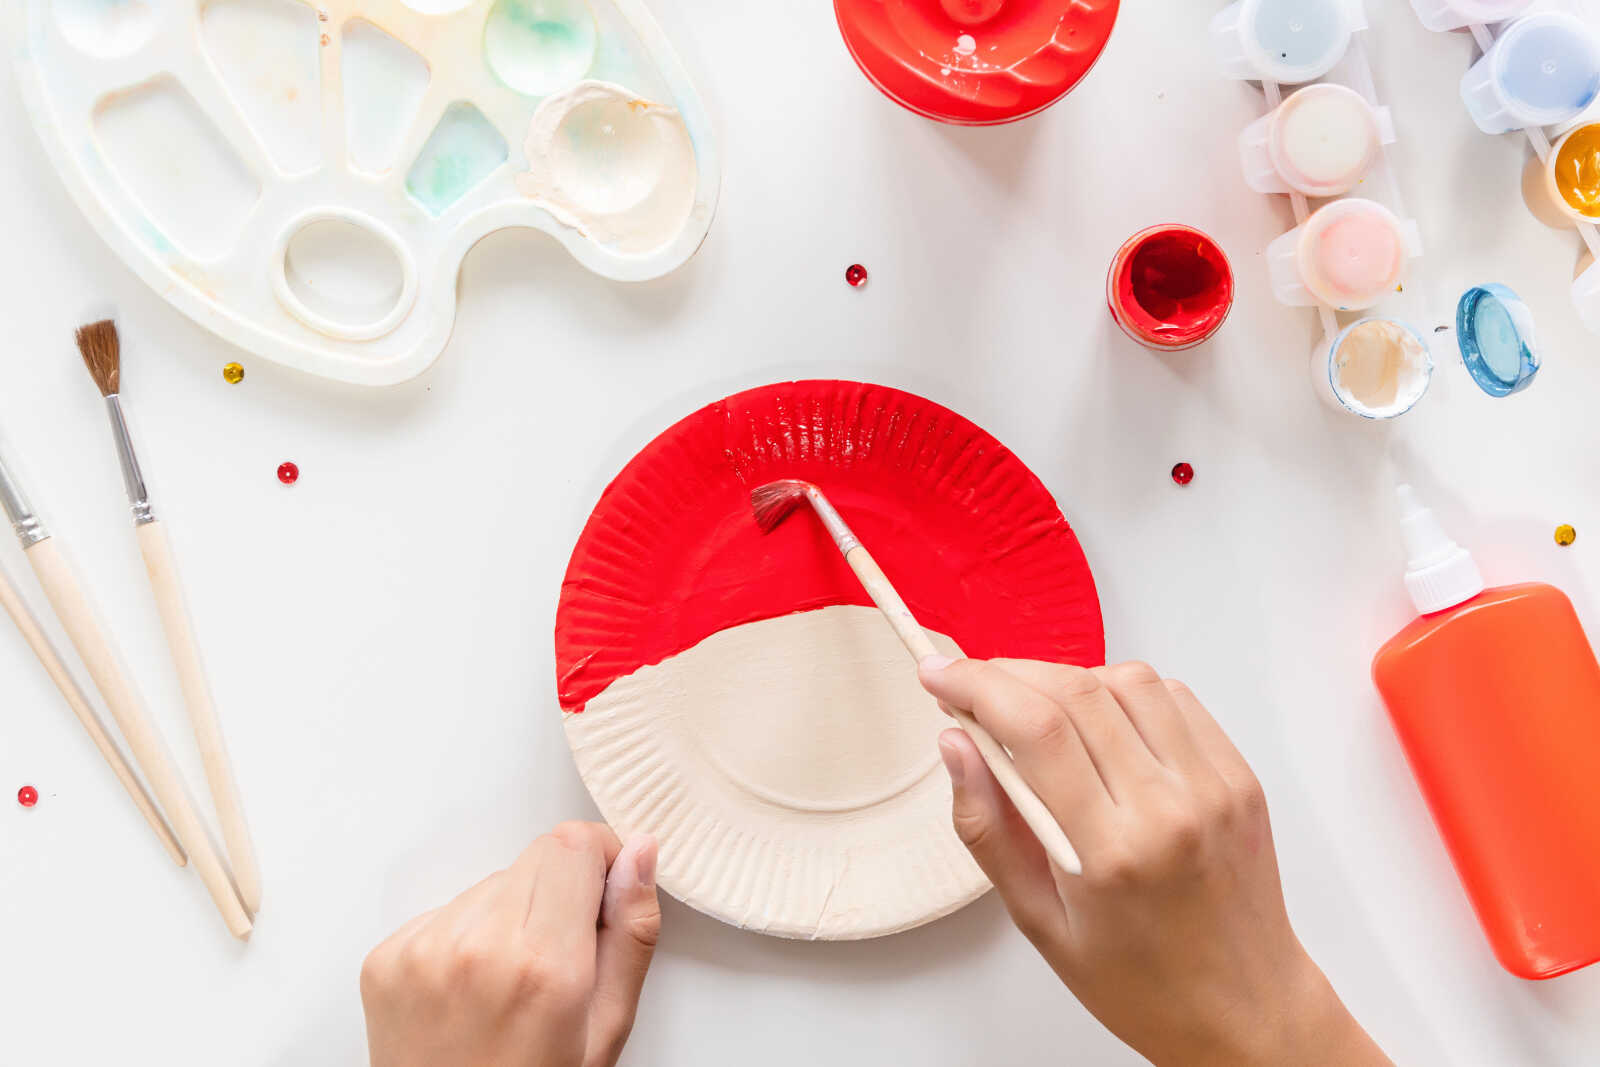
Step 3: Paint Santa’s Hat Red
Dip a paintbrush into red paint and begin filling in the top section of the paper plate. Paint the entire upper area above the pencil line red.
Kids can use long brush strokes or small dabs, depending on their age and skill level. Encourage them to paint all the way to the edge of the plate, including the ridged border. The ridges add fun texture to Santa’s hat.
Let the red paint dry for a few minutes before moving on, especially if the paint is thick.
Step 4: Paint Santa’s Face
Next, paint the lower section of the paper plate with beige, cream, or skin-tone paint. This will become Santa’s face.
Paint below the hat line, leaving the red section untouched. If some of the colors overlap, that is completely fine. The cotton trim and beard will cover many of the edges later.
Allow the face paint to dry before adding Santa’s facial features. This helps prevent the black and red paint from smearing.
Step 5: Add Santa’s Eyes
Once the face area is dry, use black paint or a black marker to make two small eyes near the center of the face.
For younger kids, you can make tiny pencil dots first so they know where to place the eyes. Another easy option is to glue on googly eyes instead of painting them.
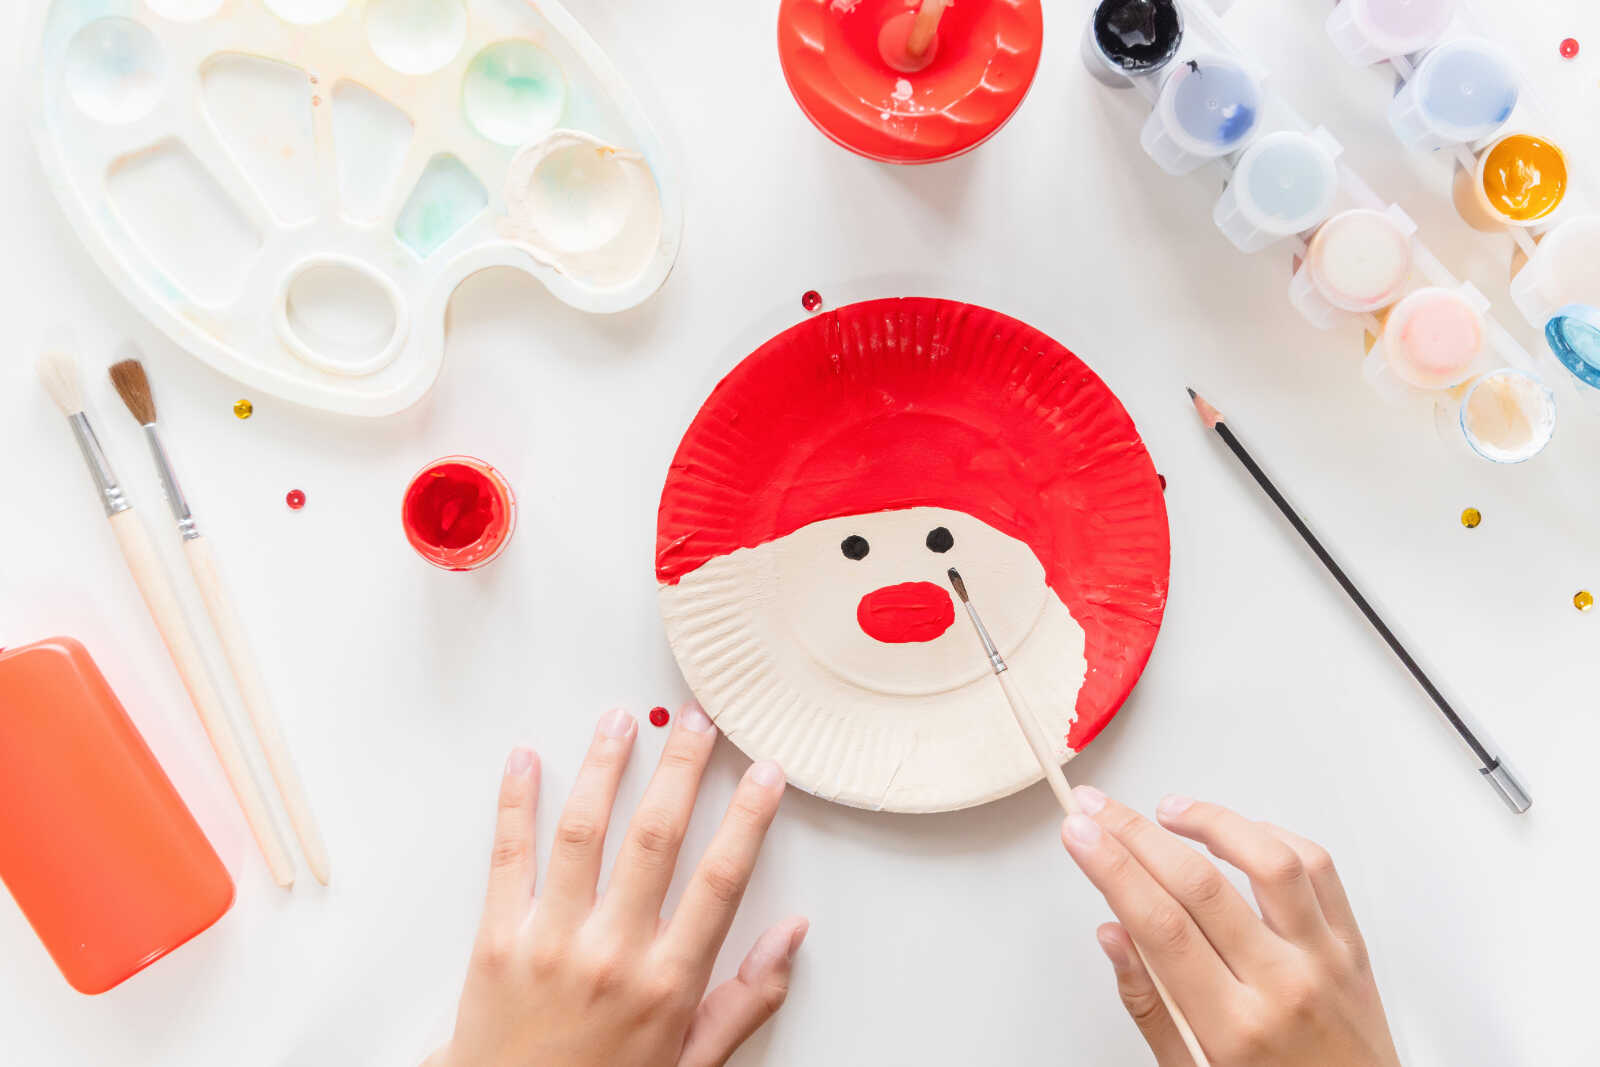
Step 6: Paint Santa’s Red Nose
Use red paint to create a round or oval nose below the eyes. In the photos, Santa has a bright red oval nose, which adds a cheerful pop of color.
Kids can paint the nose with a small brush or use their fingertip for a more playful version. A red pom pom can also be glued on if you want a 3D effect.
Step 7: Add Glue for Santa’s Hat Trim
Once the painted face is dry, squeeze a line of white glue along the bottom edge of the red hat. This is where the fluffy cotton trim will go.
The glue line can be straight, curved, or wavy. A wavy line makes the cotton look extra fluffy and whimsical.
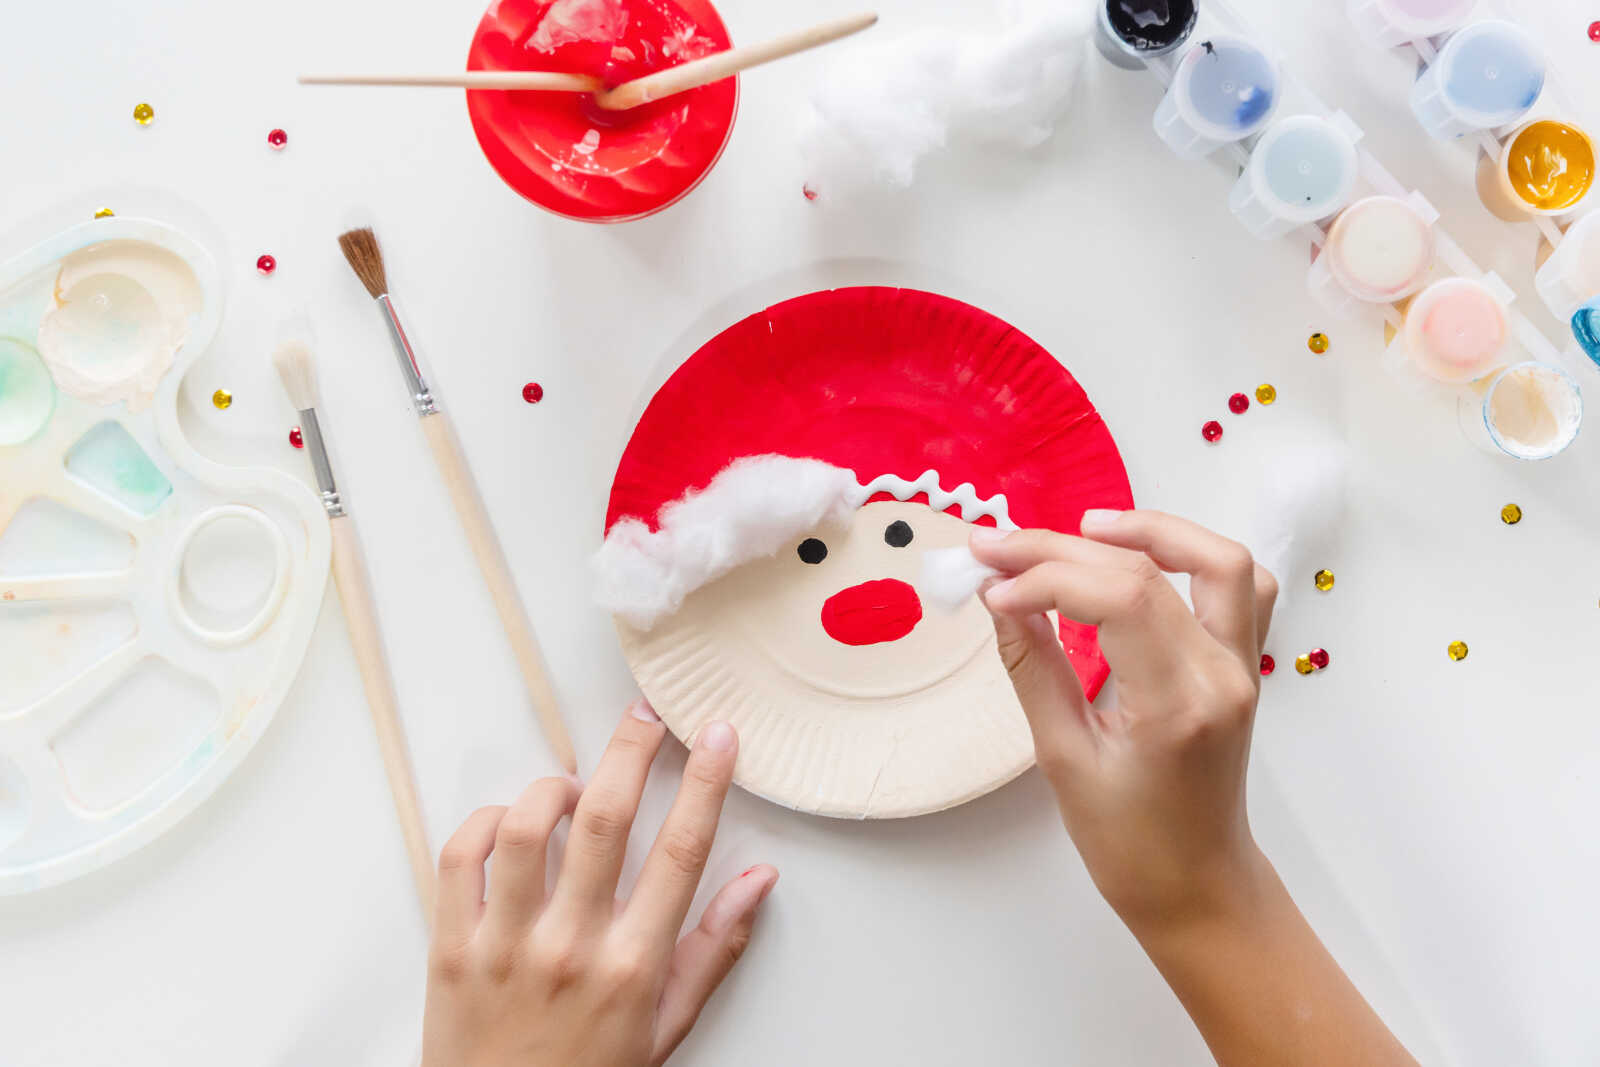
Step 8: Press Cotton onto the Glue
Pull apart cotton balls to make them soft and fluffy. Then press the cotton pieces onto the glue line at the bottom of Santa’s hat.
Kids can use small pieces or larger clumps depending on the look they want. This step is especially fun because the cotton instantly makes the craft look like Santa.
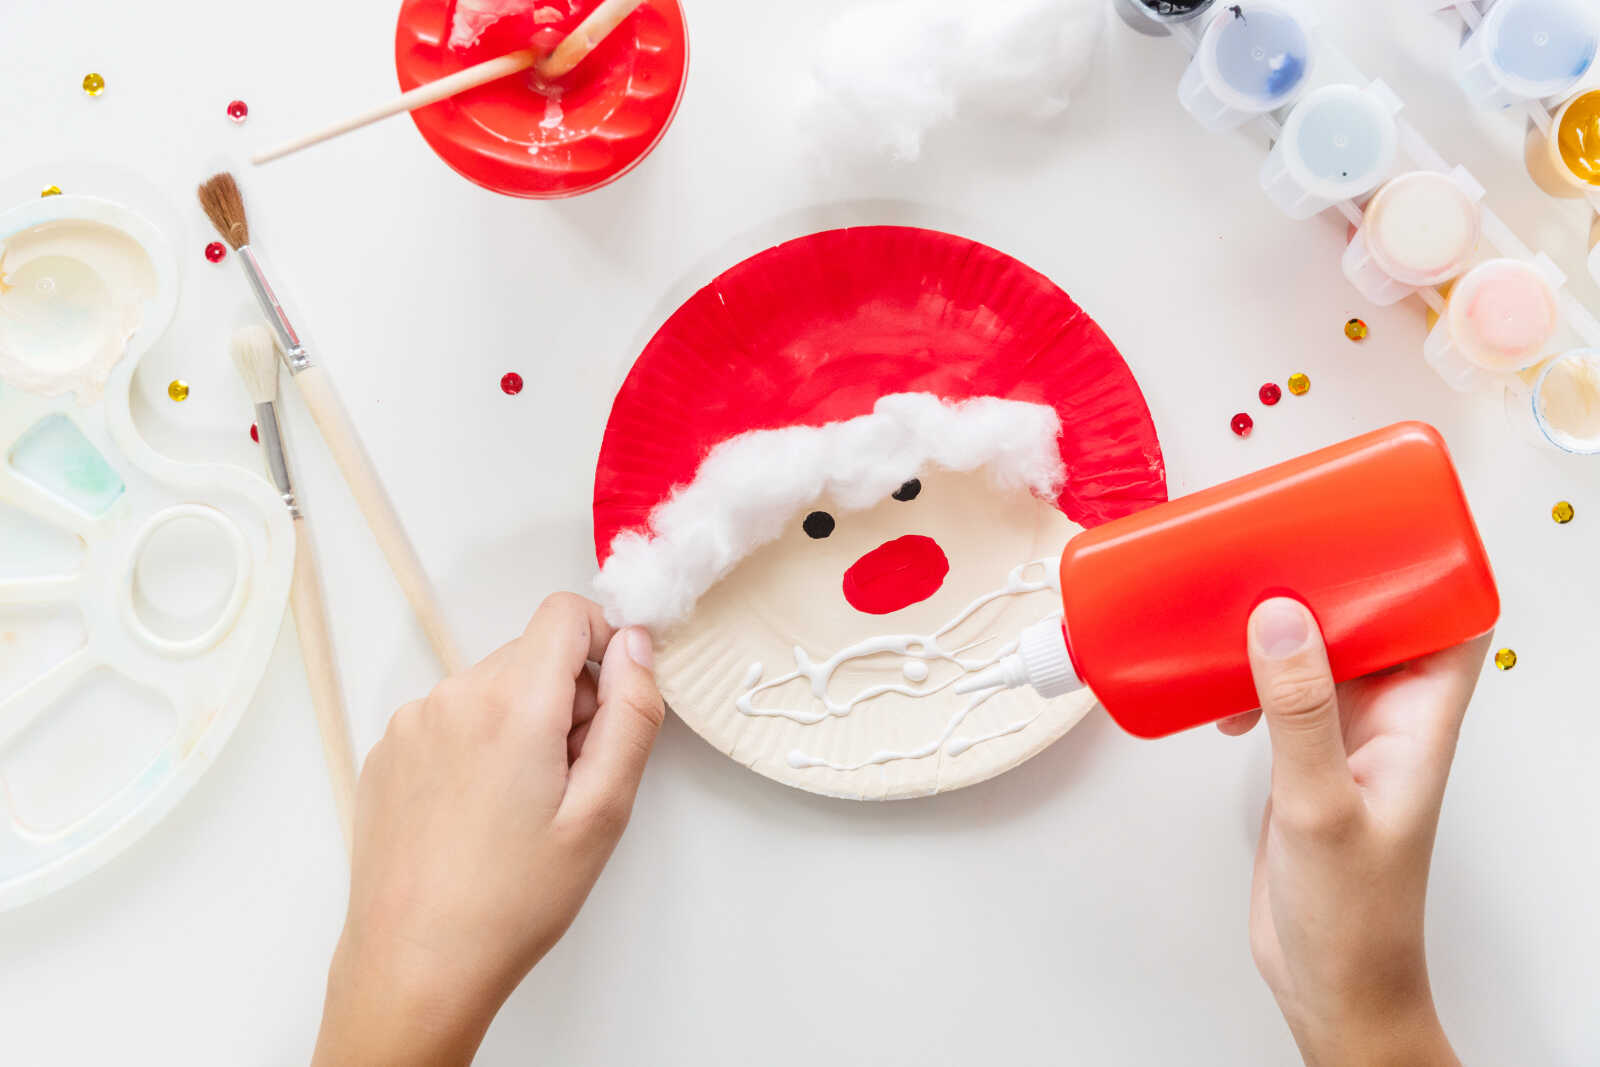
Step 9: Create Santa’s Beard
Now add glue to the lower half of the paper plate where Santa’s beard will be. You can squeeze the glue in swirls, lines, or dots.
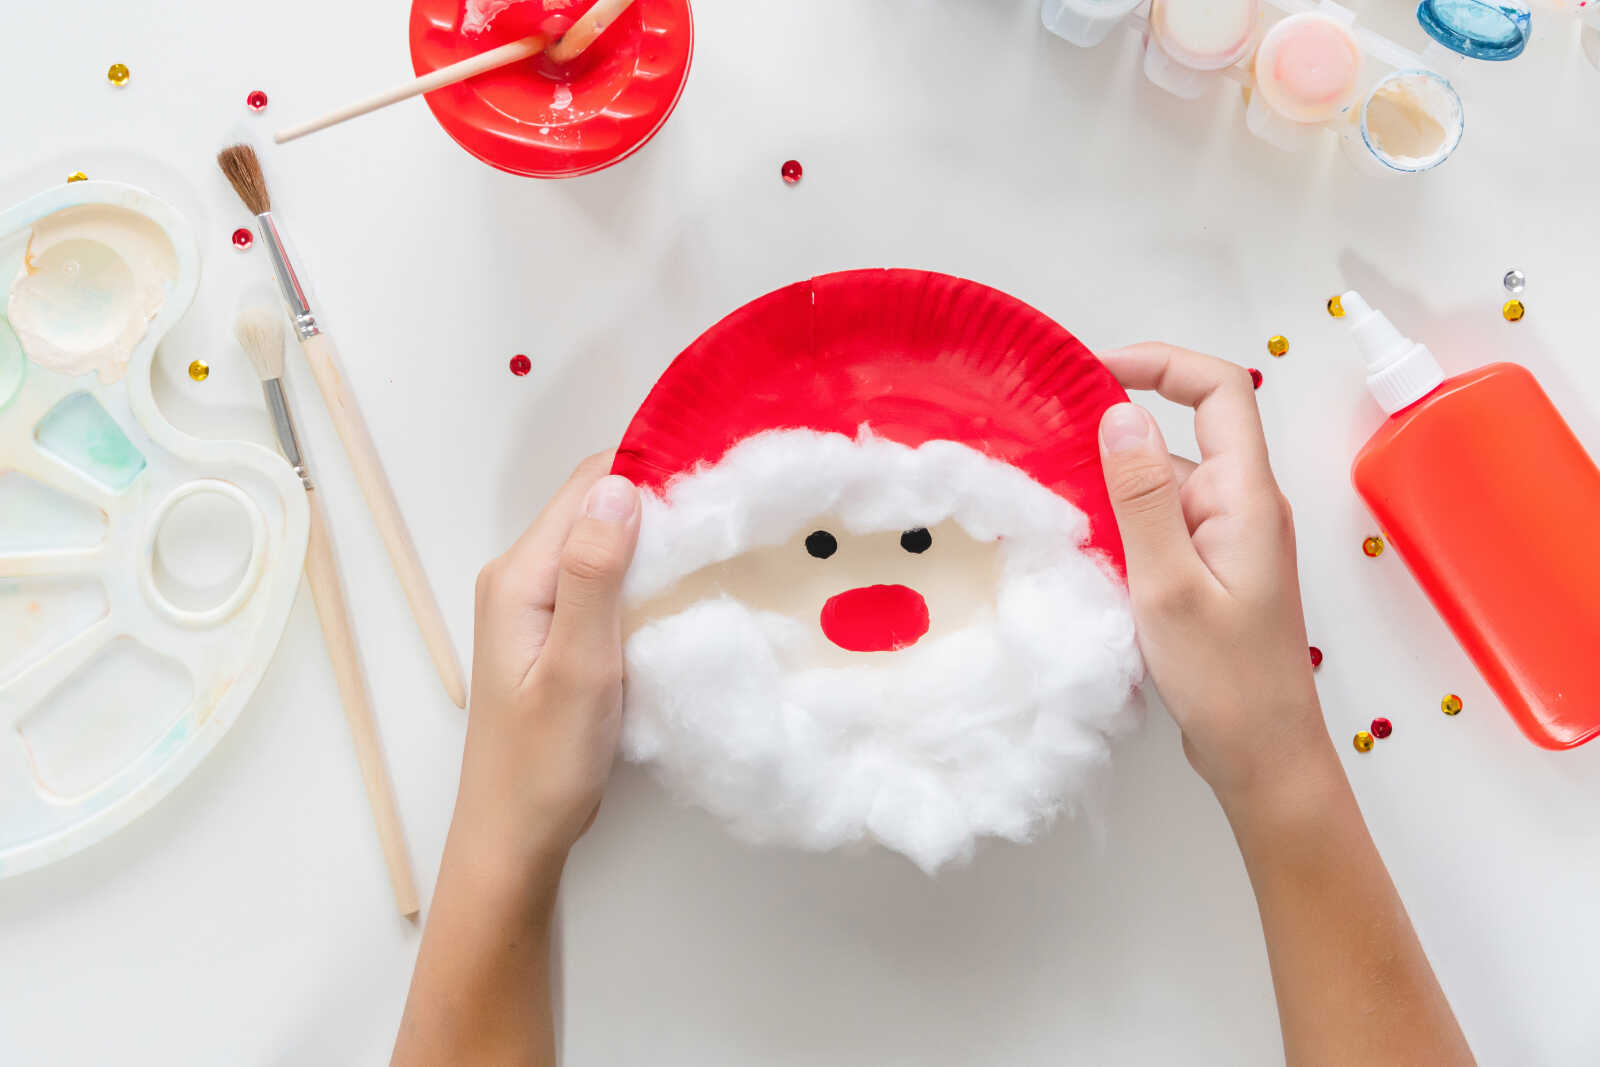
Press more cotton pieces onto the glue to create Santa’s fluffy white beard. Cover the lower part of the plate, leaving the eyes and nose visible.
For a fuller beard, add extra cotton layers. For a simpler version, use fewer cotton pieces and let more of the painted face show.
Step 10: Add a Cotton Ball to the Hat Tip
To finish the Santa hat, glue a cotton ball or cotton piece to the side edge of the red hat. This creates the classic fluffy pom-pom at the end of Santa’s hat.
Let the glue dry completely before picking up or displaying the craft.
Helpful Tips for Making This Craft with Kids
This paper plate Santa craft is simple, but a few small tips can make the activity even easier.
Use washable paint if younger children are participating. Red paint can be bold and messy, so washable supplies are always helpful.
Let the paint dry before gluing cotton. If the paint is still wet, the cotton may stick in places you do not want it to.
Pre-pull cotton balls for toddlers or preschoolers. This makes the cotton easier for little hands to grab and press onto the plate.
Use a pencil outline for the hat. A simple guide helps kids understand where to paint and where to leave room for Santa’s face.
Easy Variations
There are many ways to customize this Christmas paper plate craft. Kids can add googly eyes, use a red pom pom nose, sprinkle glitter on the hat, or glue sequins around the background for sparkle.
You can also punch a hole at the top of the plate and tie a ribbon through it to turn the Santa craft into a hanging decoration.
Skills Kids Practice
This Santa craft is not only cute, but it also helps kids practice important creative and motor skills. Painting helps with hand control, gluing cotton strengthens fine motor skills, and following the steps helps children practice sequencing.
It is also a great opportunity for kids to explore textures. The smooth paint, ridged paper plate, sticky glue, and soft cotton all create a fun sensory experience.
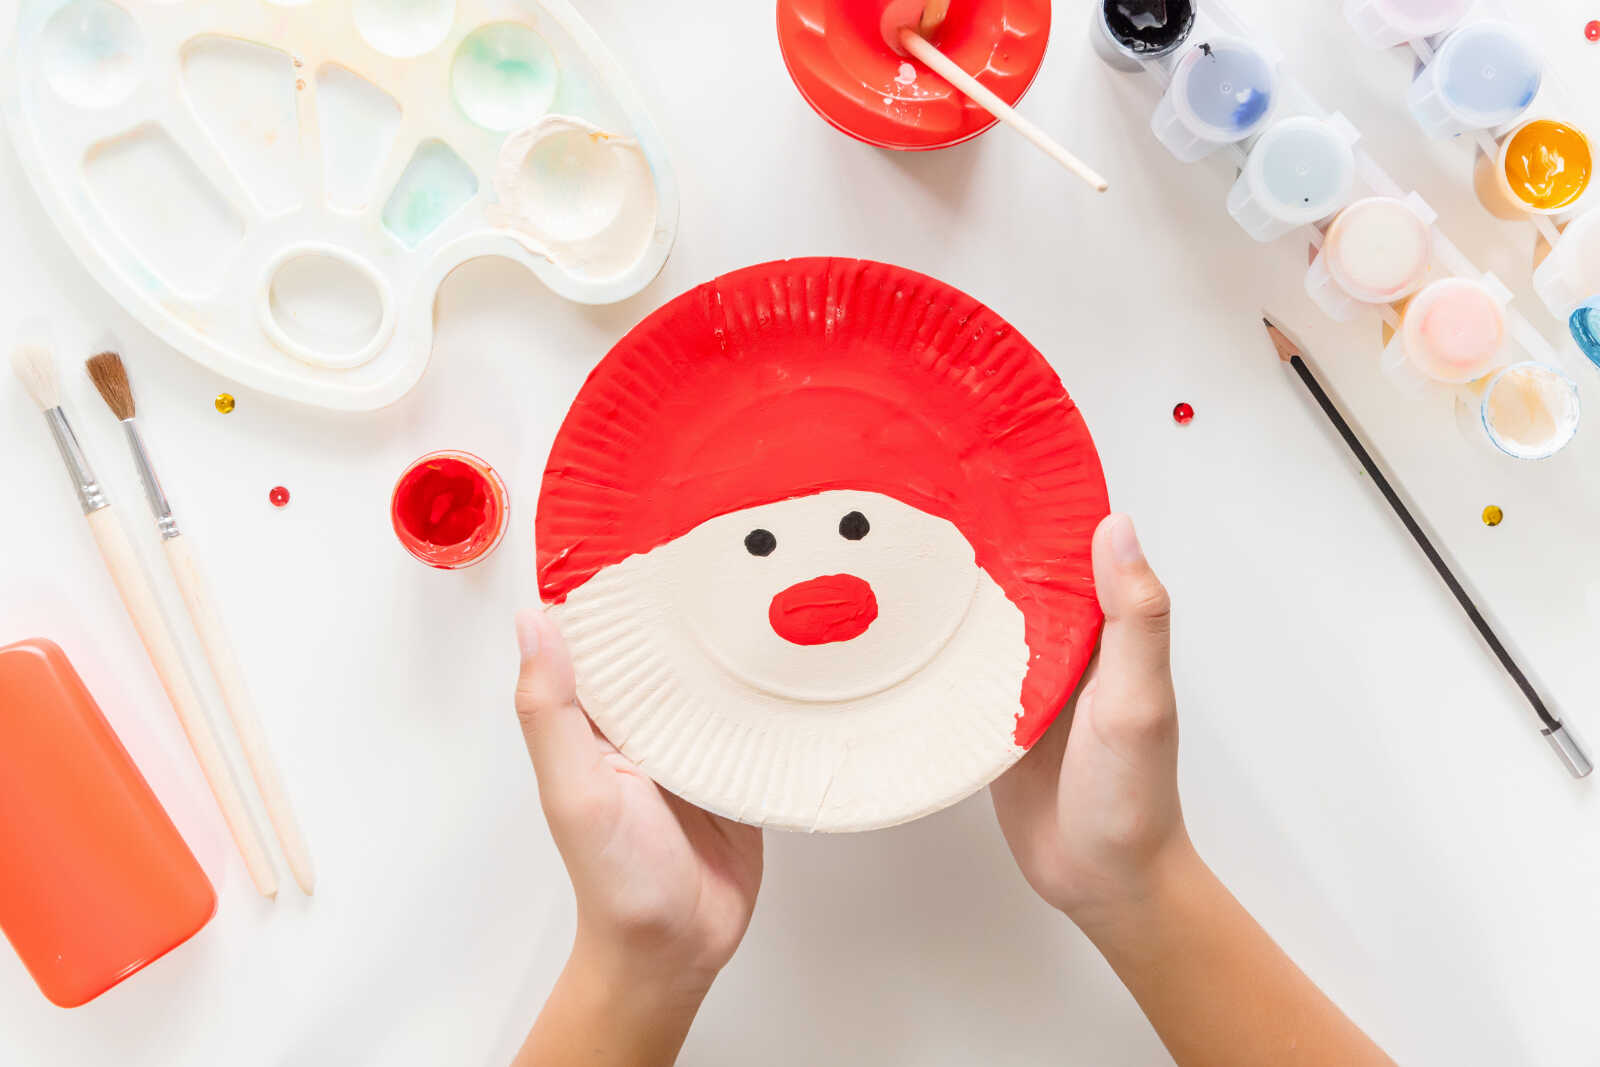
Final Thoughts
This Paper Plate Santa Craft is a sweet and simple Christmas activity that kids can make with basic craft supplies. With red paint, cotton balls, and a paper plate, children can create an adorable Santa face that feels festive, fluffy, and fun.
It’s an easy holiday project for home, school, daycare, or Christmas craft parties, and the finished Santa makes a cheerful handmade decoration for the season.