DIY Snowman Handprint Keepsake Christmas Ornament
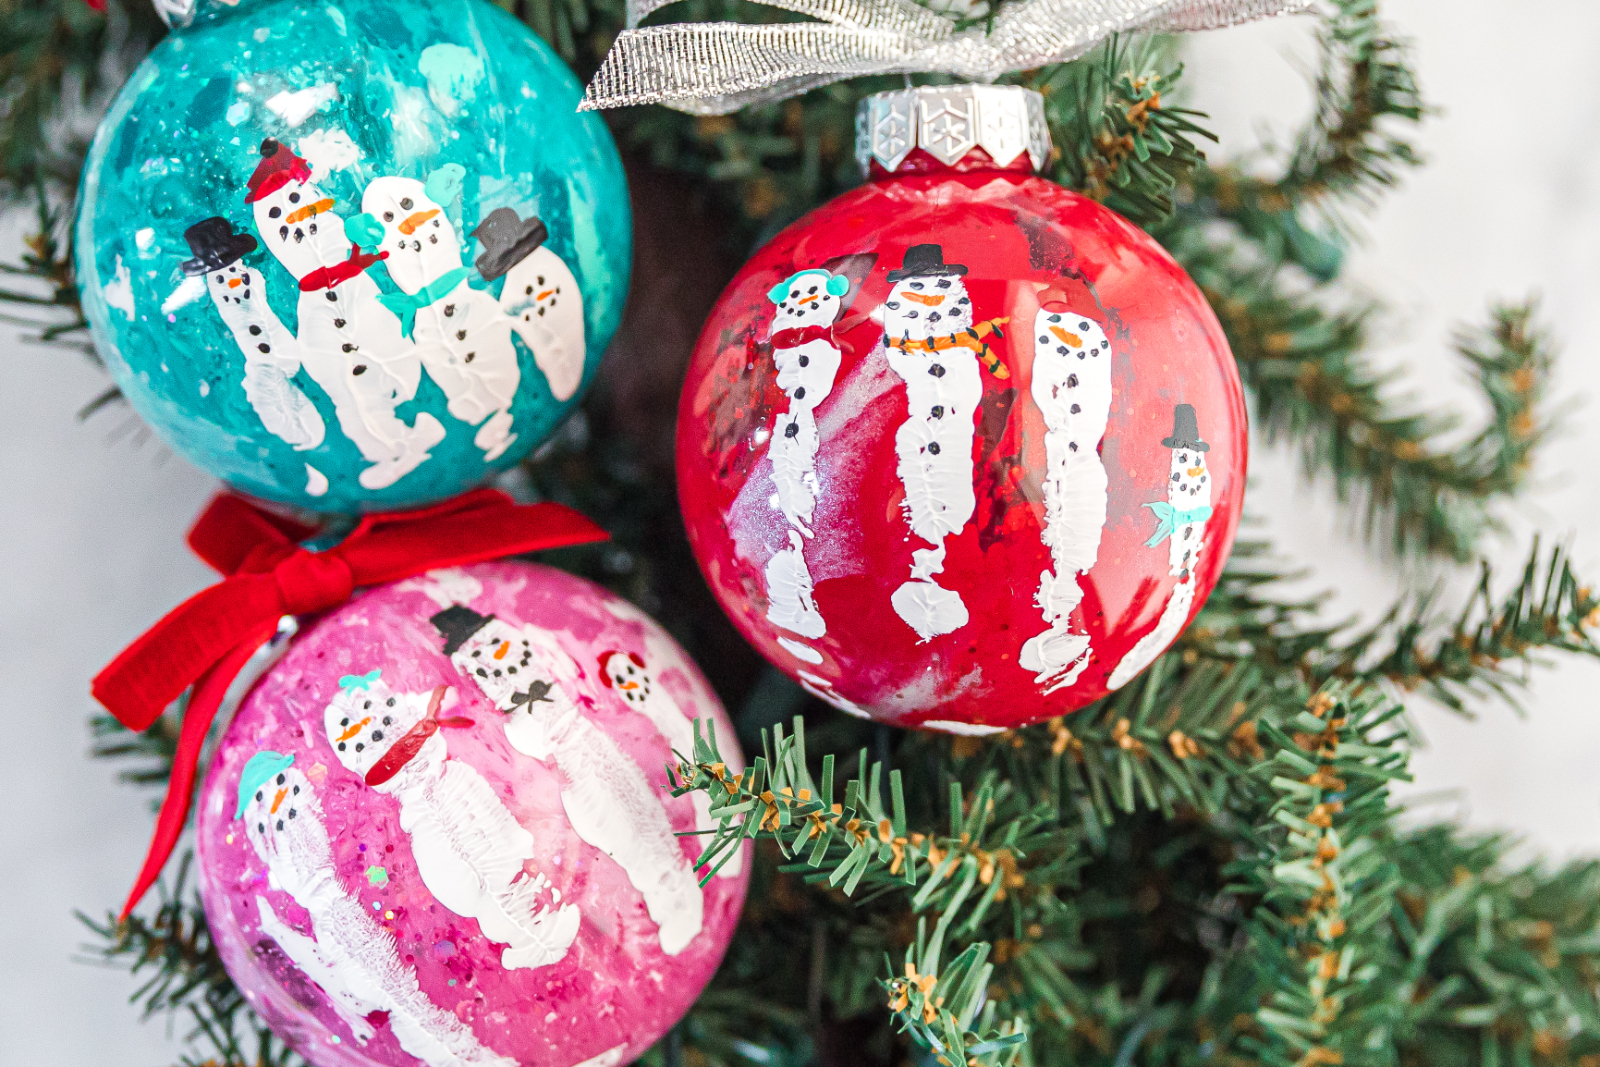
Little hands don’t stay little for long, which is exactly what makes handprint Christmas crafts so special. This Snowman Handprint Keepsake Ornament turns your child’s tiny handprint into a personalized Christmas decoration you can pull out year after year and remember just how small those fingers once were.
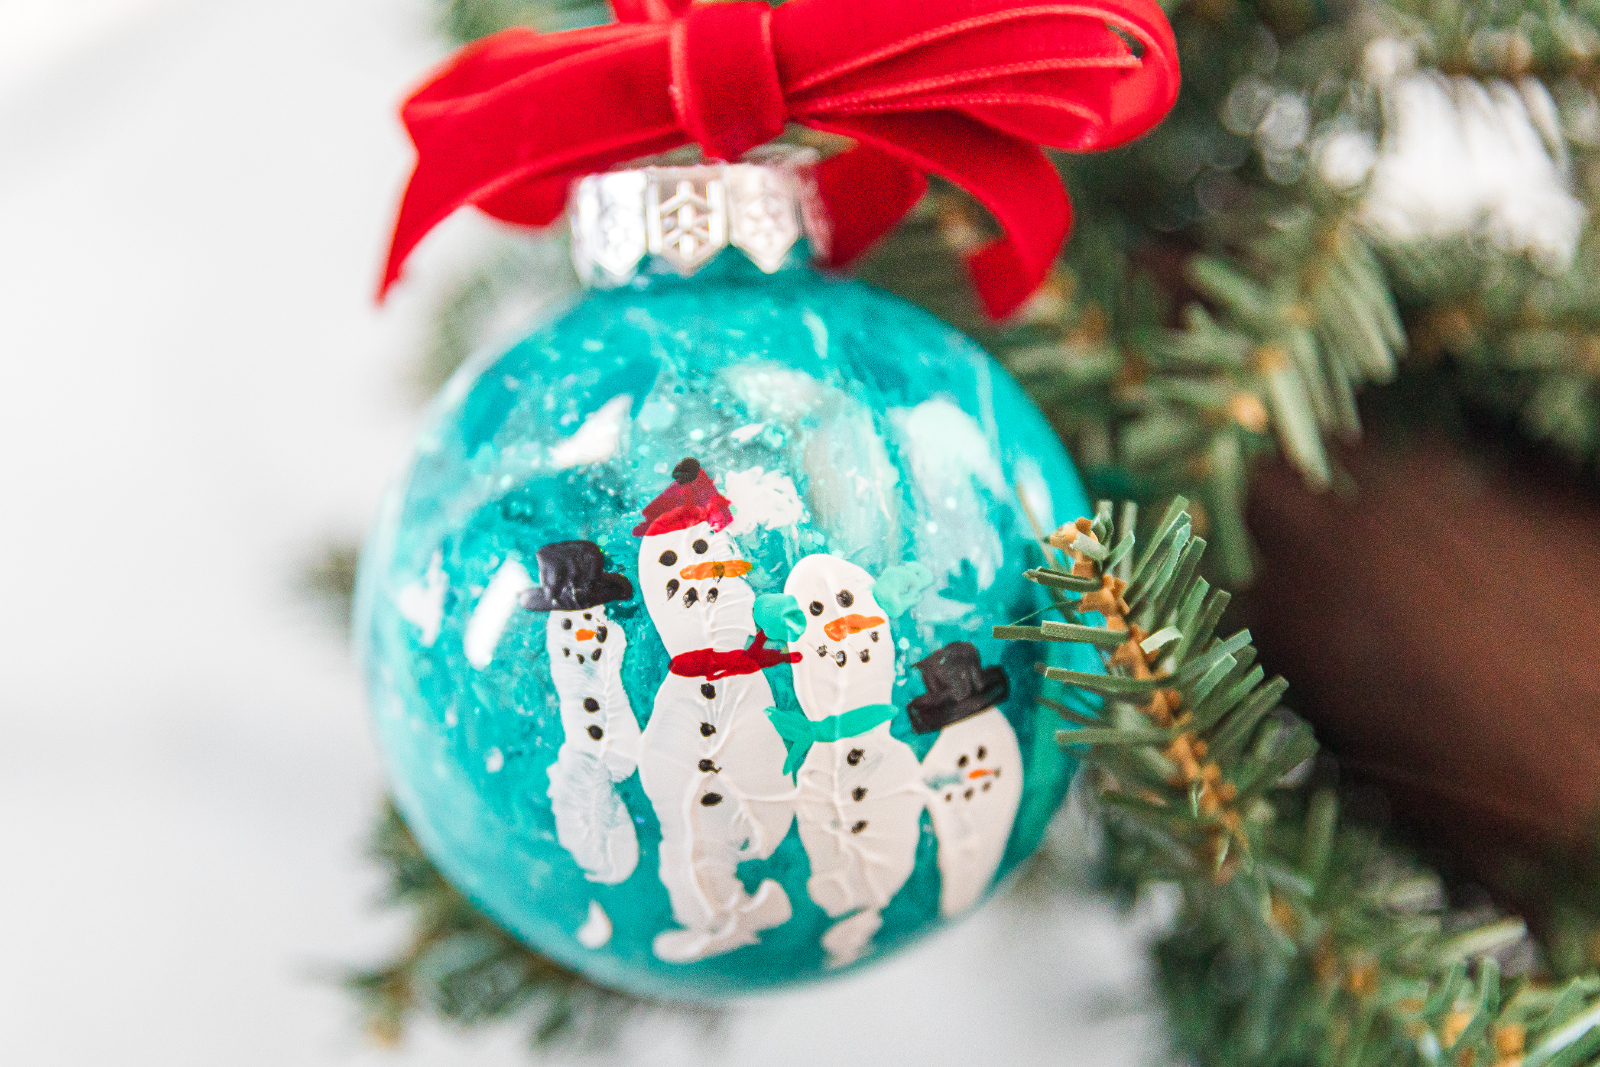
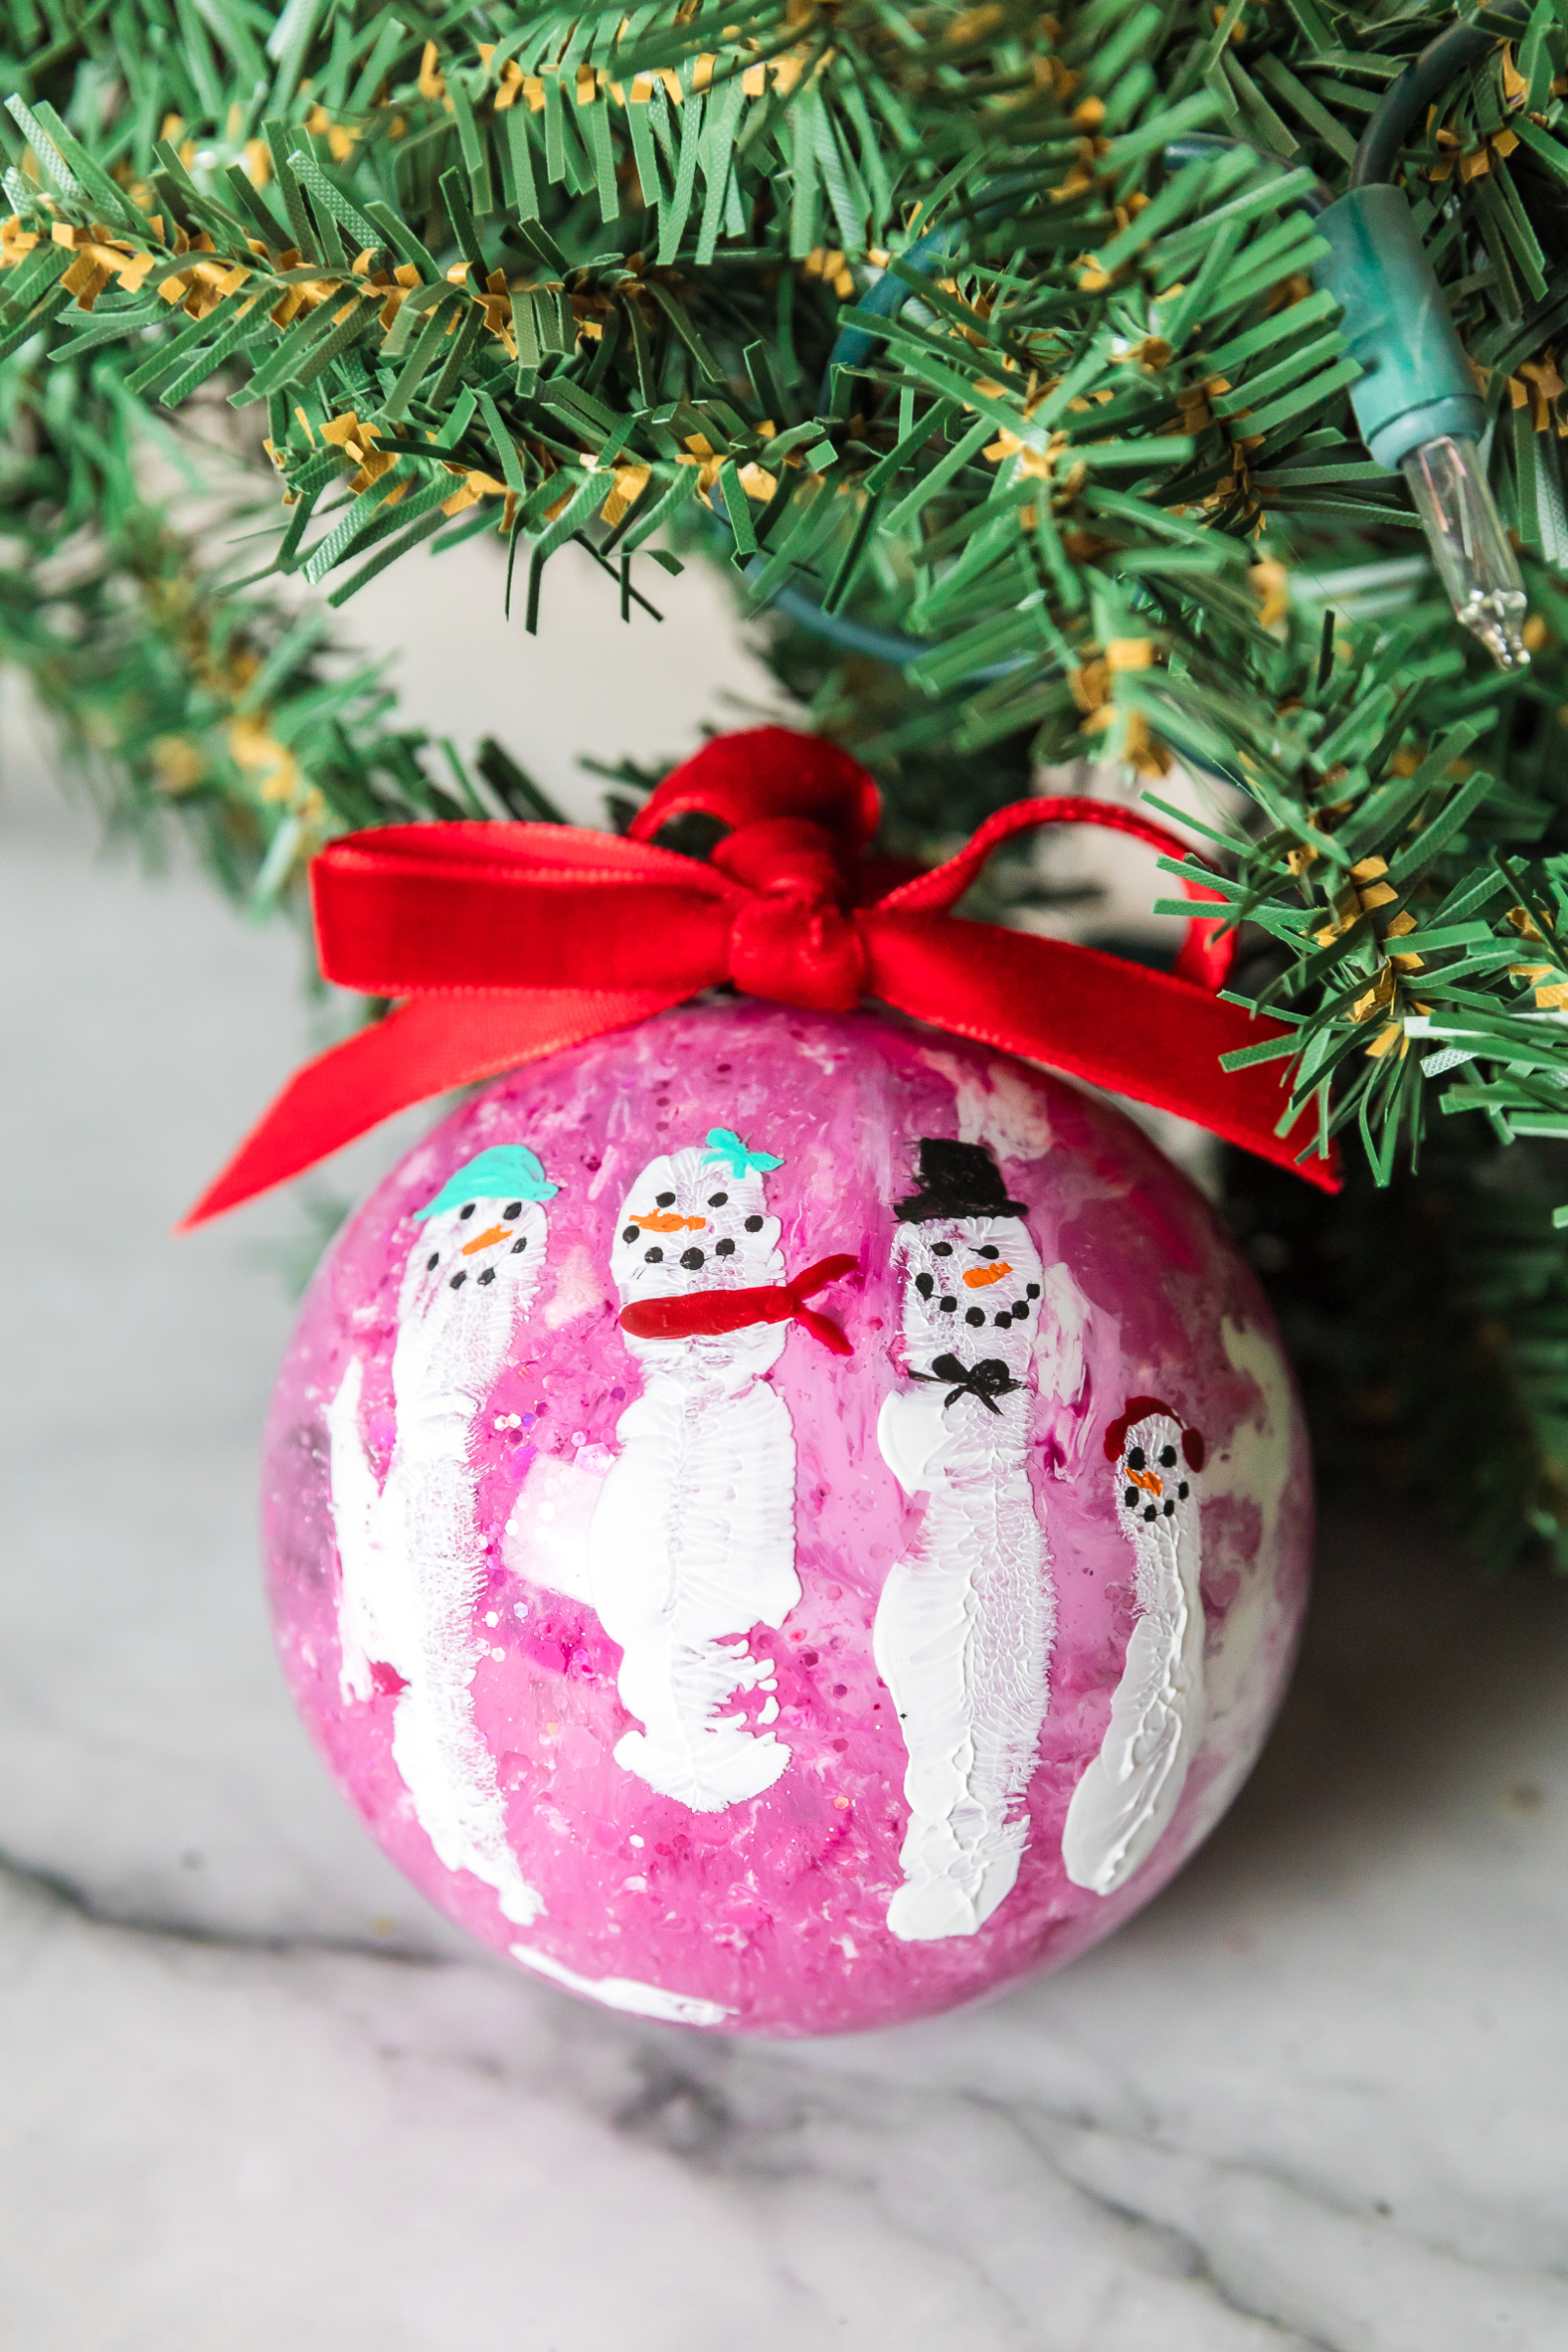
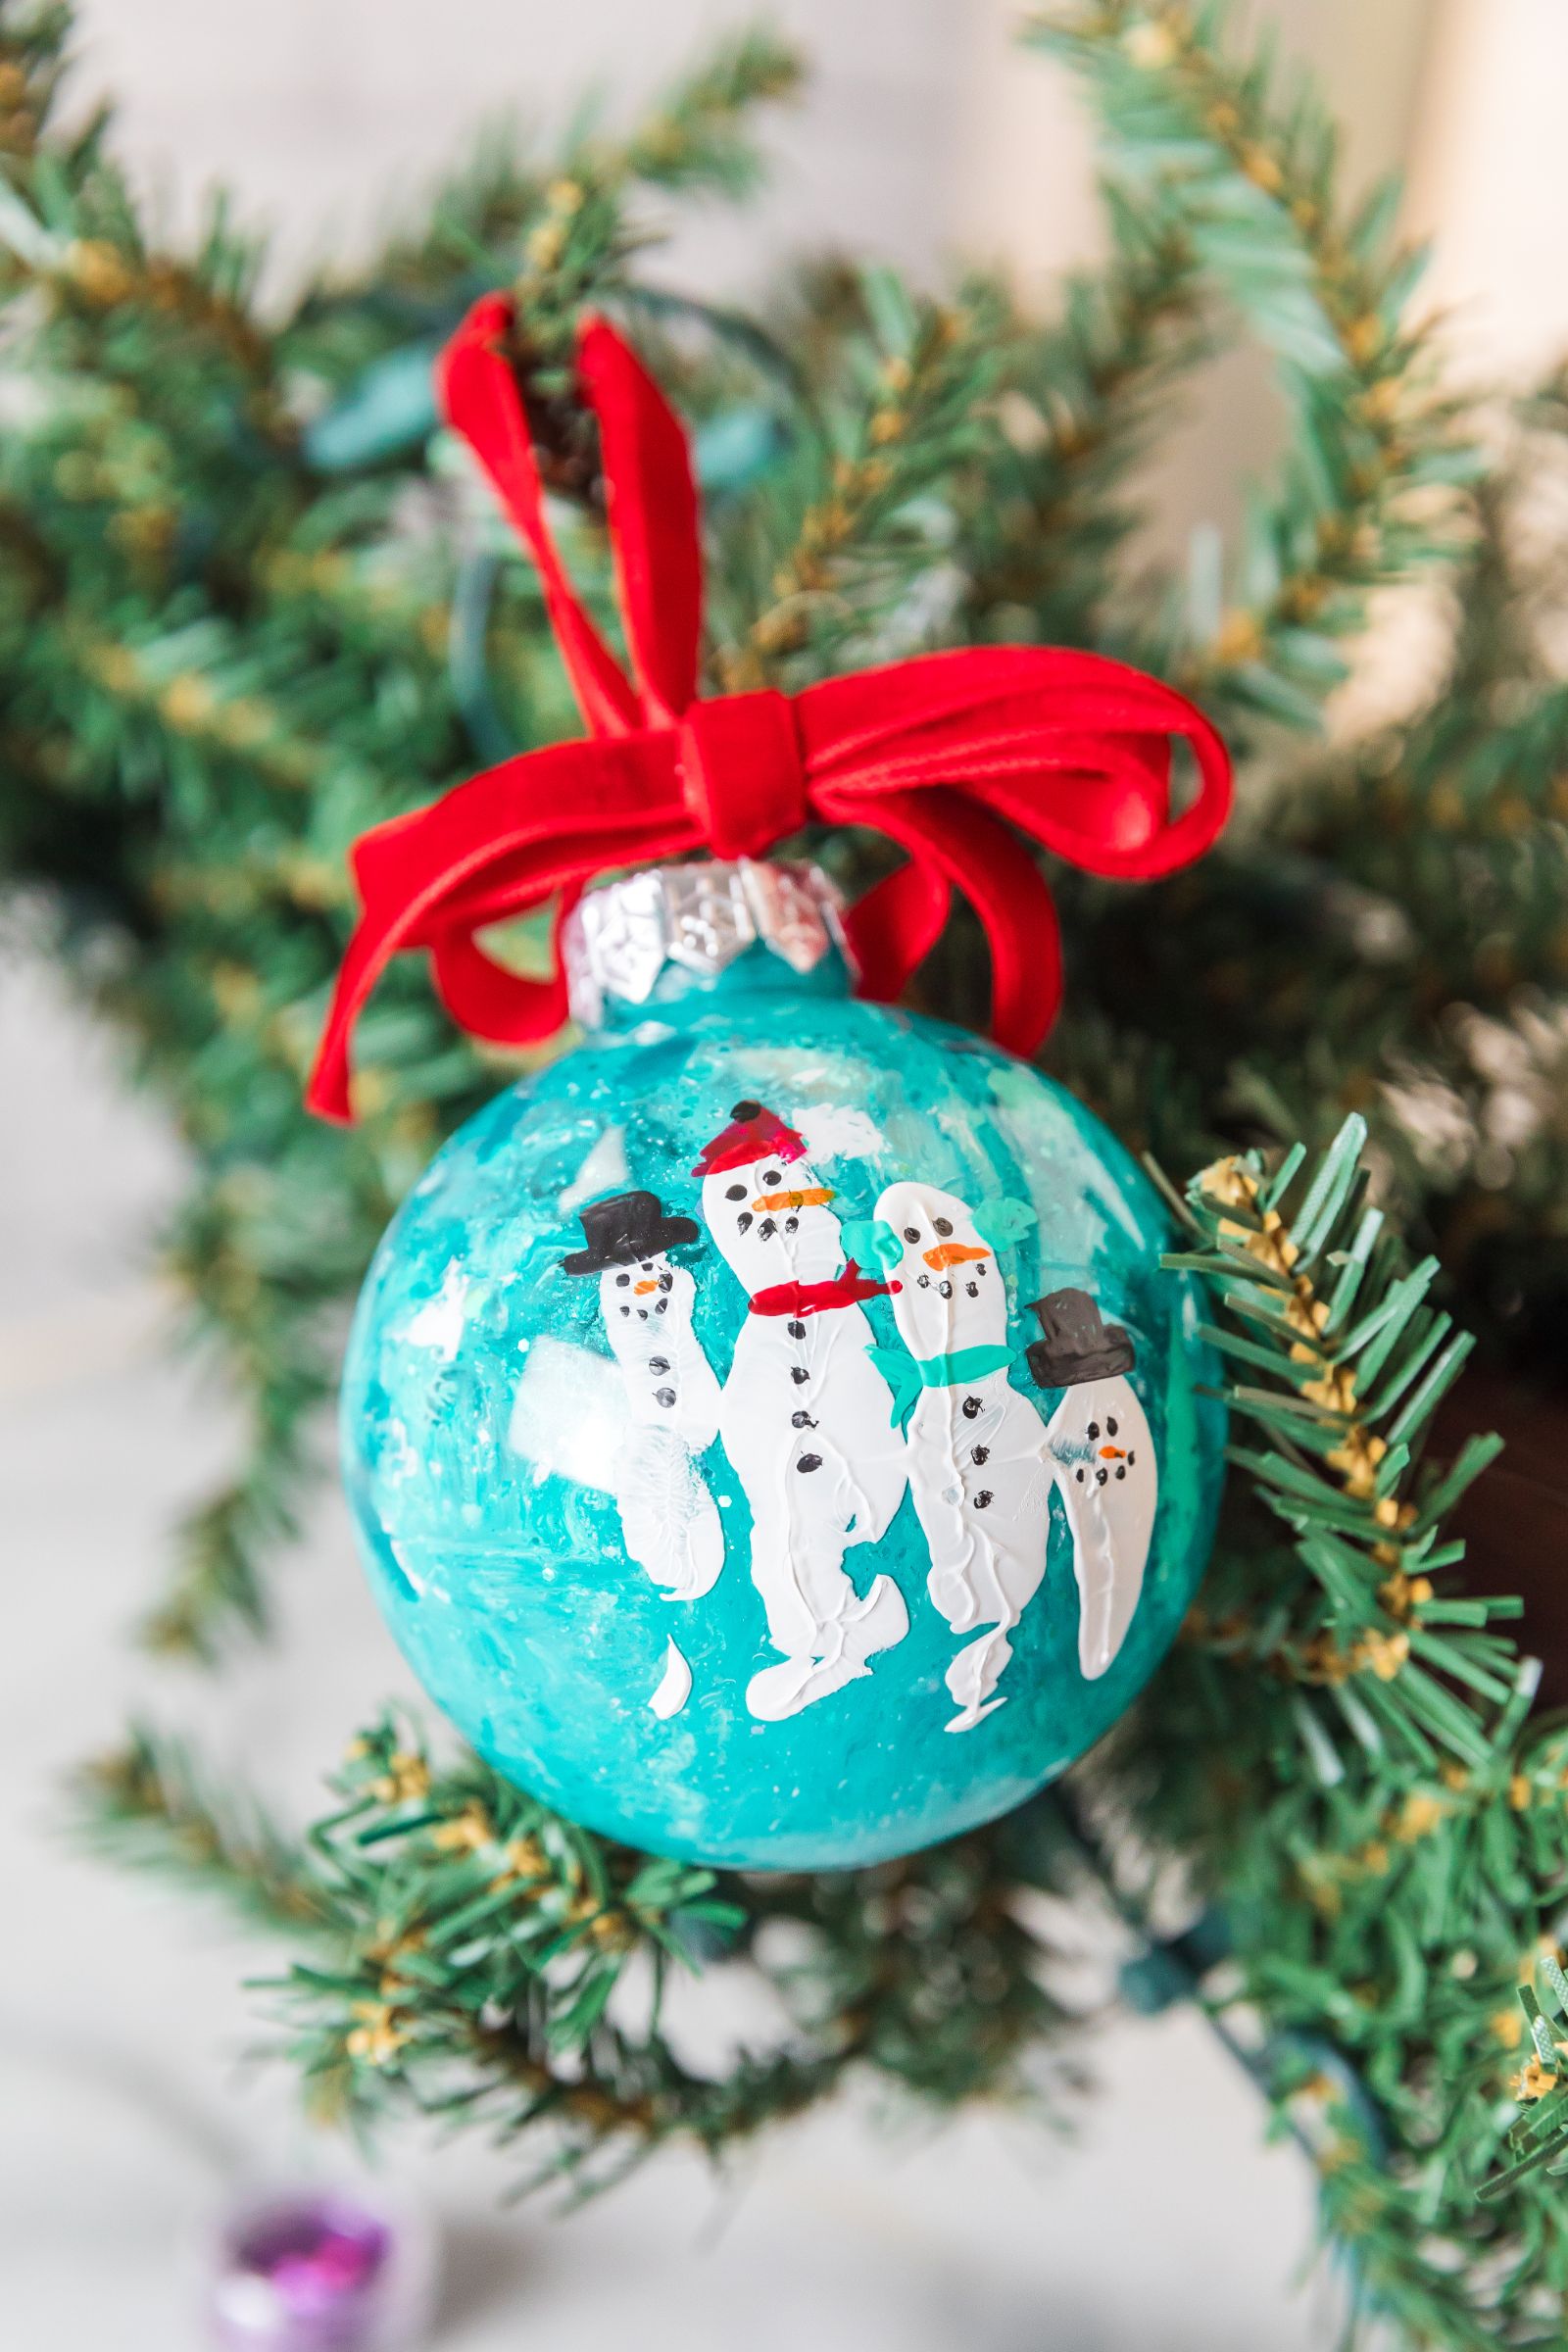
This easy children’s craft for Christmas is also a thoughtful homemade gift for grandparents, parents, and other loved ones. Each finger becomes its own little snowman, creating an adorable winter scene on a glitter-filled ornament. Add your child’s name and the year, and you have a truly one-of-a-kind personalized ornament for your Christmas tree.
Best of all, you don’t need complicated crafting supplies or advanced painting skills. With a clear plastic ornament, glitter, paint, and a little patience during drying time, you can create a beautiful handprint on an ornament that becomes part of your family’s Christmas traditions.
Why Your Family Will Treasure This Snowman Handprint Ornament
There are plenty of DIY Christmas ornaments you can make with kids, but handprint ornaments have an extra sentimental quality. Children grow so quickly that even one year can make a noticeable difference in the size of their hands.
Making a handprint ornament every Christmas can even become a family tradition. Imagine lining up several ornaments a few years from now and seeing how your child’s hand has grown.
This project is especially cute for babies, toddlers, preschoolers, and young elementary-aged children. If you’re celebrating a baby’s first holiday season, it can also make a sweet homemade 1st Christmas ornament.
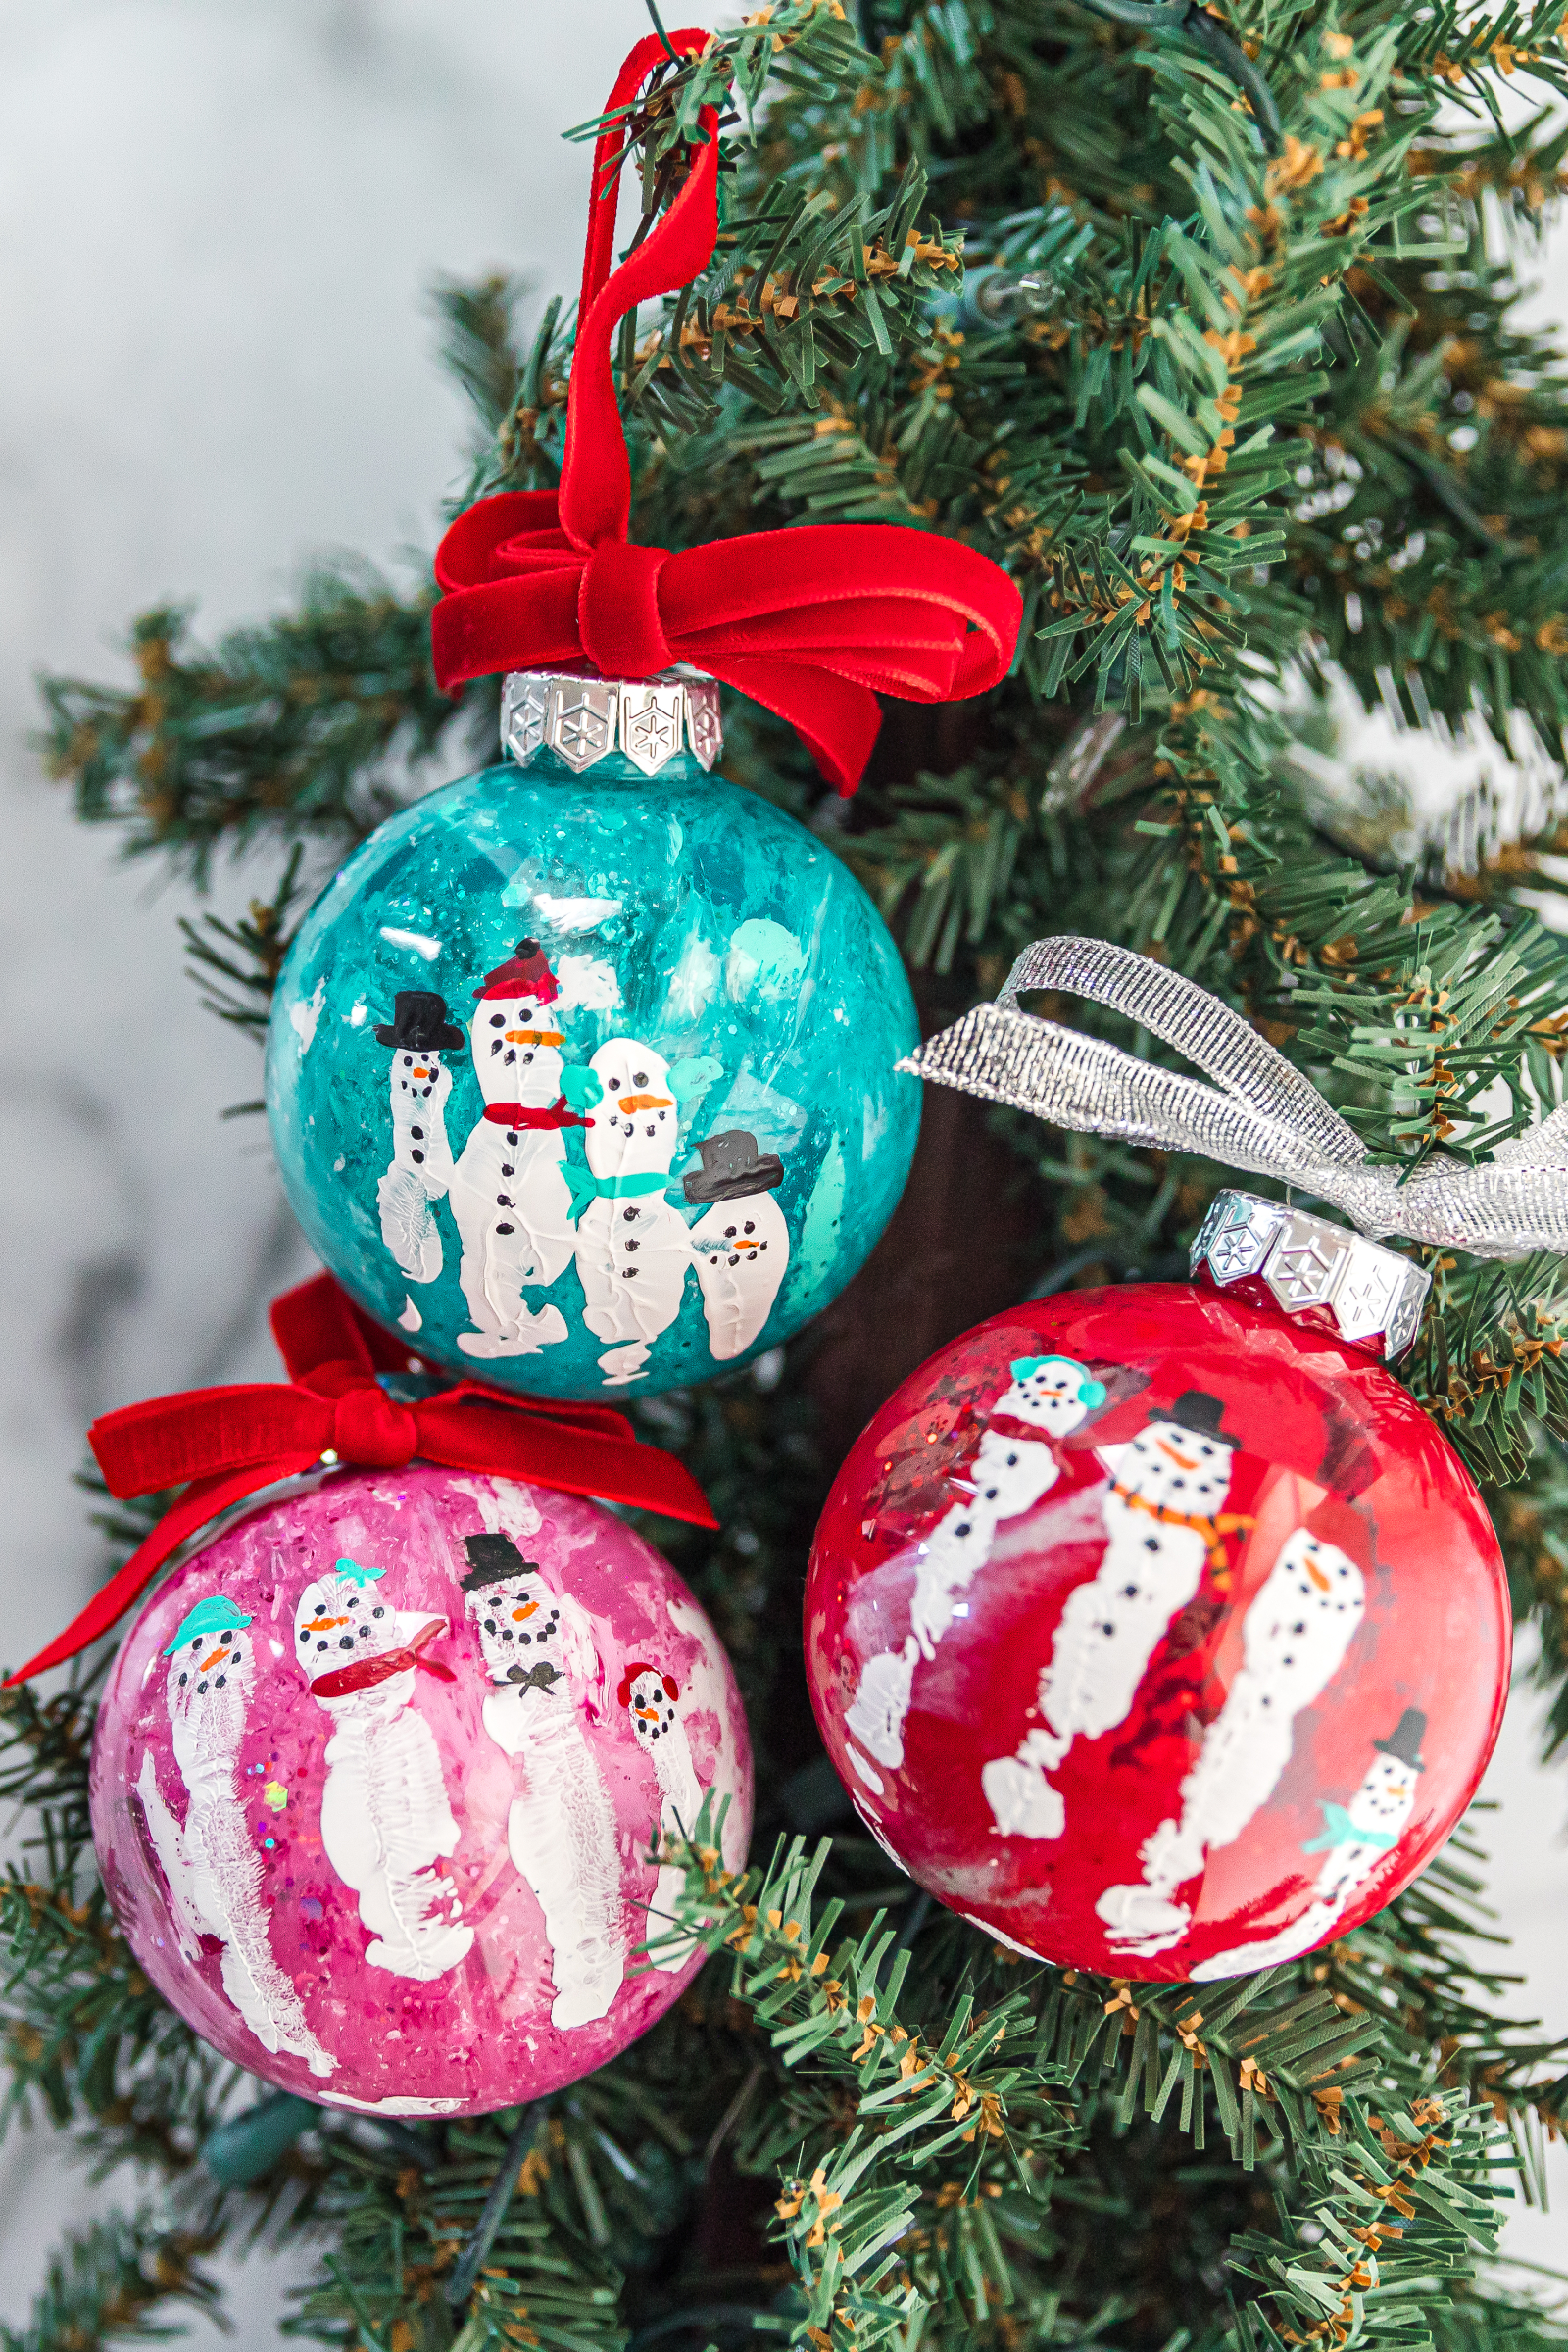
Because you can add a name, date, different colors, and your own snowman details, no two ornaments will look exactly alike. That handmade quality is part of the charm.
Project Time
Activity Time: 20 minutes
Drying Time: Approximately 24 hours
Total Time: Approximately 24 hours 20 minutes
Yield: 1 ornament
Keep in mind that drying and curing times can vary depending on the specific paints, glue, and sealer you use. Always follow the manufacturer’s instructions for your particular products.
Supplies
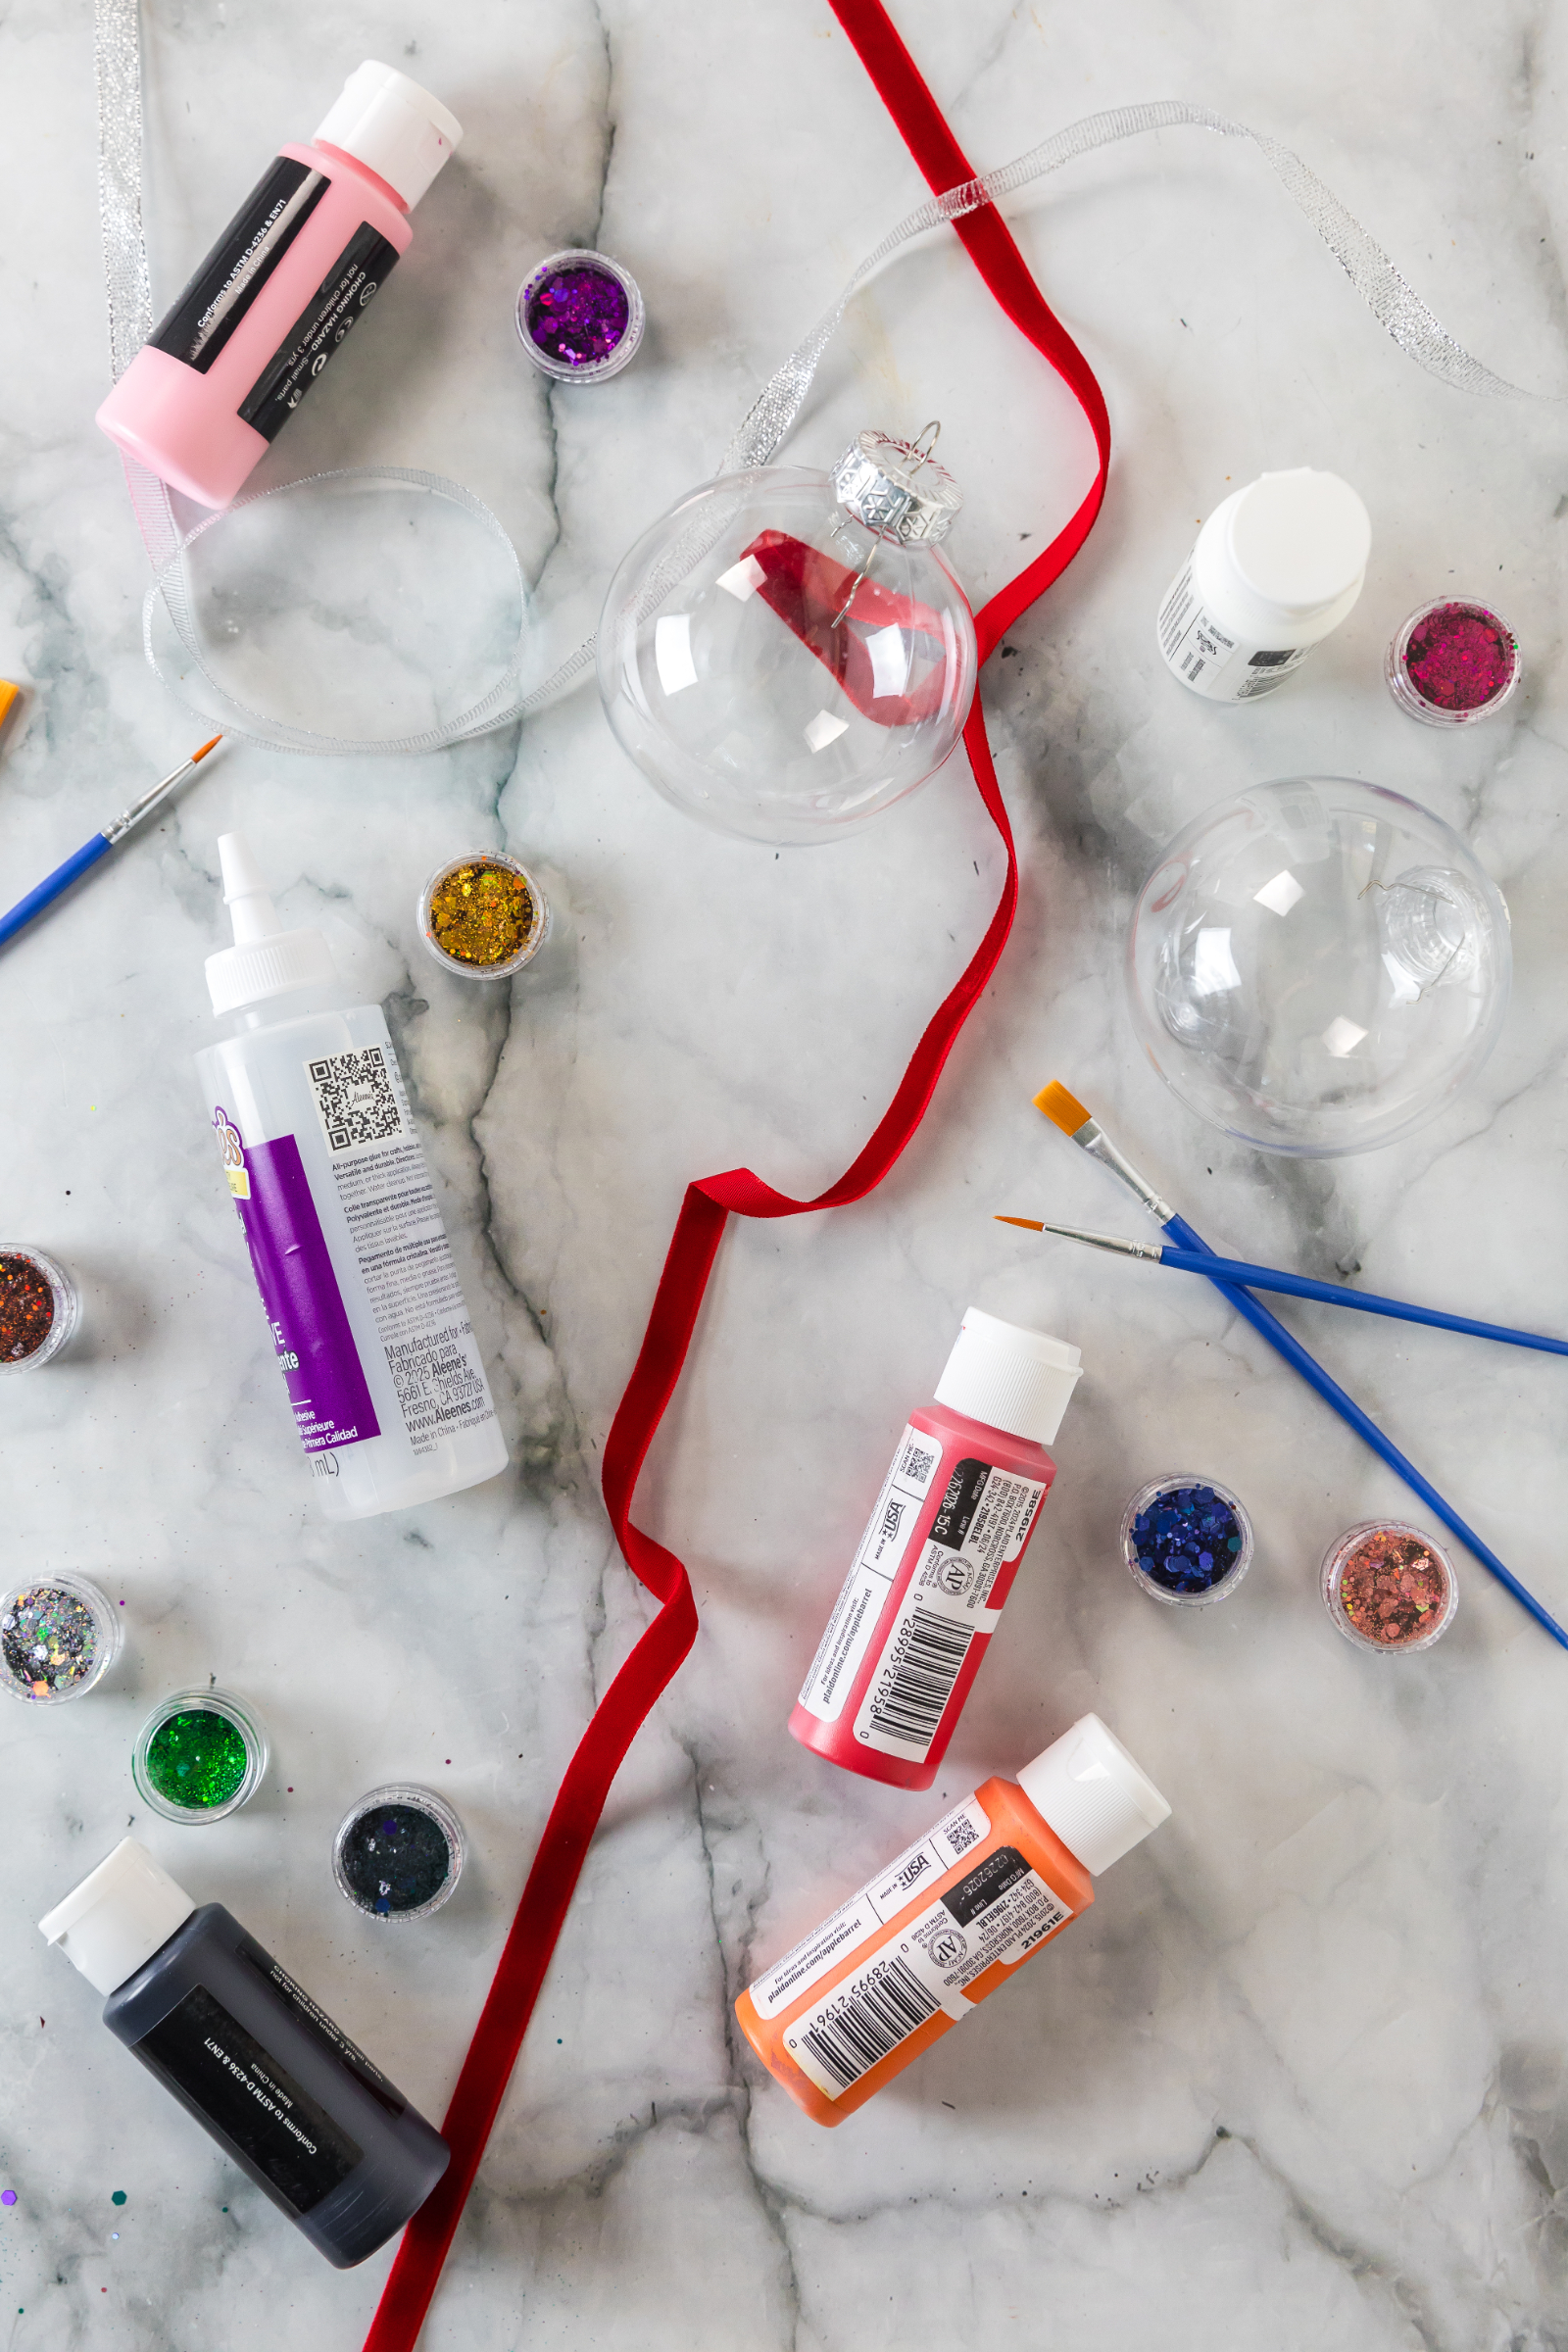
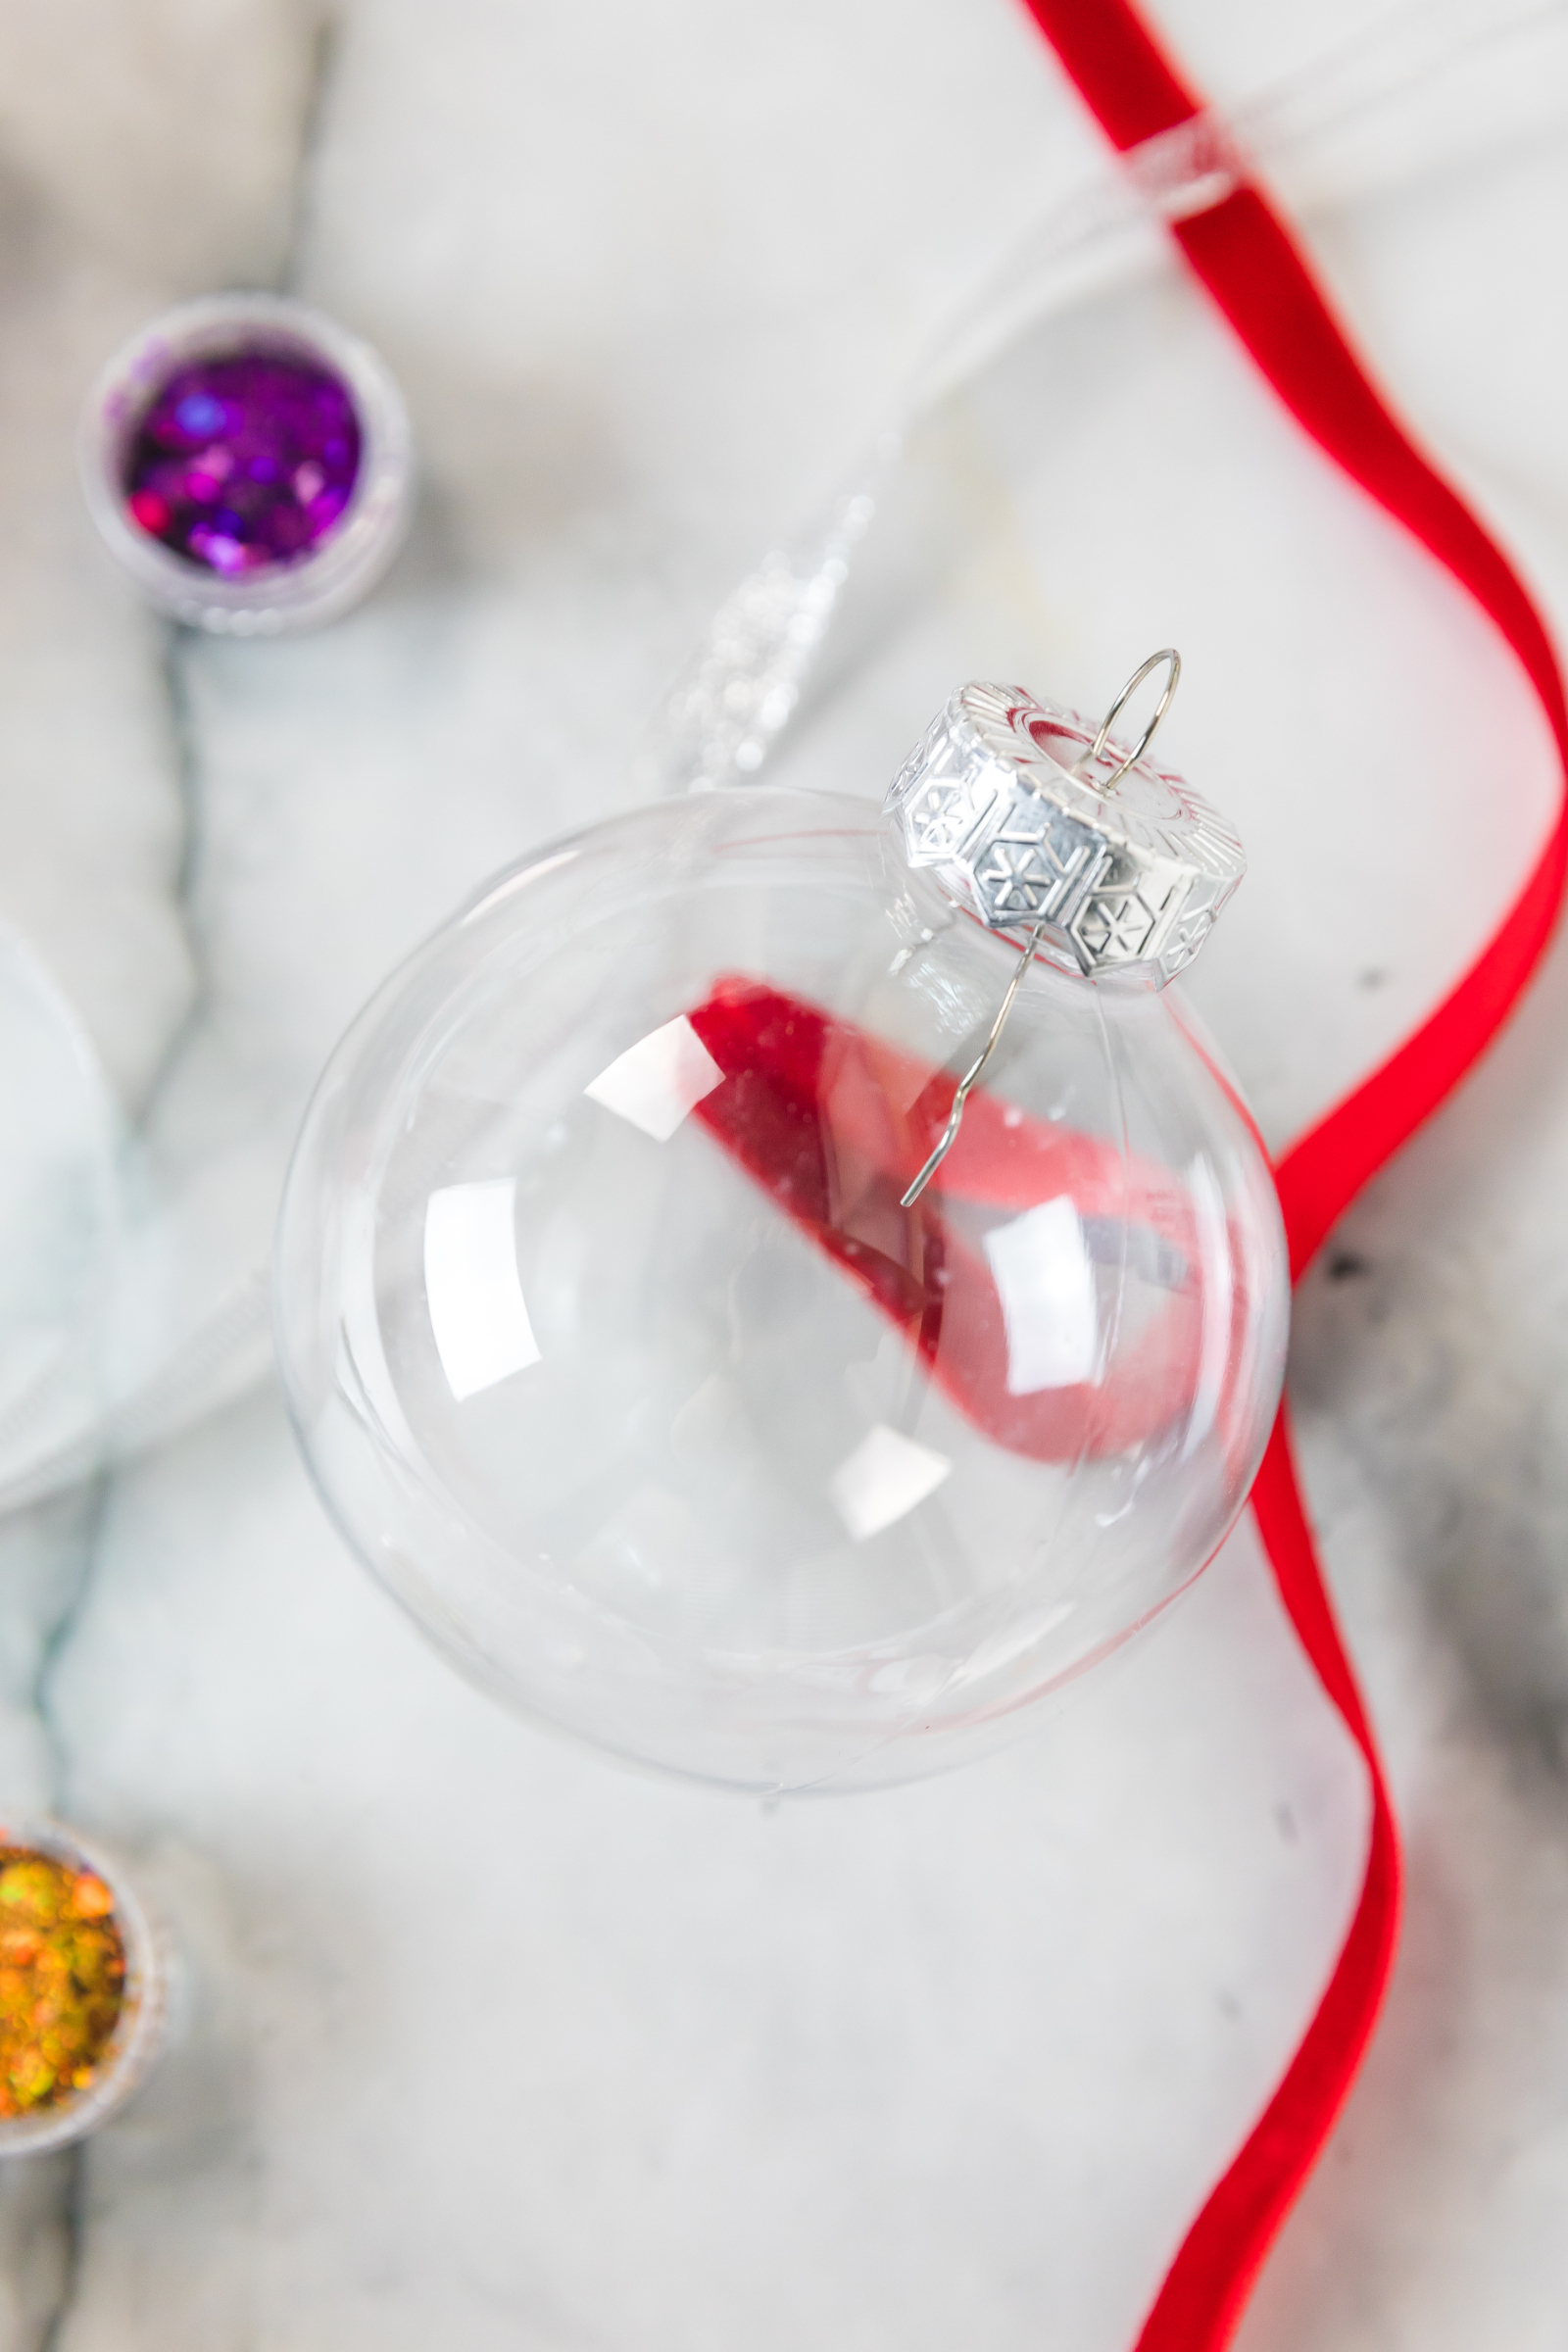
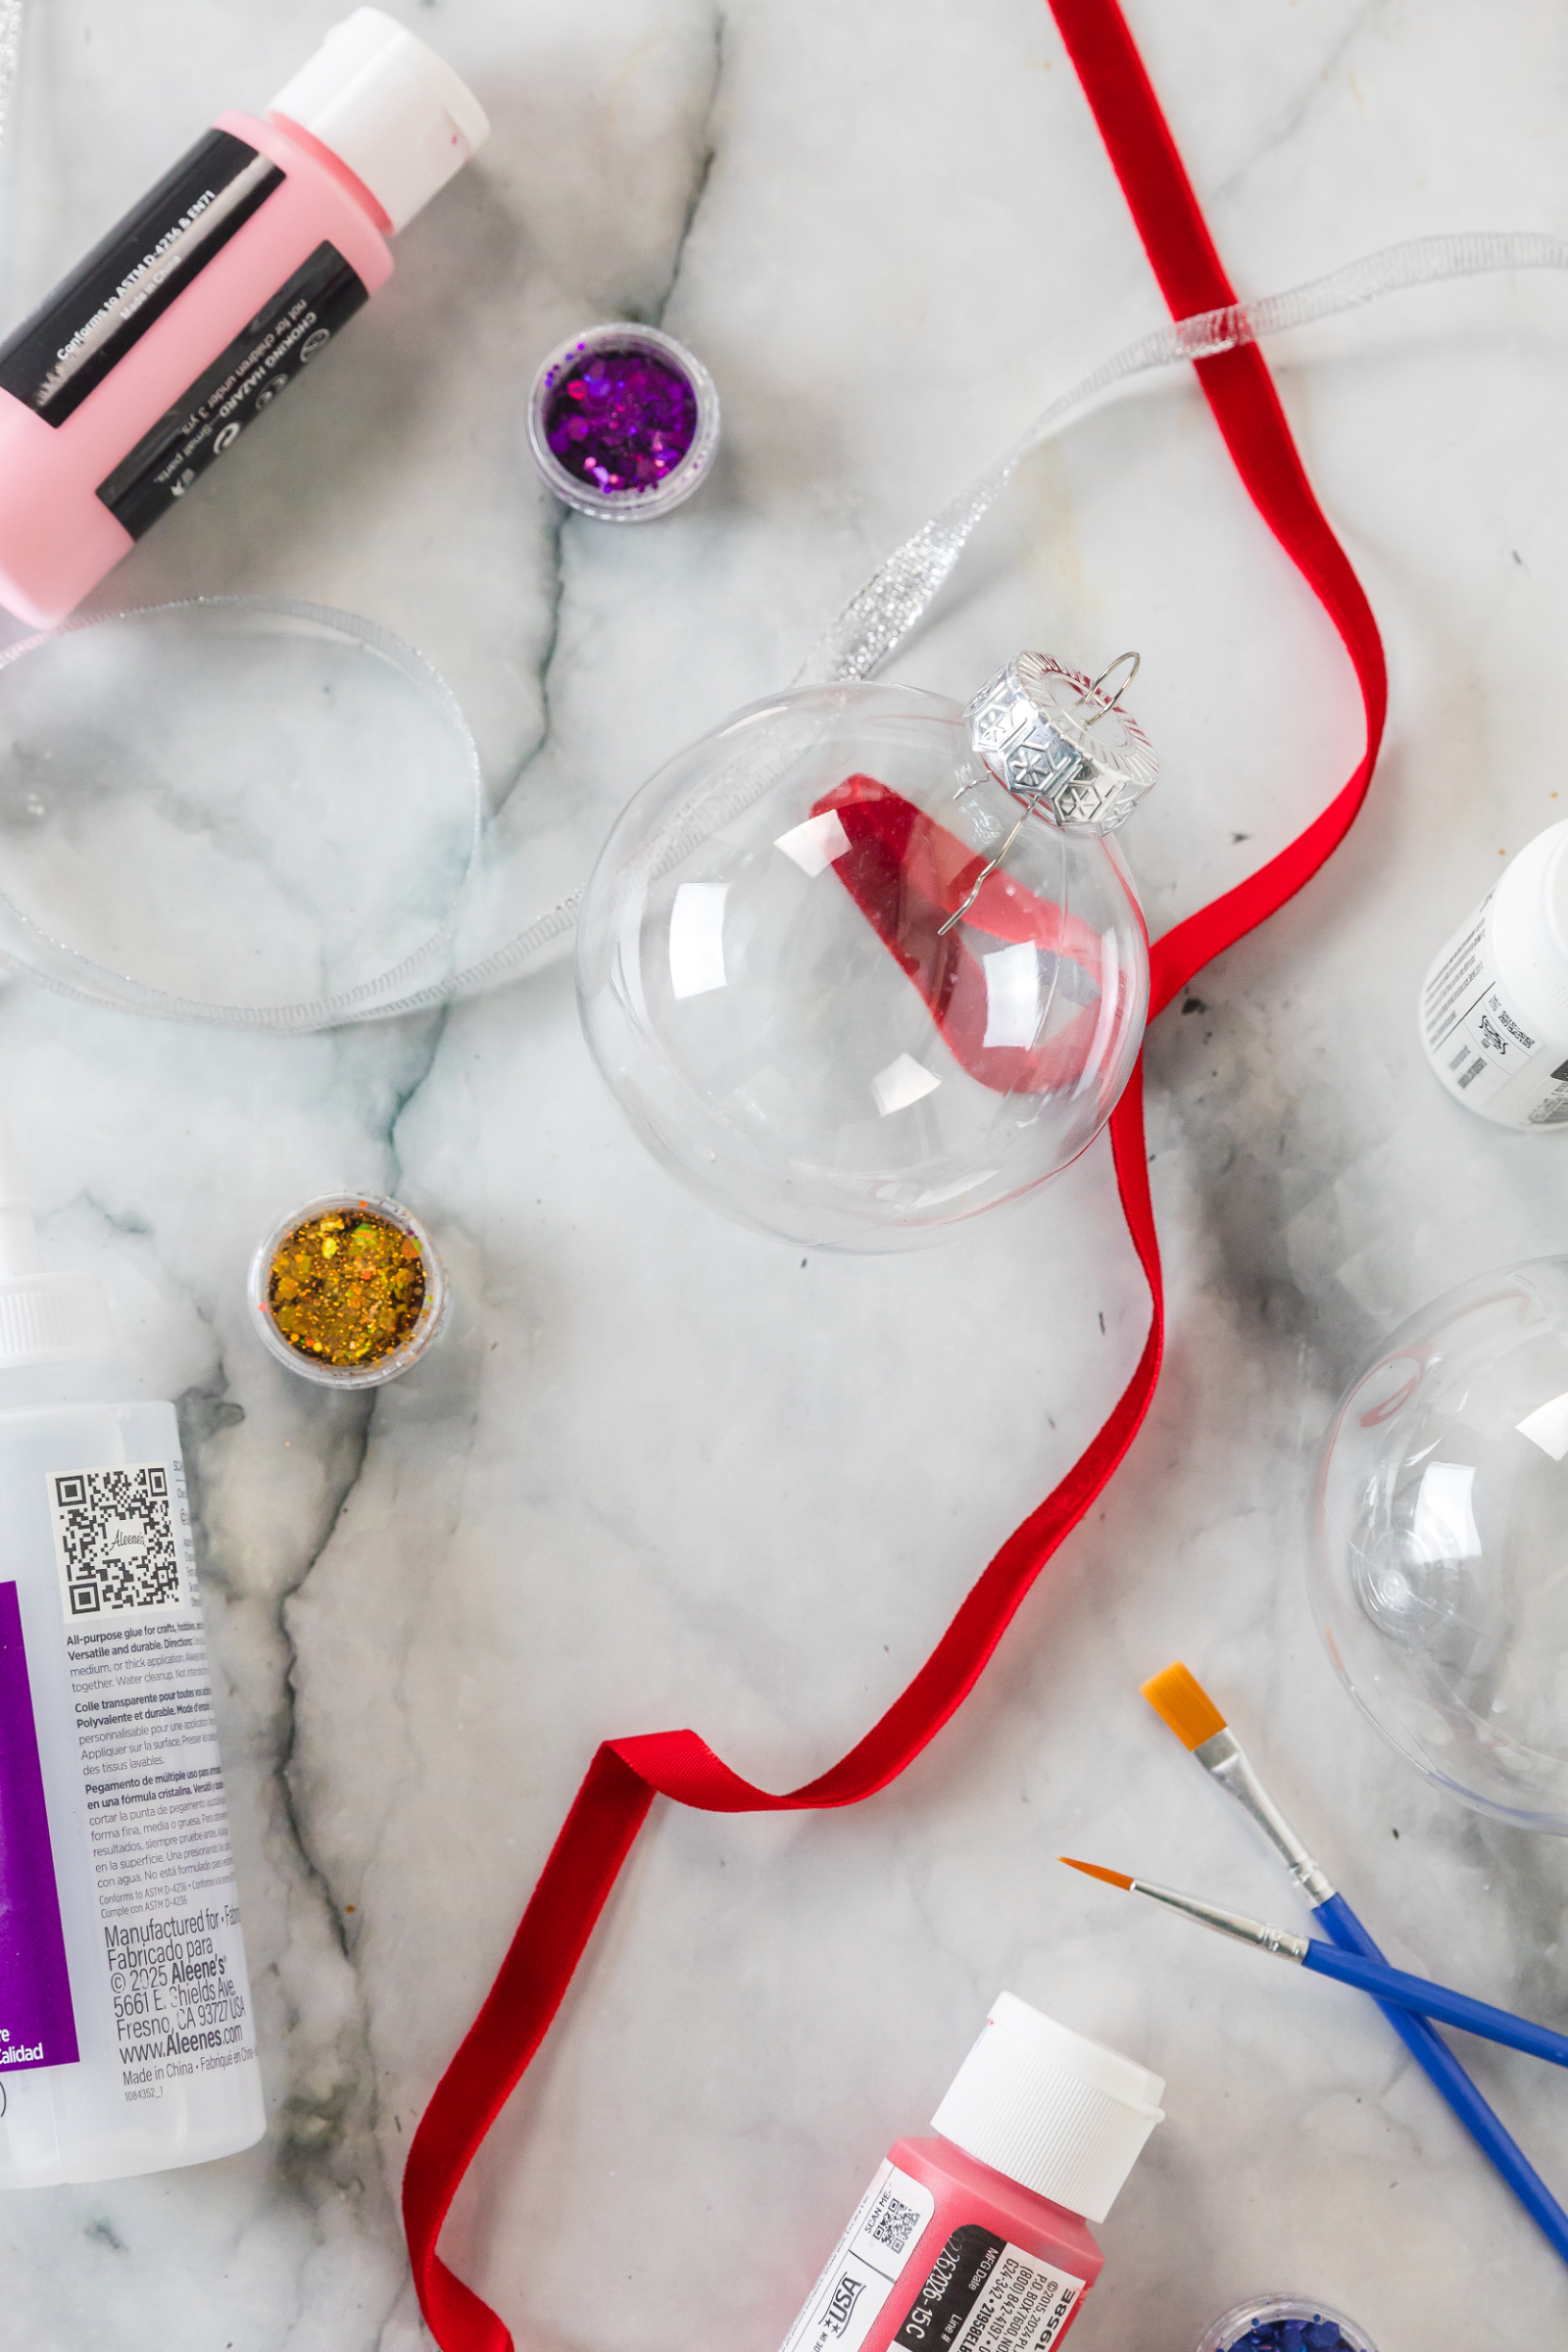
To make one Snowman Handprint Keepsake Ornament, you will need:
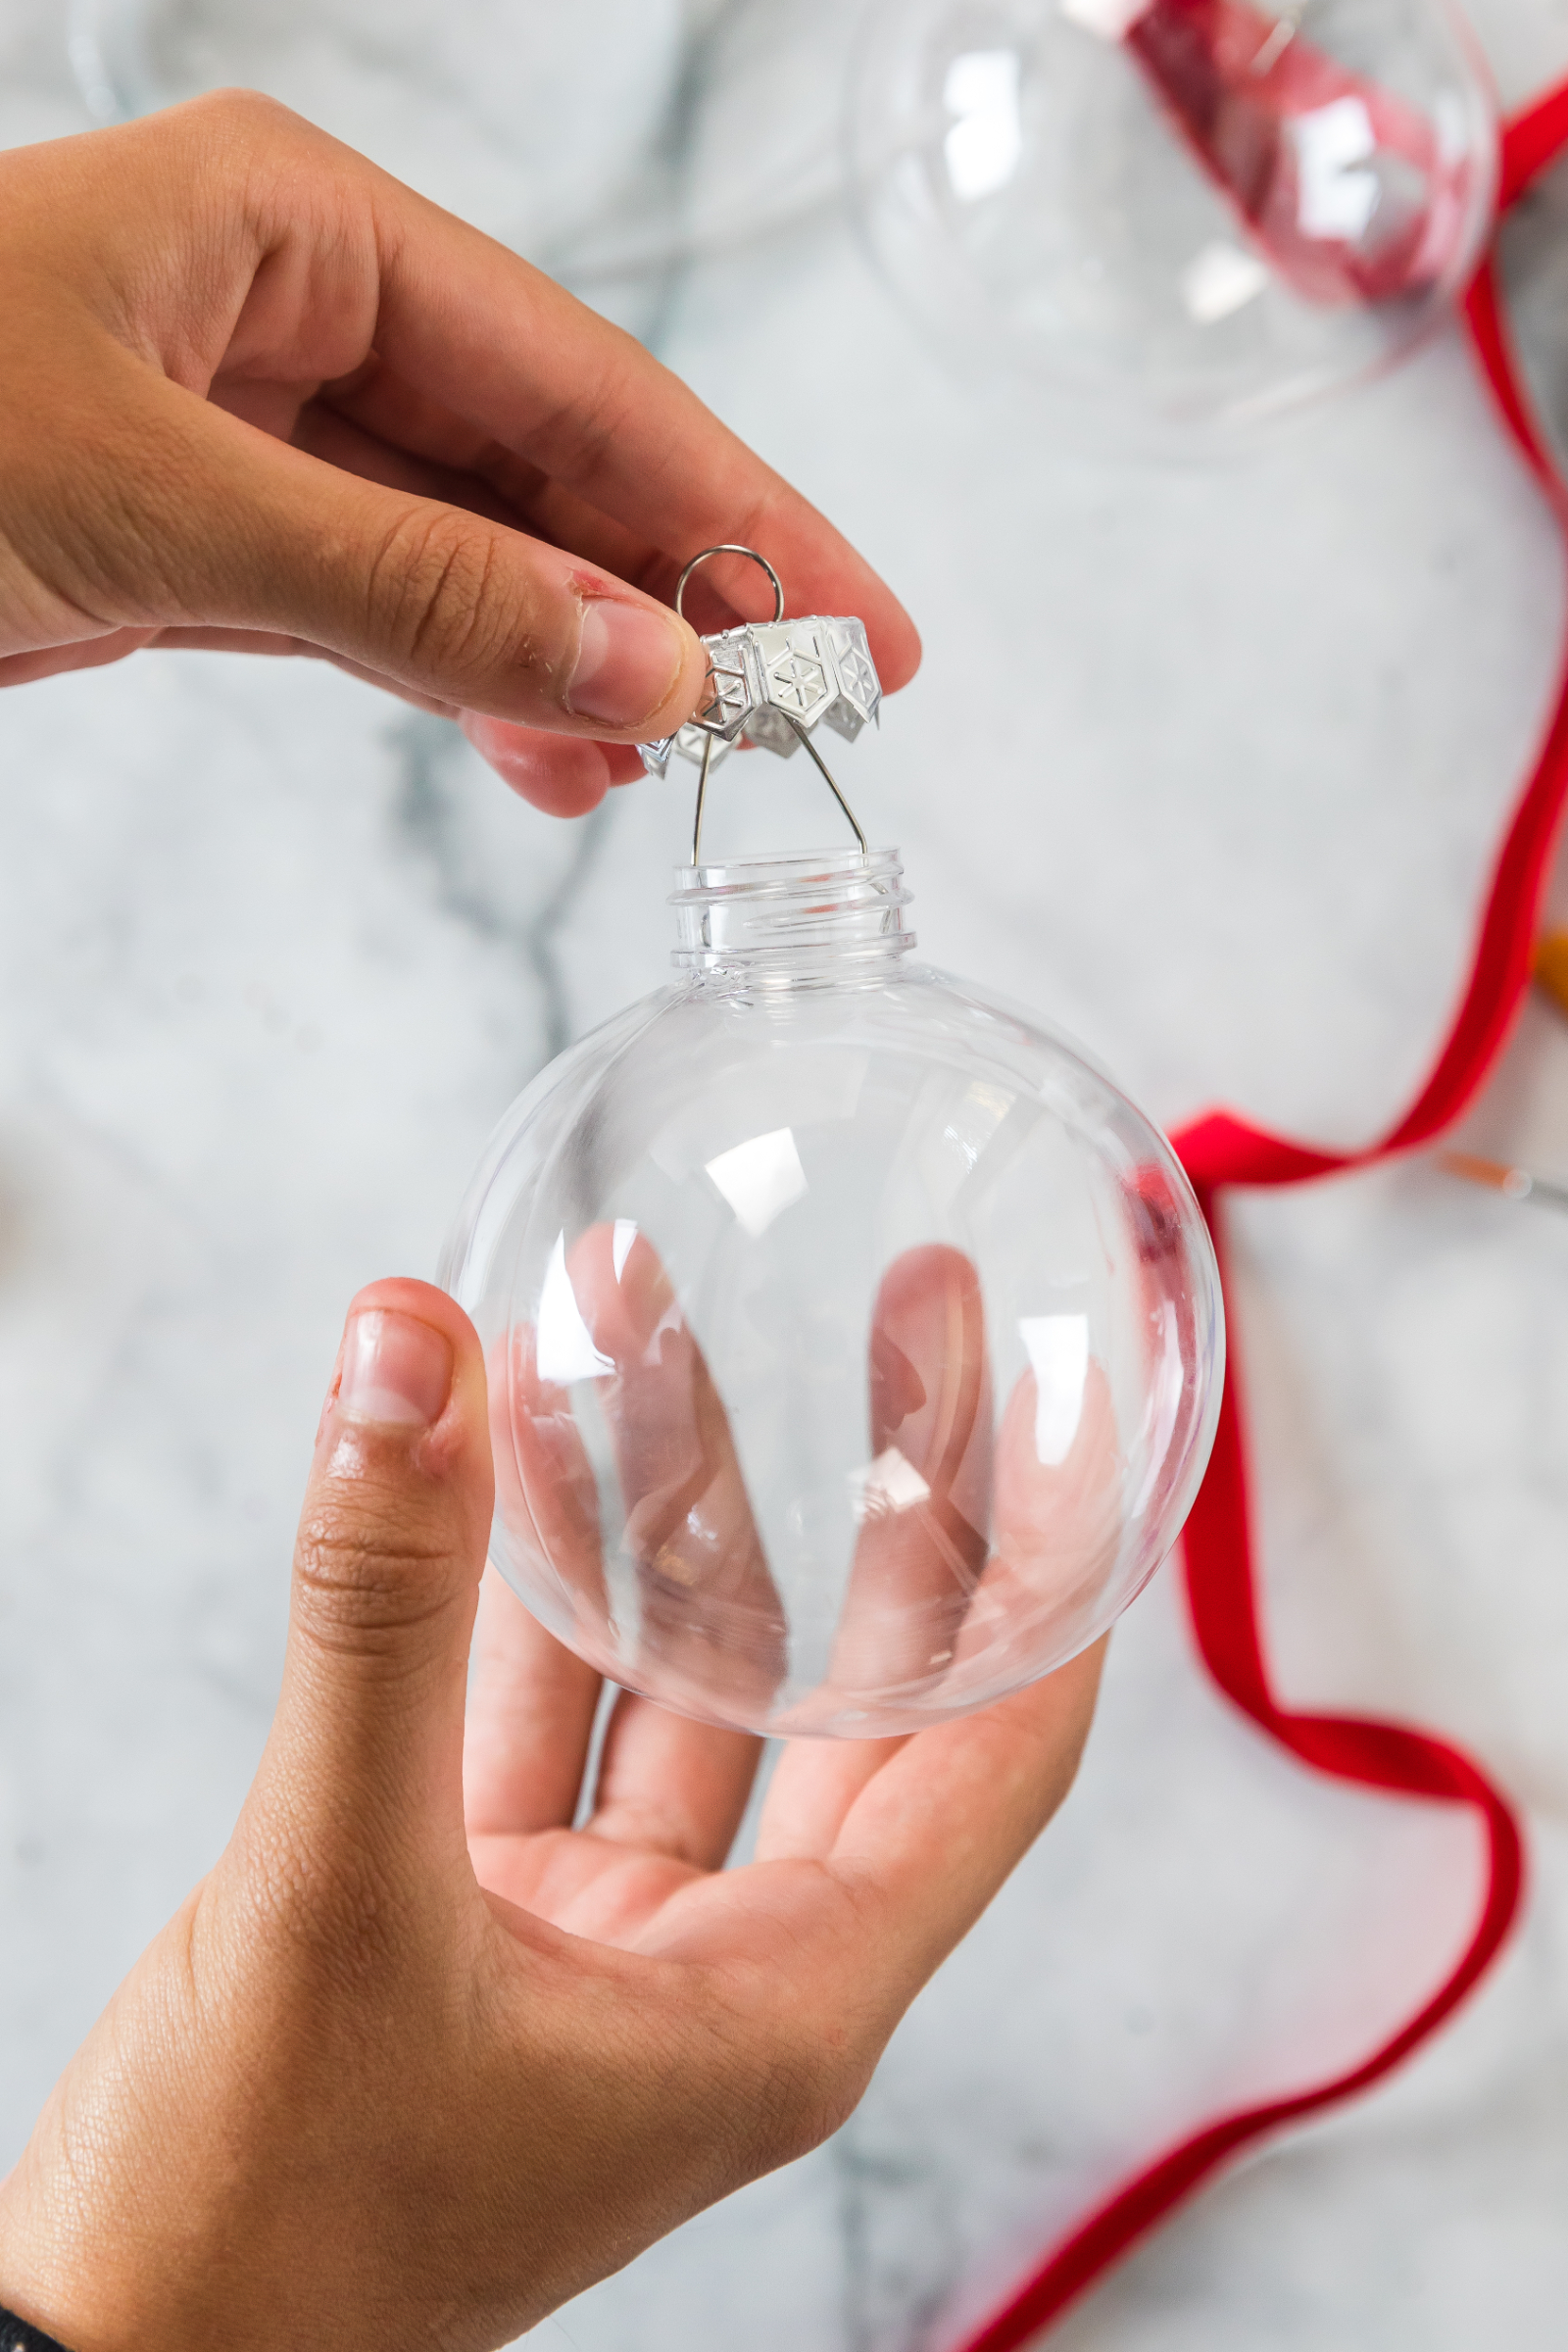
- 1 clear round plastic fillable ornament
- Clear craft glue
- Glitter
- Washable children’s paint suitable for handprint crafts
- Acrylic paint or acrylic paint pens in assorted colors
- Small paintbrushes
- Small funnel or folded piece of paper
- Ribbon or ornament hanger
- Disposable plate or foam brush
- Clear brush-on sealer compatible with plastic, optional
- Permanent paint pen for the child’s name and year, optional
- Baby wipes or a damp washcloth, optional
We used a 3.15-inch or 80mm diameter ornament, which provided enough room for the handprint while still looking like a traditional round Christmas ornament.
How to Make a Snowman Handprint Keepsake Ornament
1. Coat the Inside of the Ornament With Glue
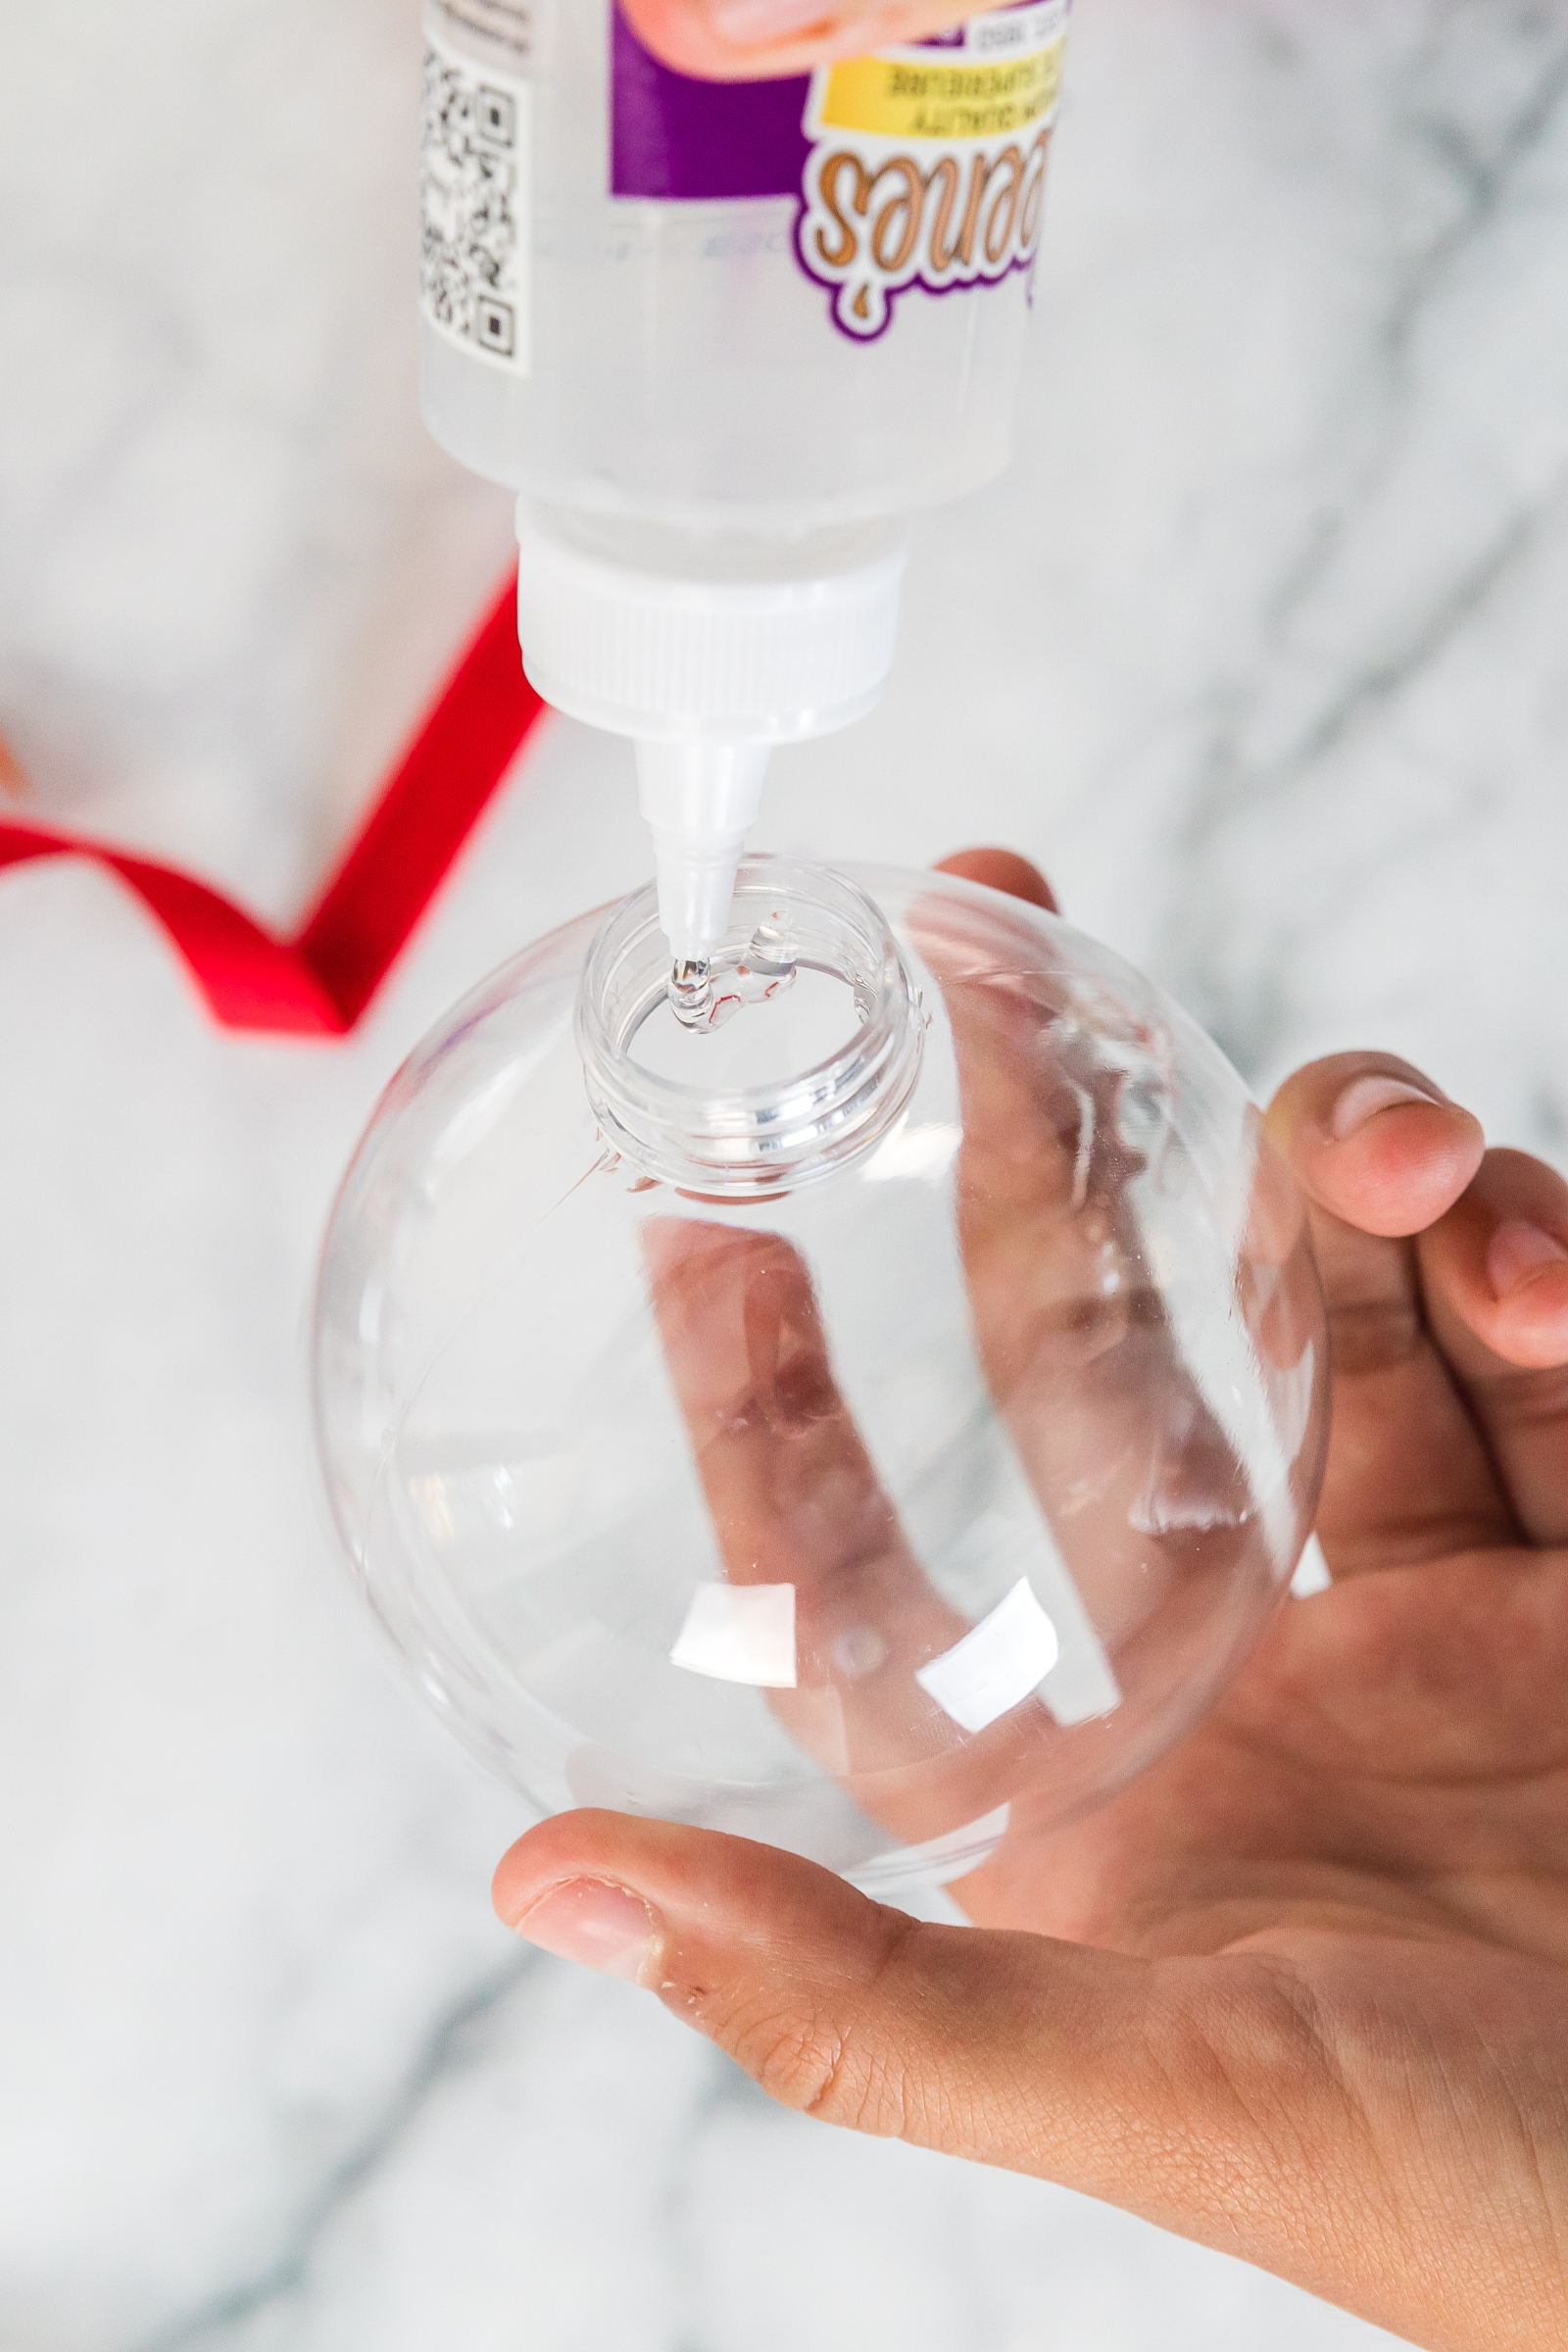
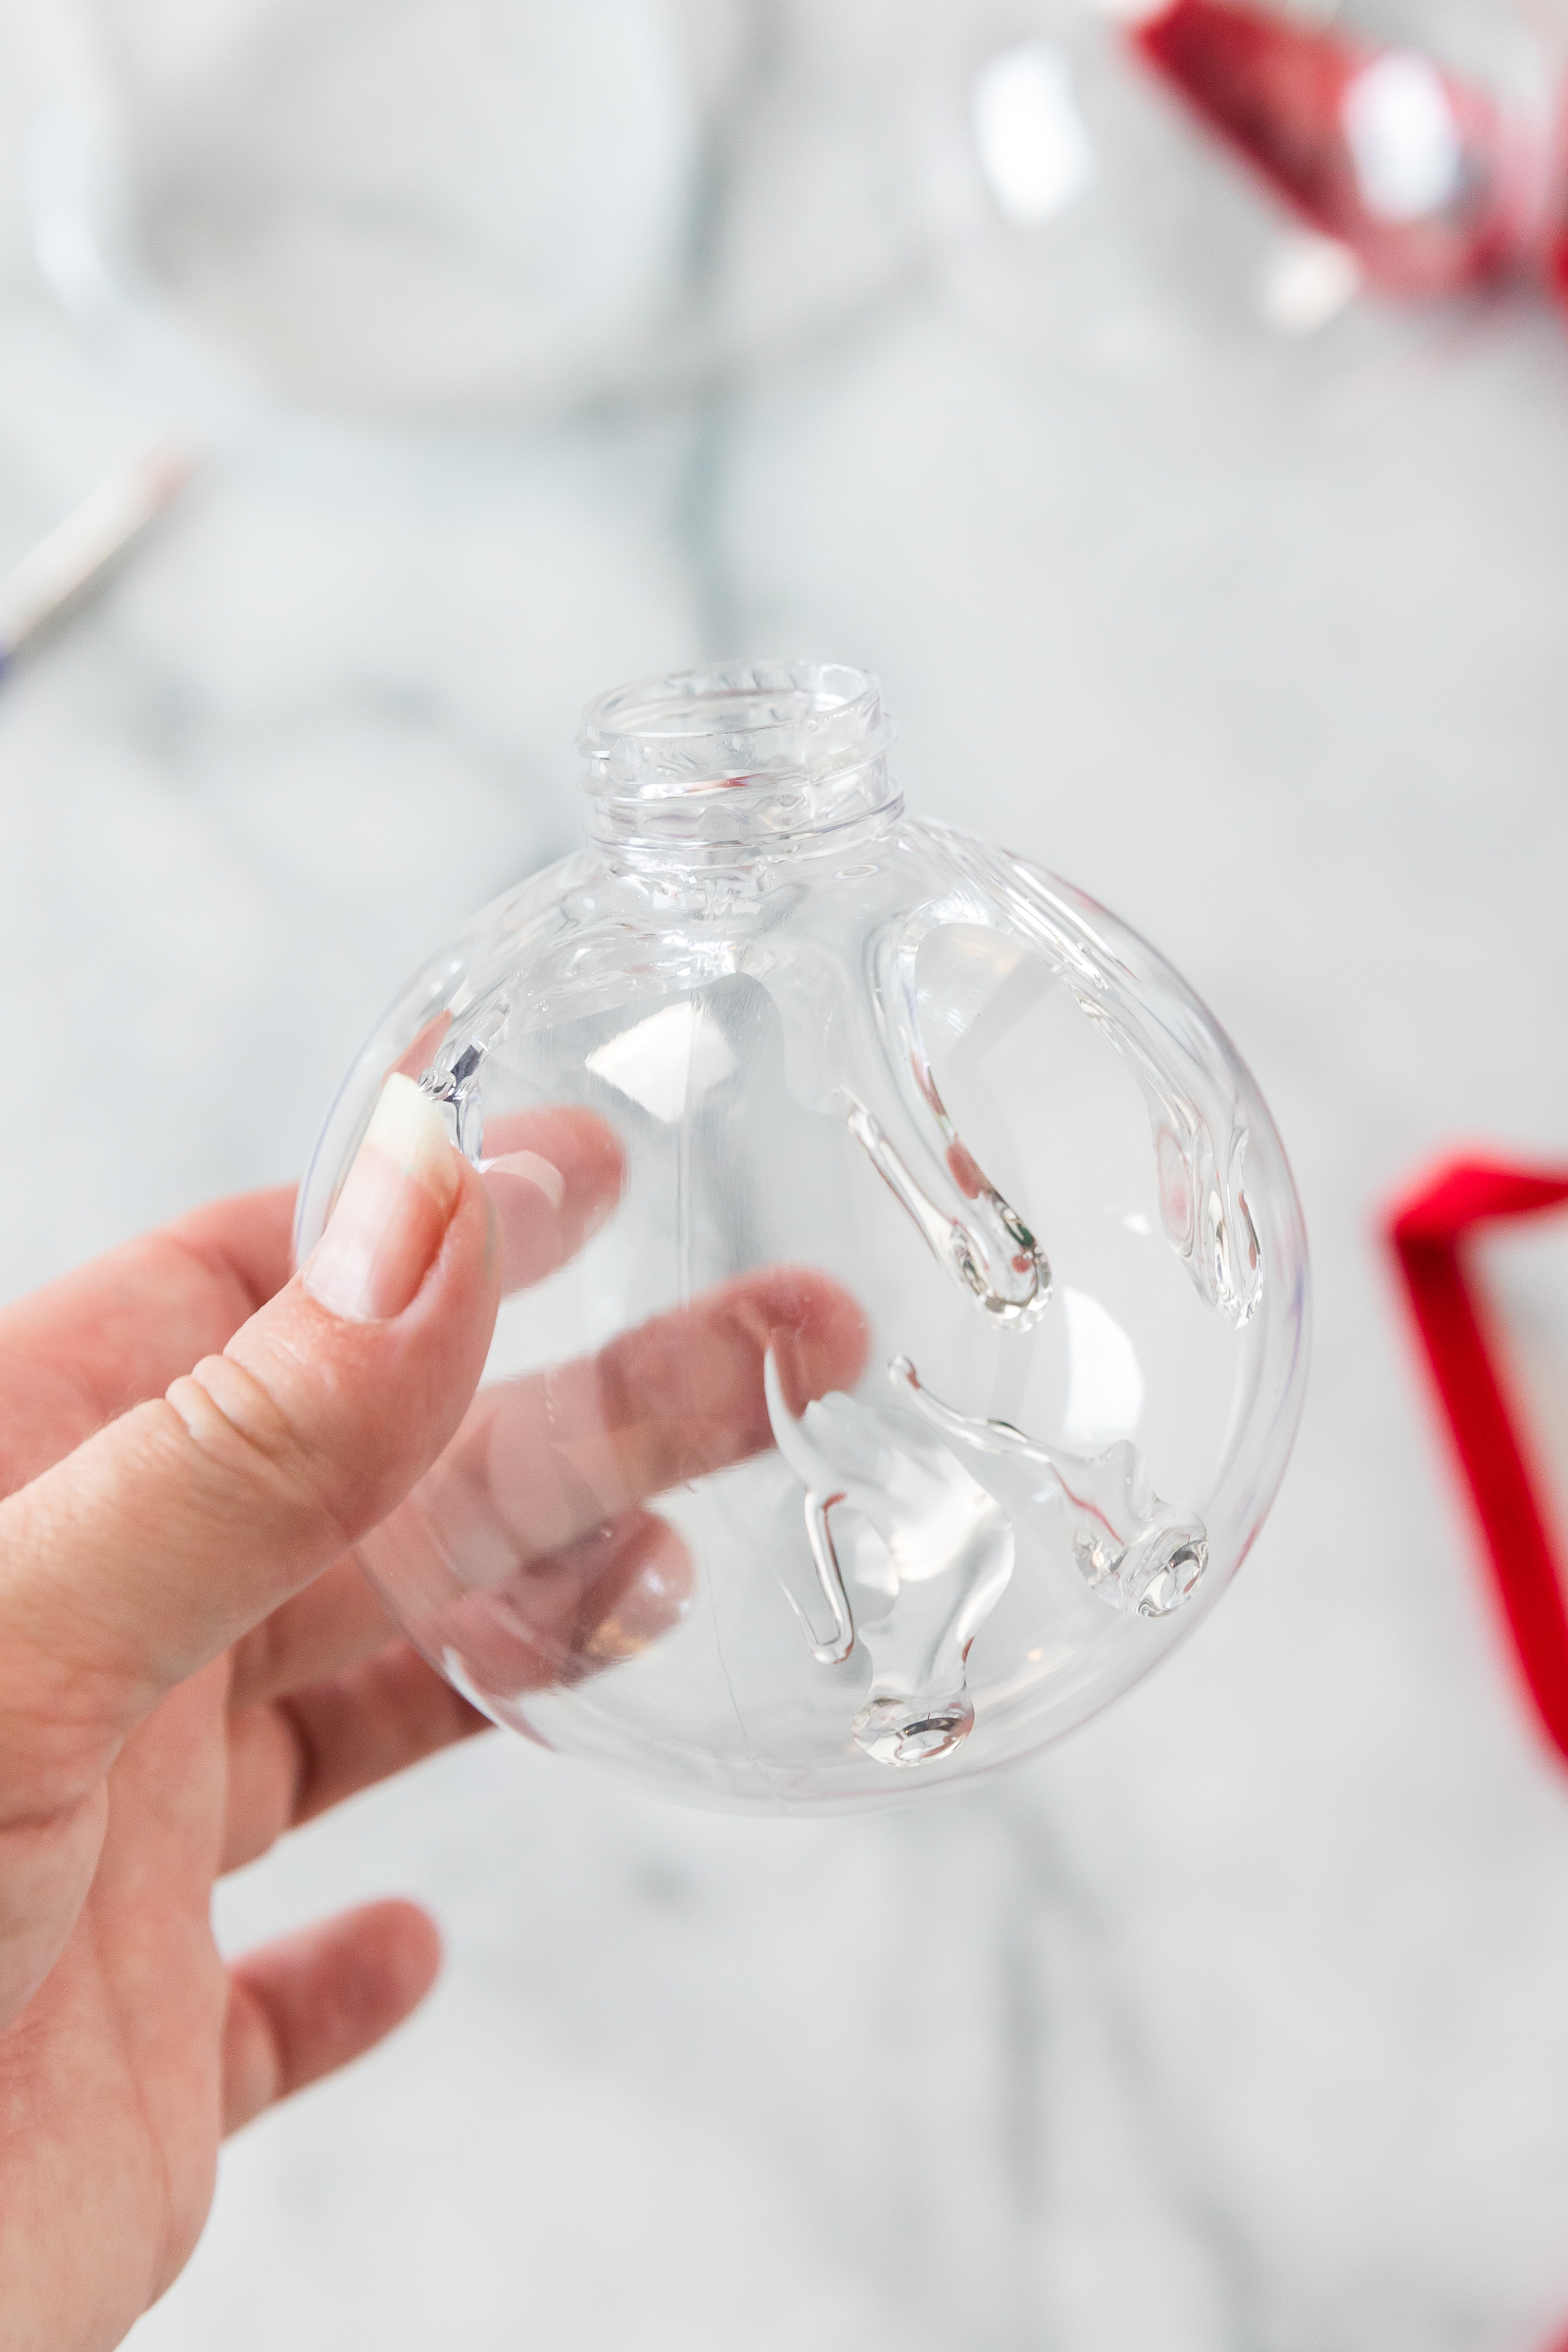
Remove the ornament cap and pour a small amount of clear craft glue inside the ornament.
Slowly rotate and tilt the ornament so the glue coats the inside surface. Add a little more glue if necessary, but try not to use too much. Excess glue can collect at the bottom and make it more difficult to create an even glitter coating.
2. Add the Glitter
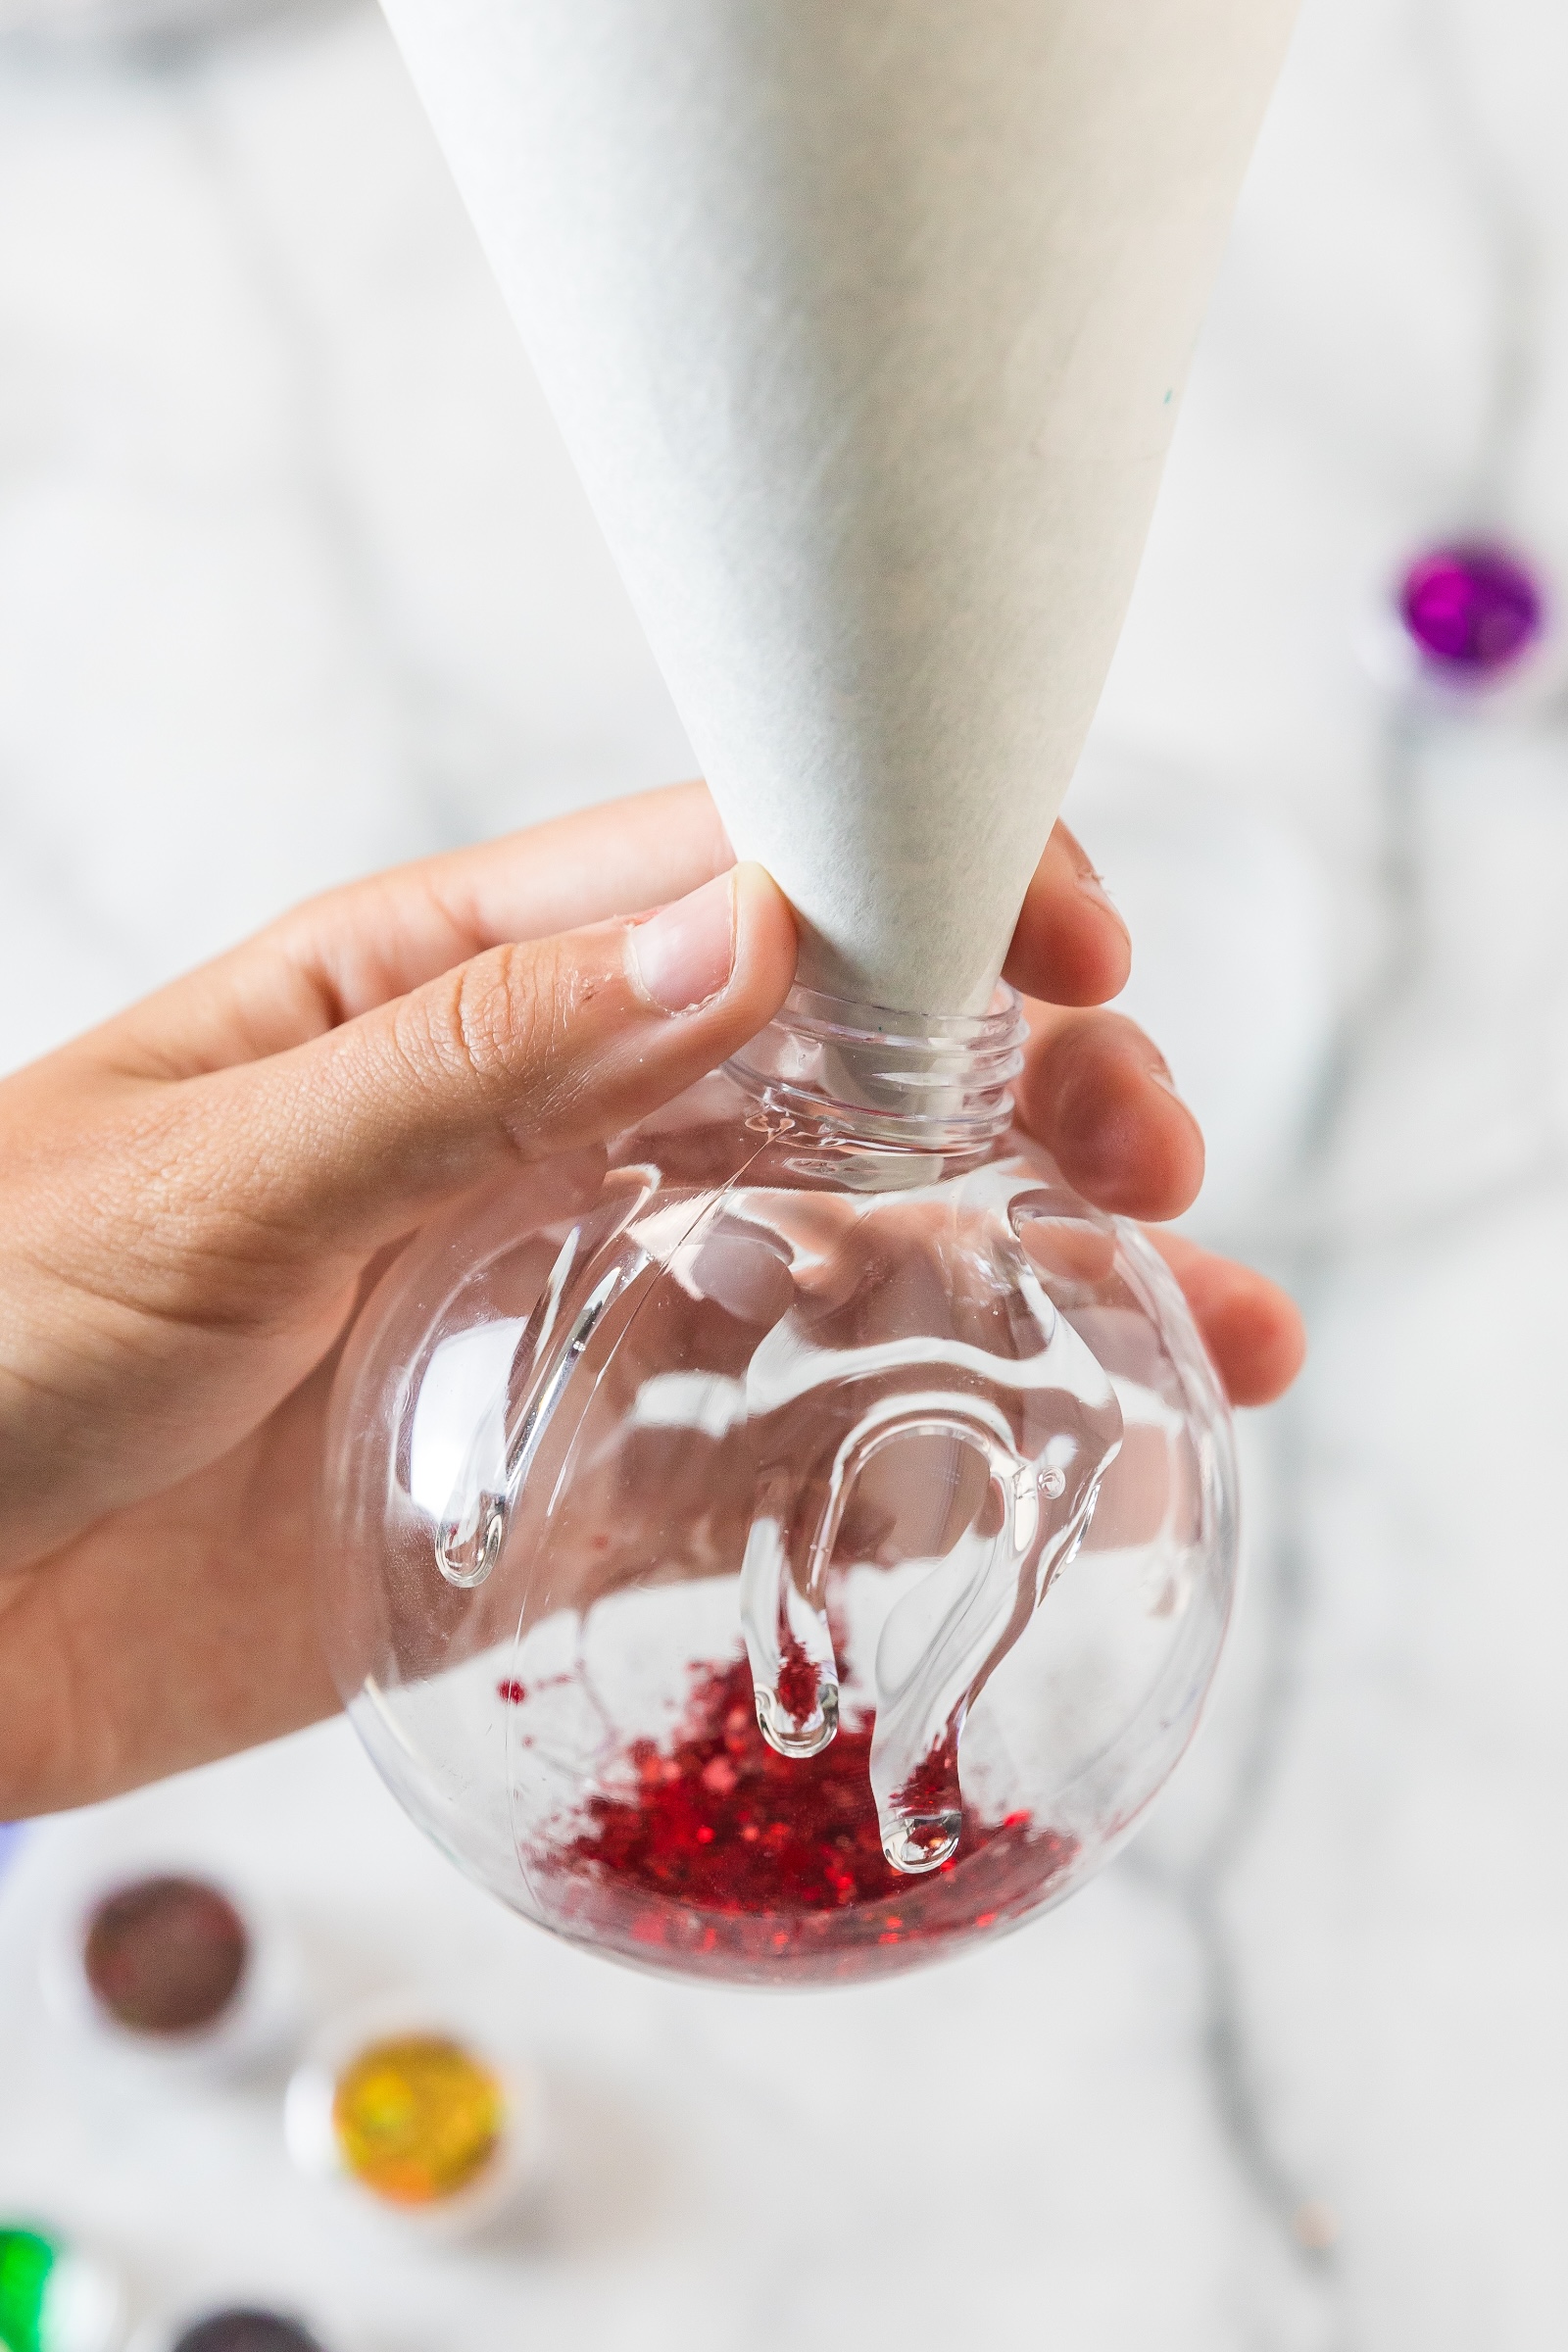
Using a small funnel or a folded piece of paper, pour glitter into the ornament.
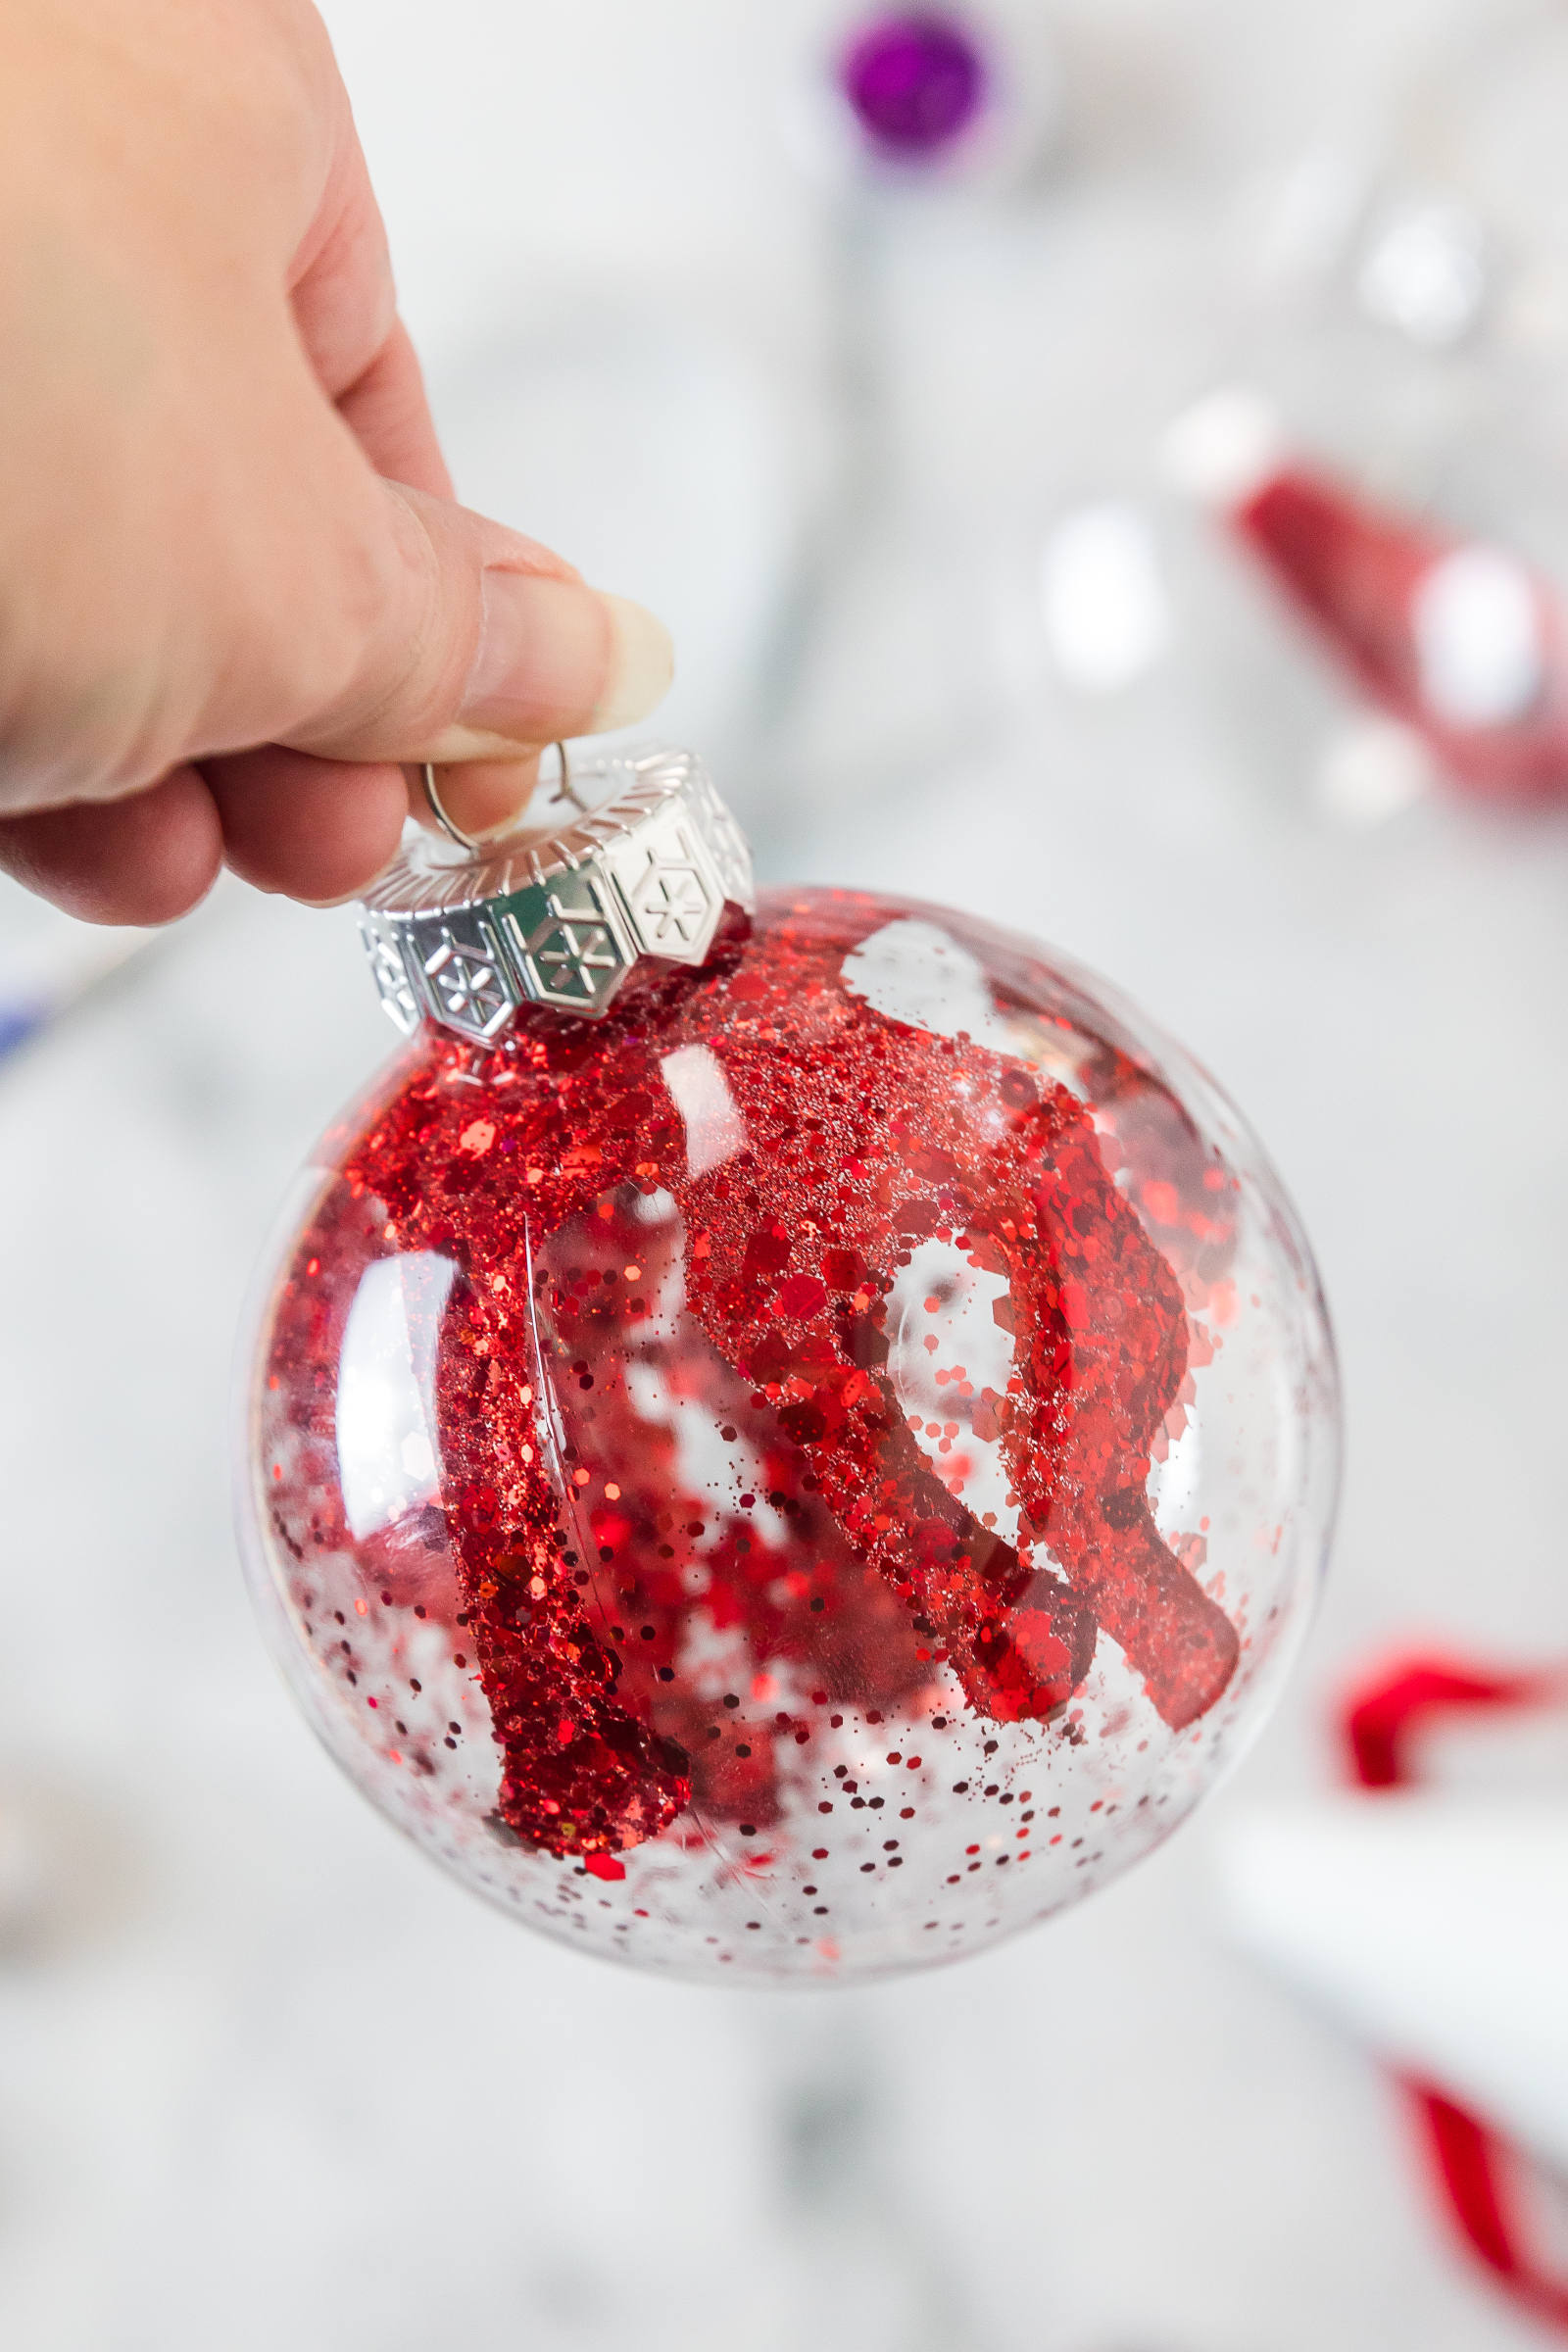
Replace the cap temporarily and slowly rotate the ornament until the glitter sticks evenly to the glue. Continue turning it until you are happy with the coverage.

3. Let the Glitter Layer Dry
Remove the ornament cap and pour out any loose glitter.
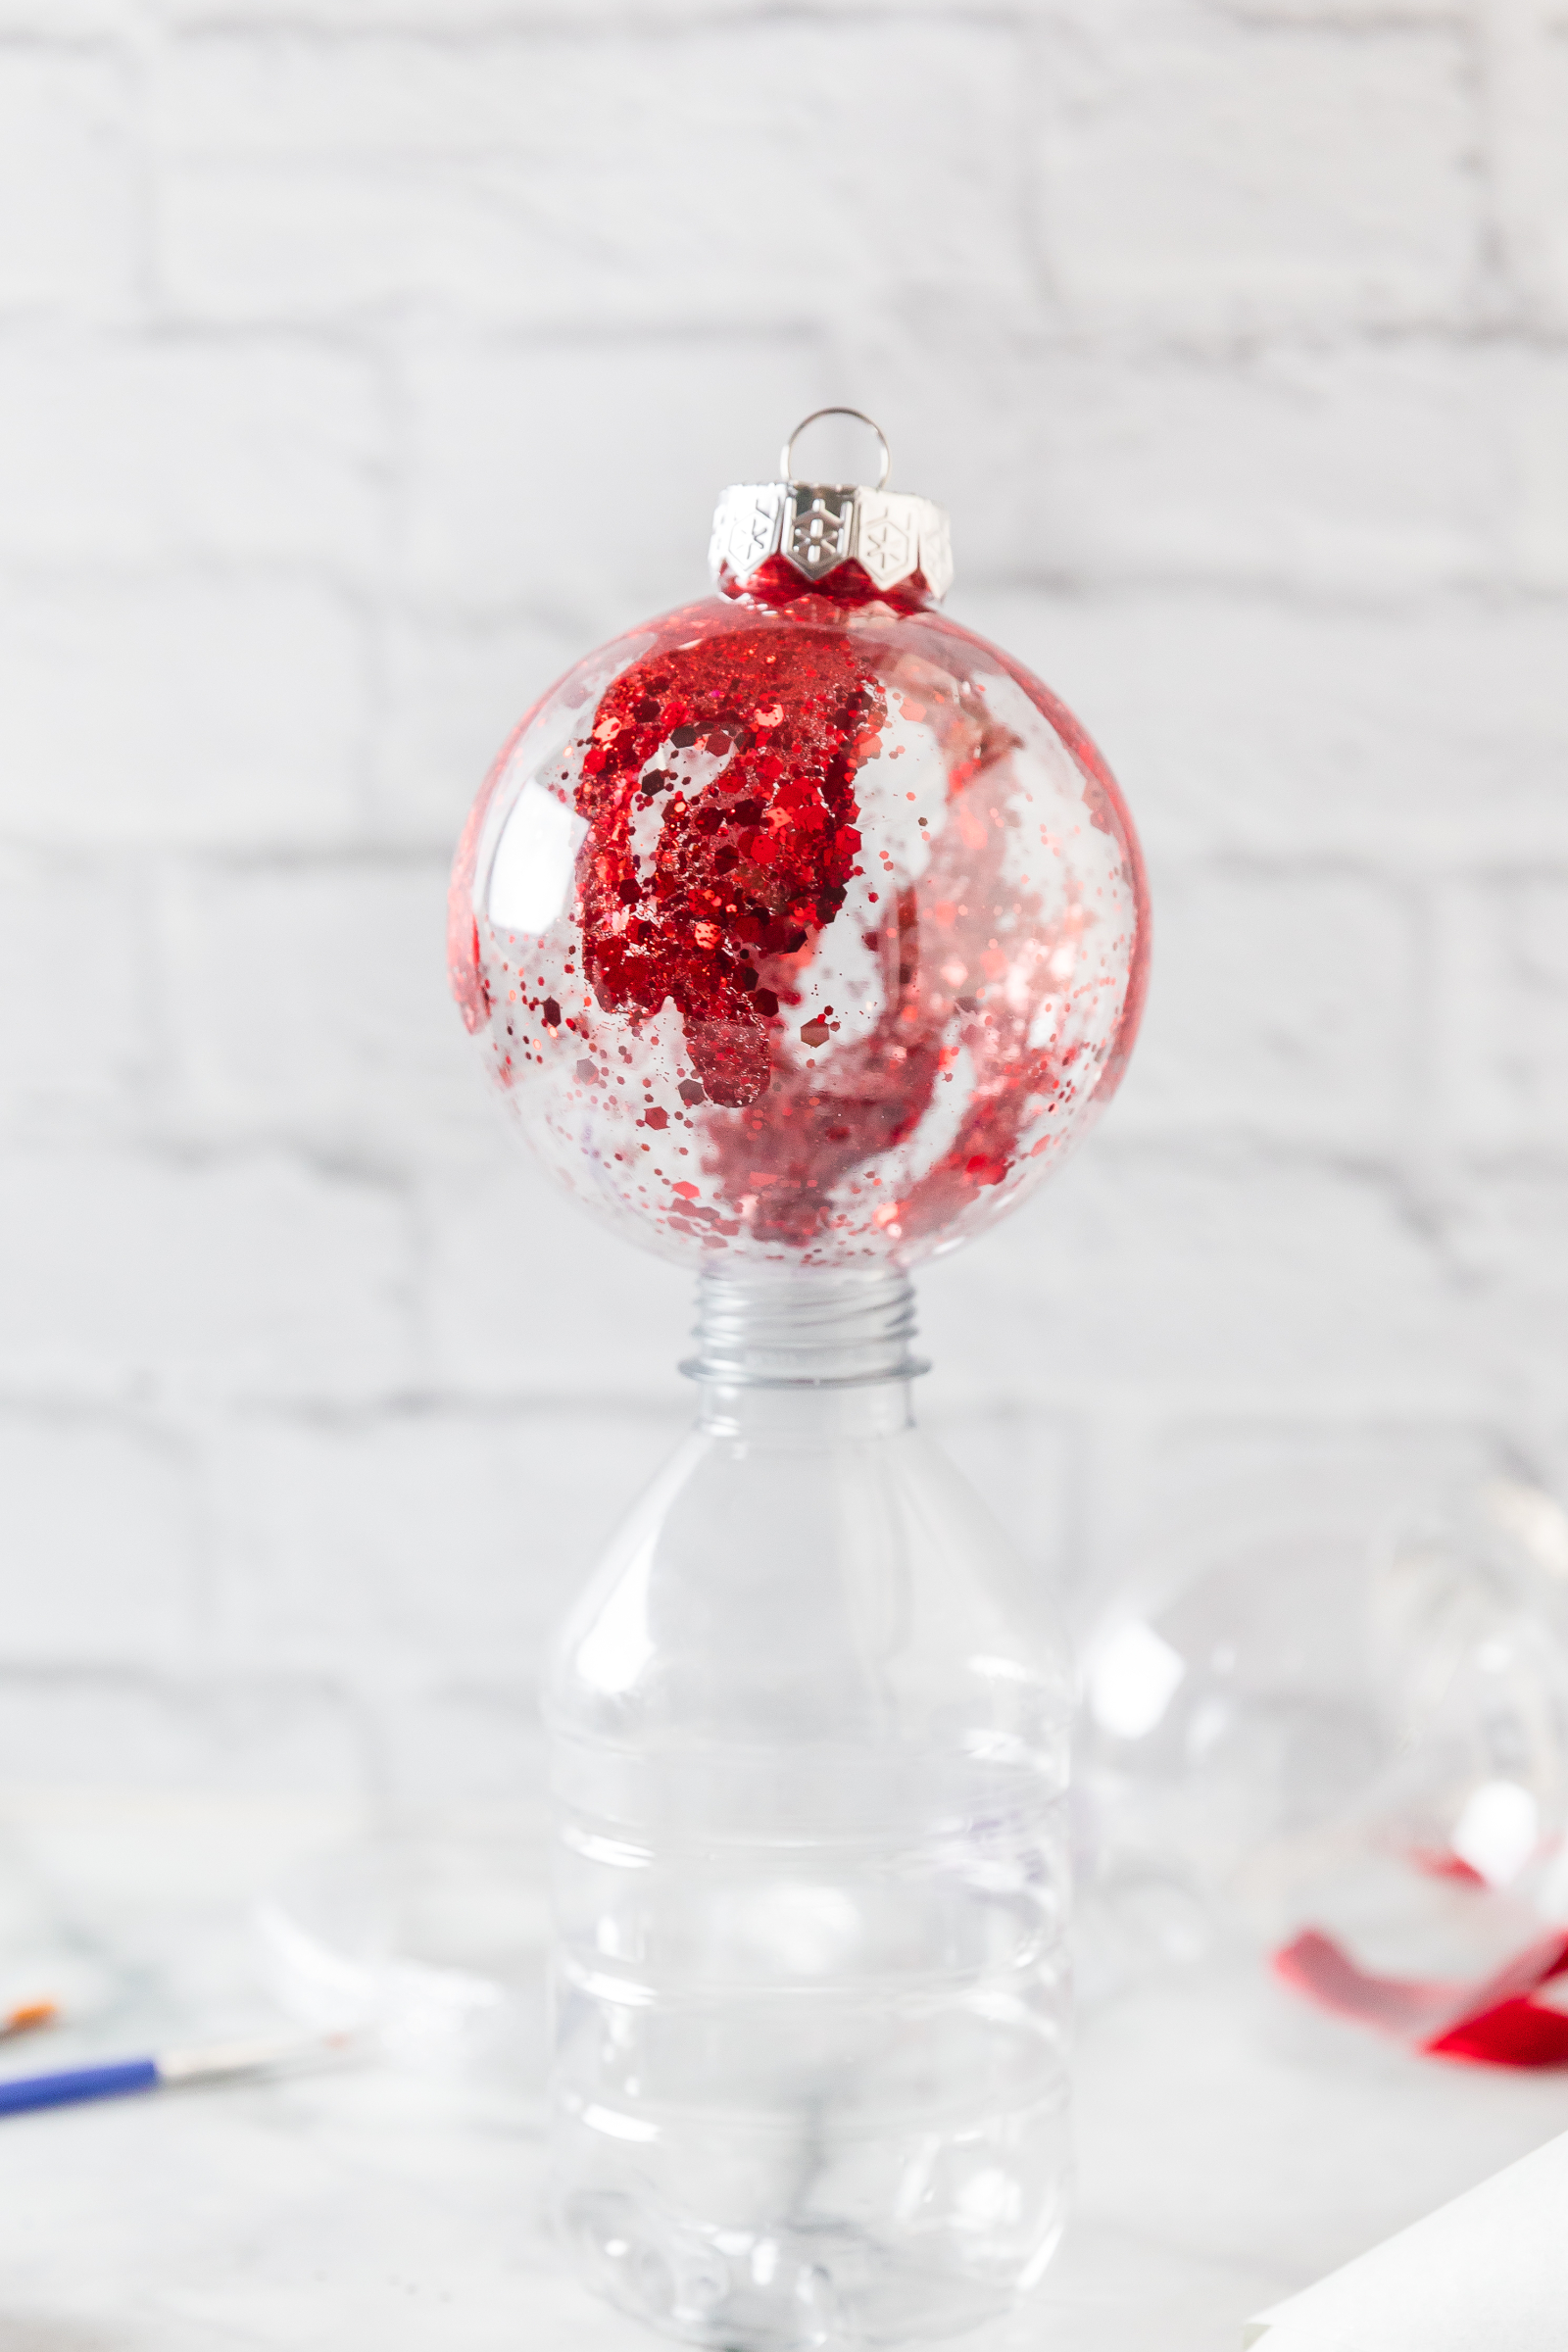
Allow the ornament to dry completely for approximately two to three hours. Rotate the ornament occasionally while it dries. This helps prevent the glue and glitter from settling at the bottom.
Leaving the cap off during this stage can also help the inside dry more quickly.
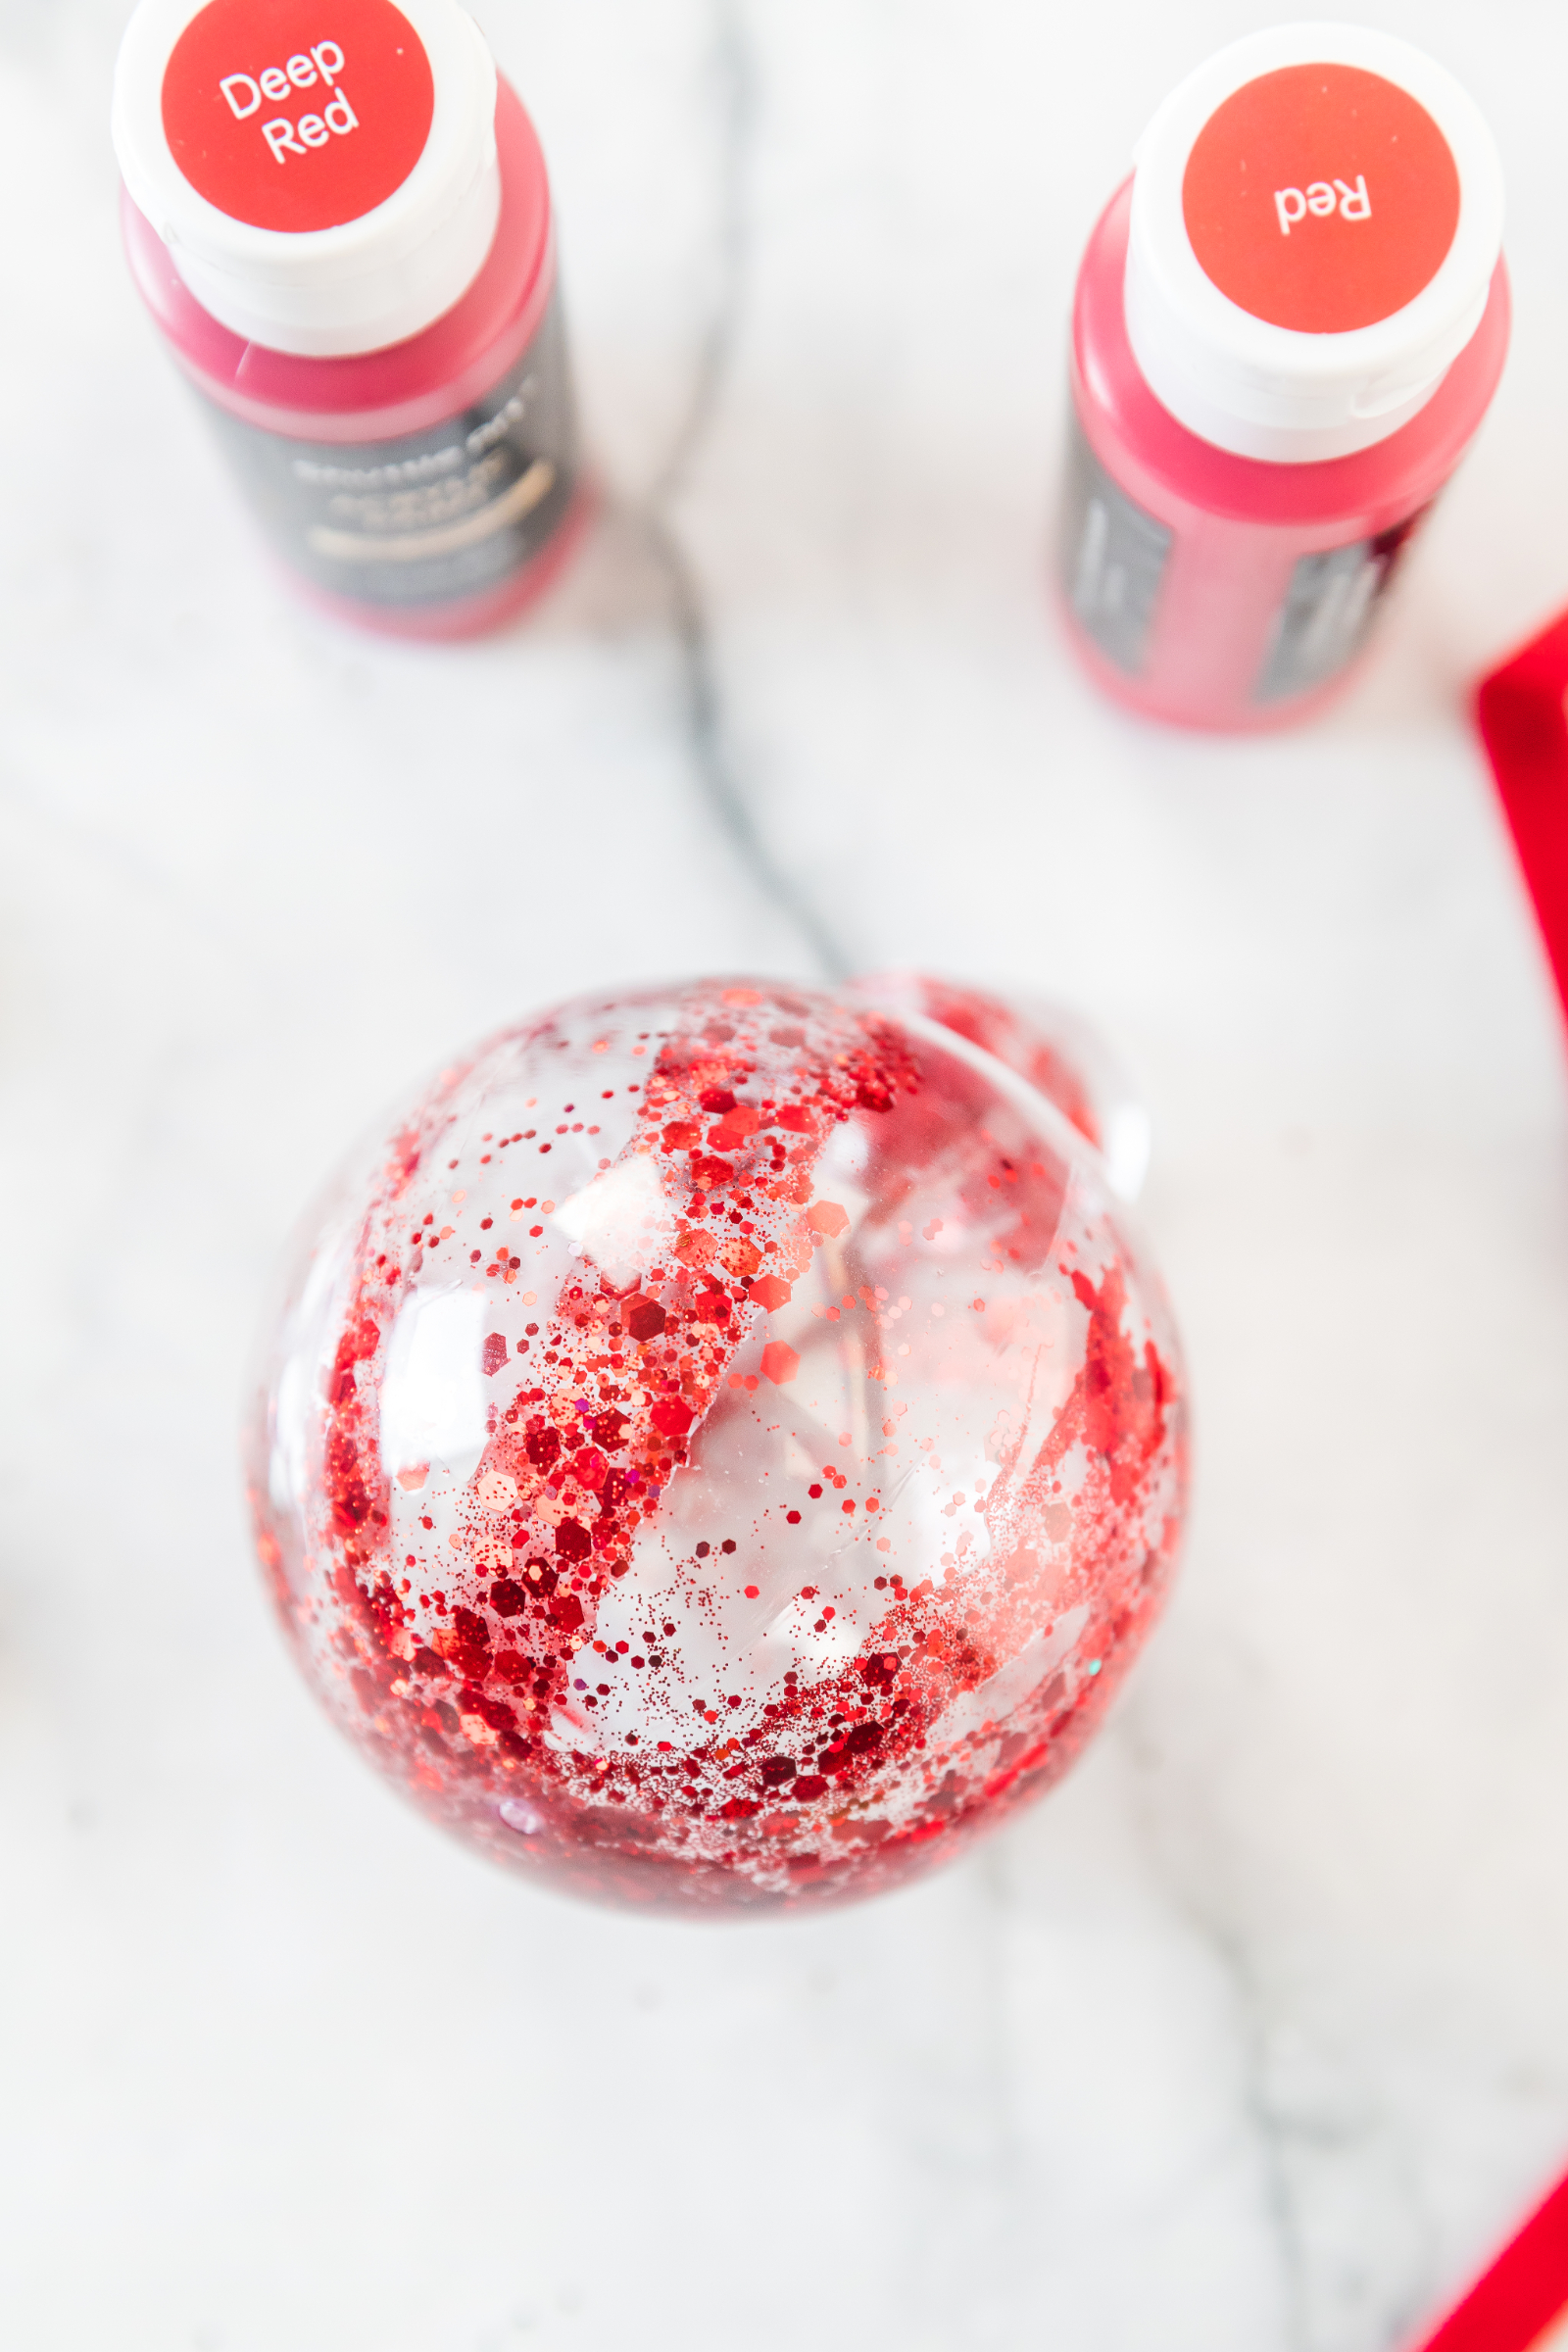

4. Add the Interior Paint
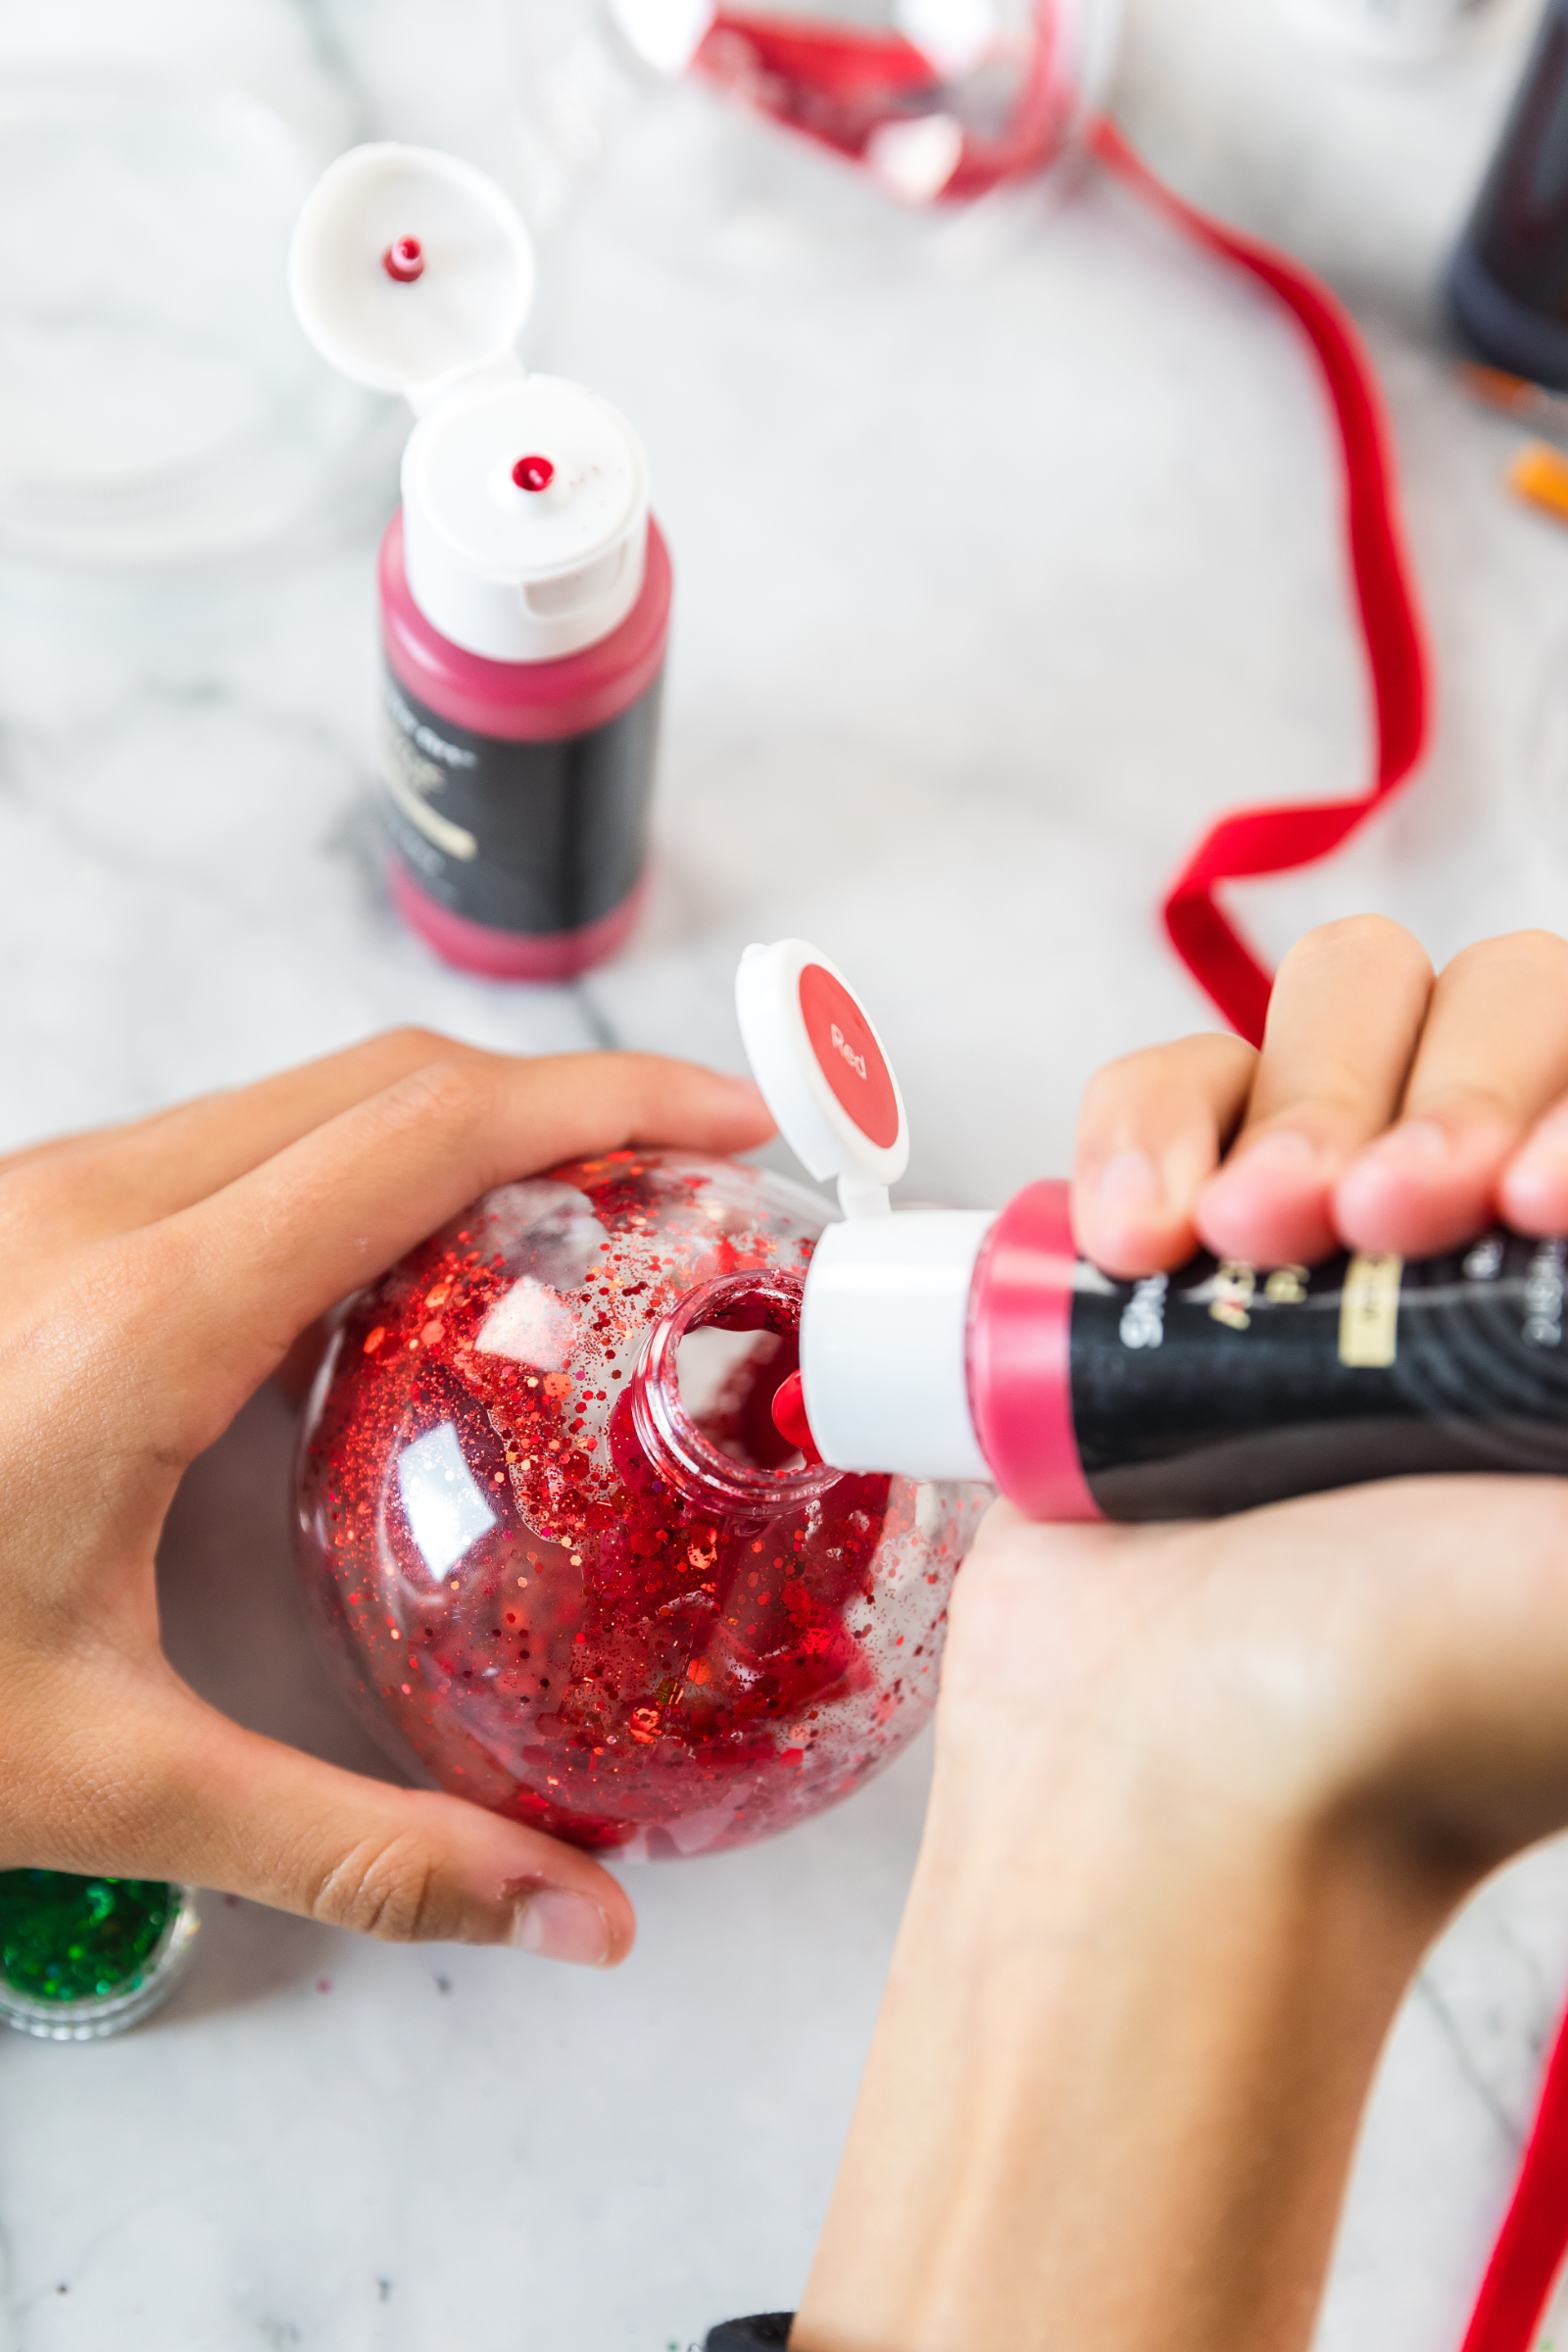
Once the glue has dried, pour a small amount of your chosen paint color inside the ornament.
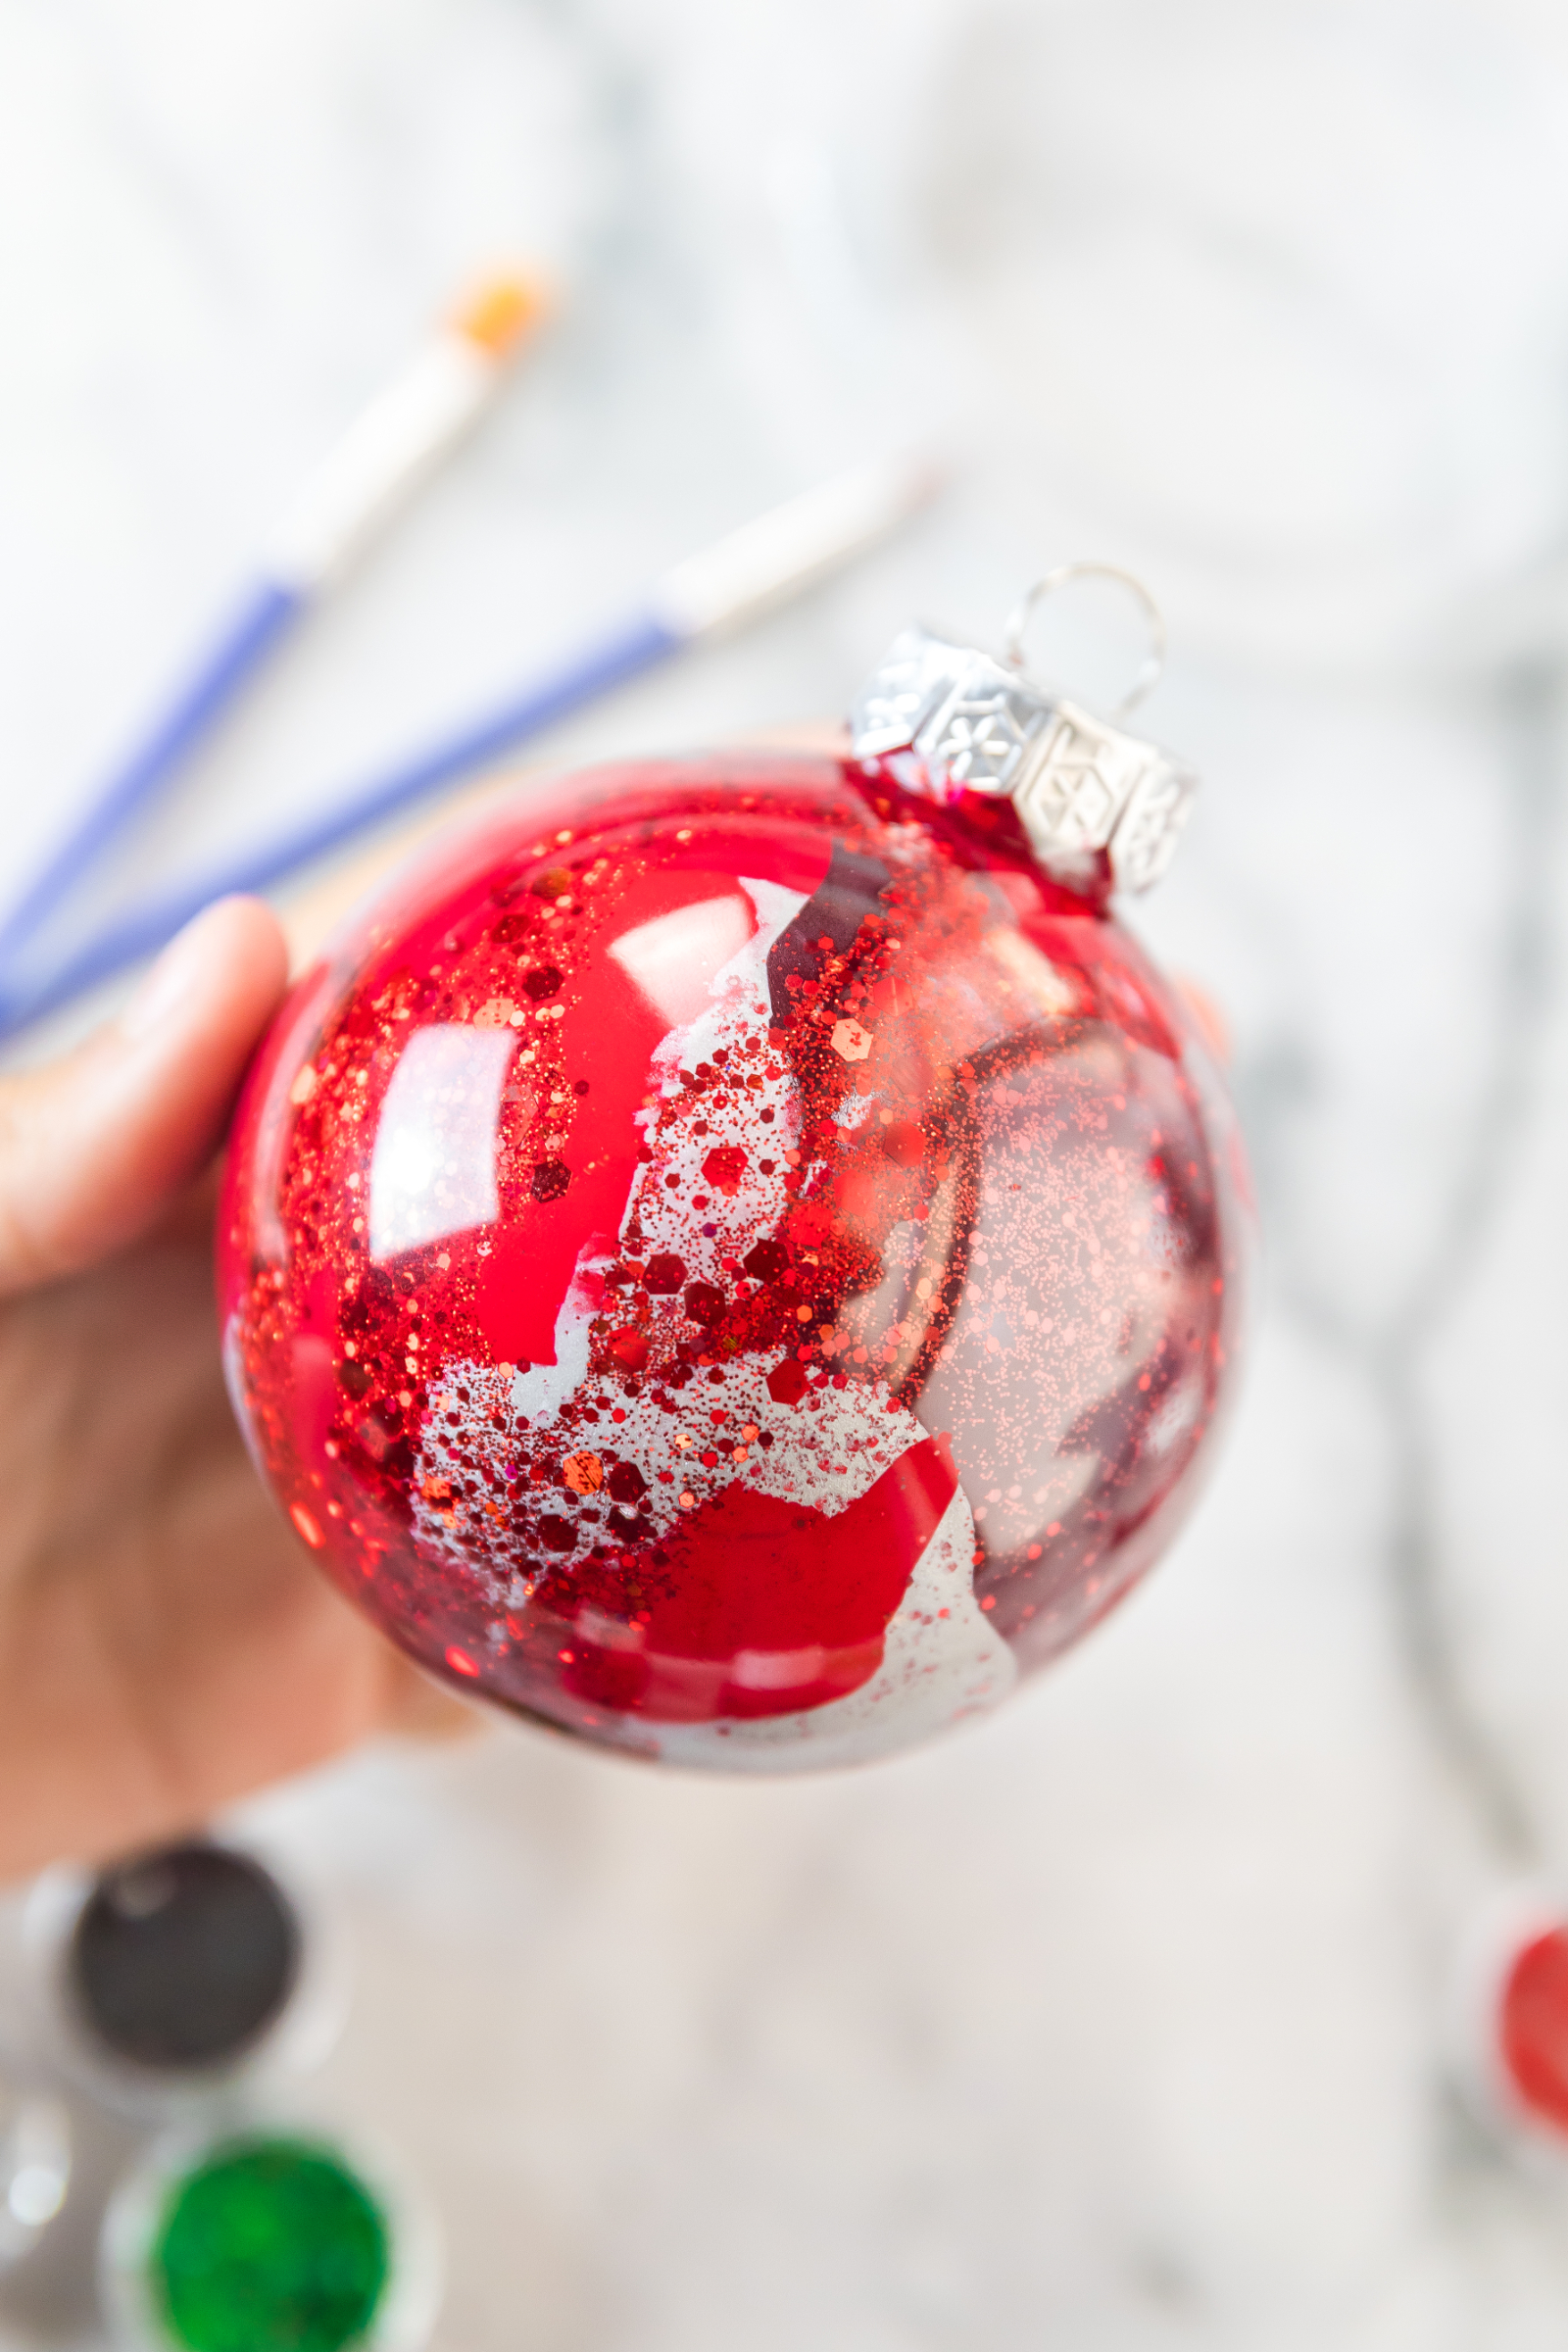
Slowly rotate the ornament so the paint coats the entire interior surface. Continue rotating it occasionally as it dries to help prevent the paint from pooling.
Wait until the paint has completely dried before replacing the ornament cap.
5. Paint Your Child’s Hand
Now comes the most important part: creating the handprint.
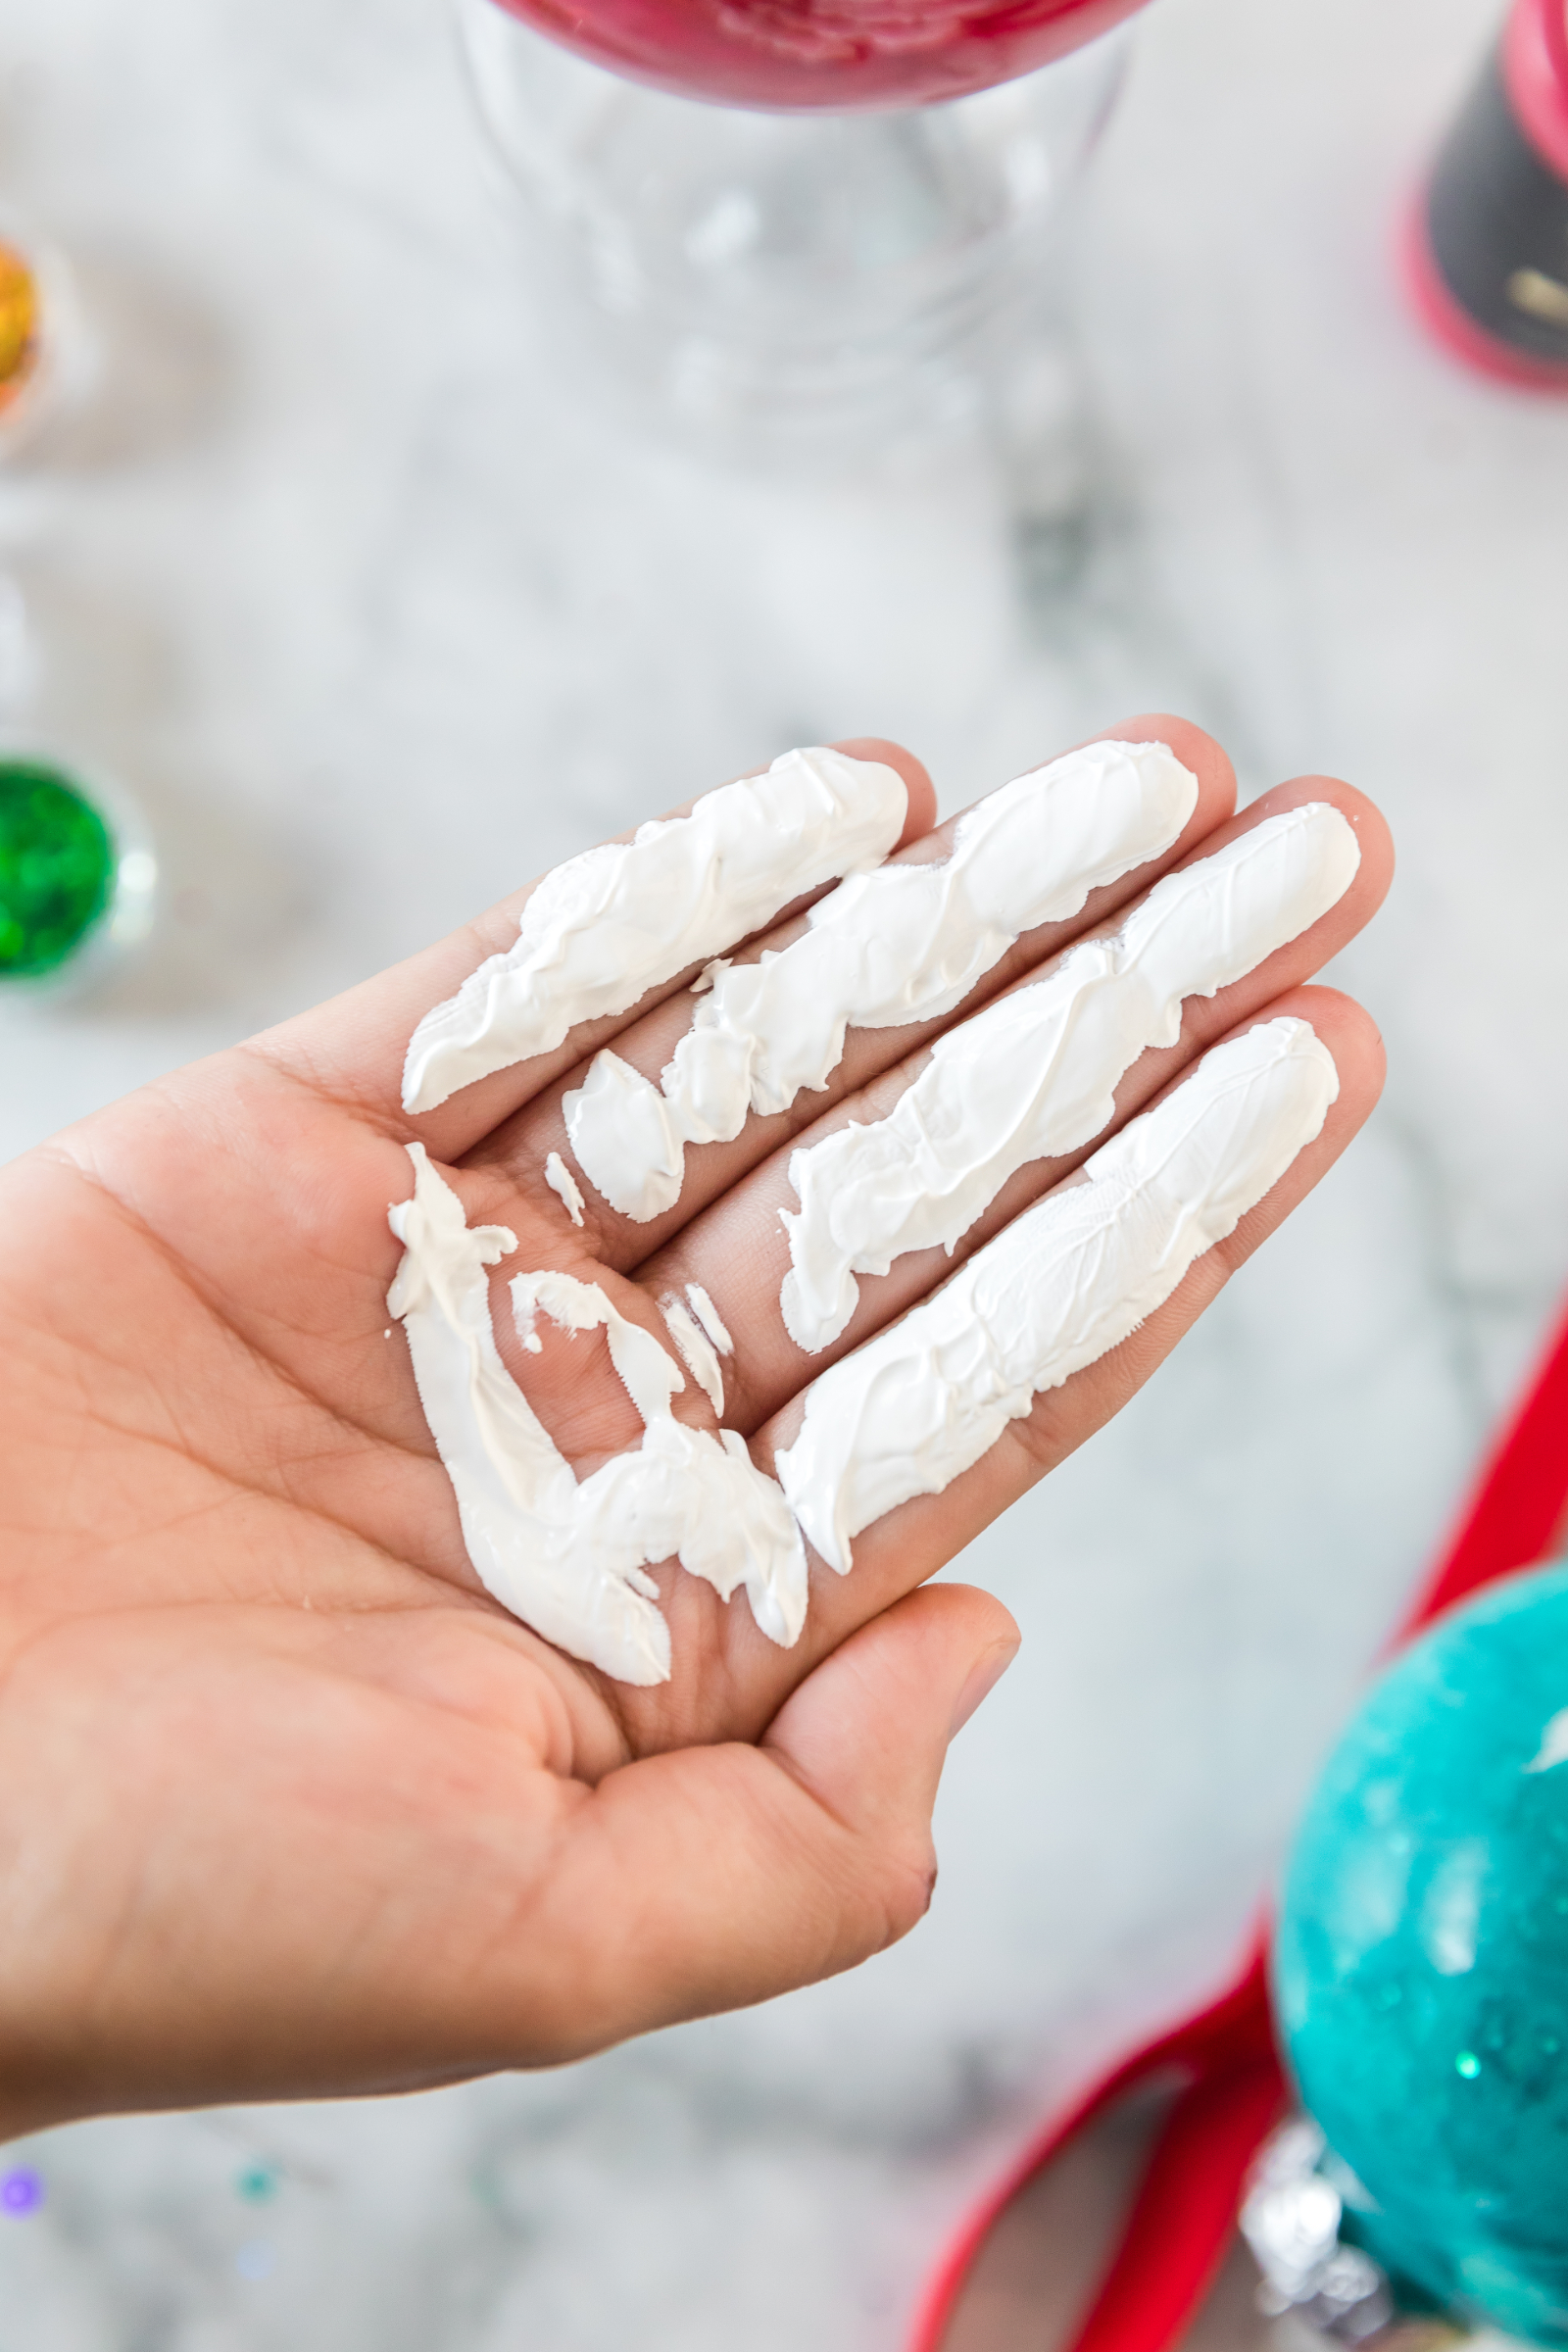
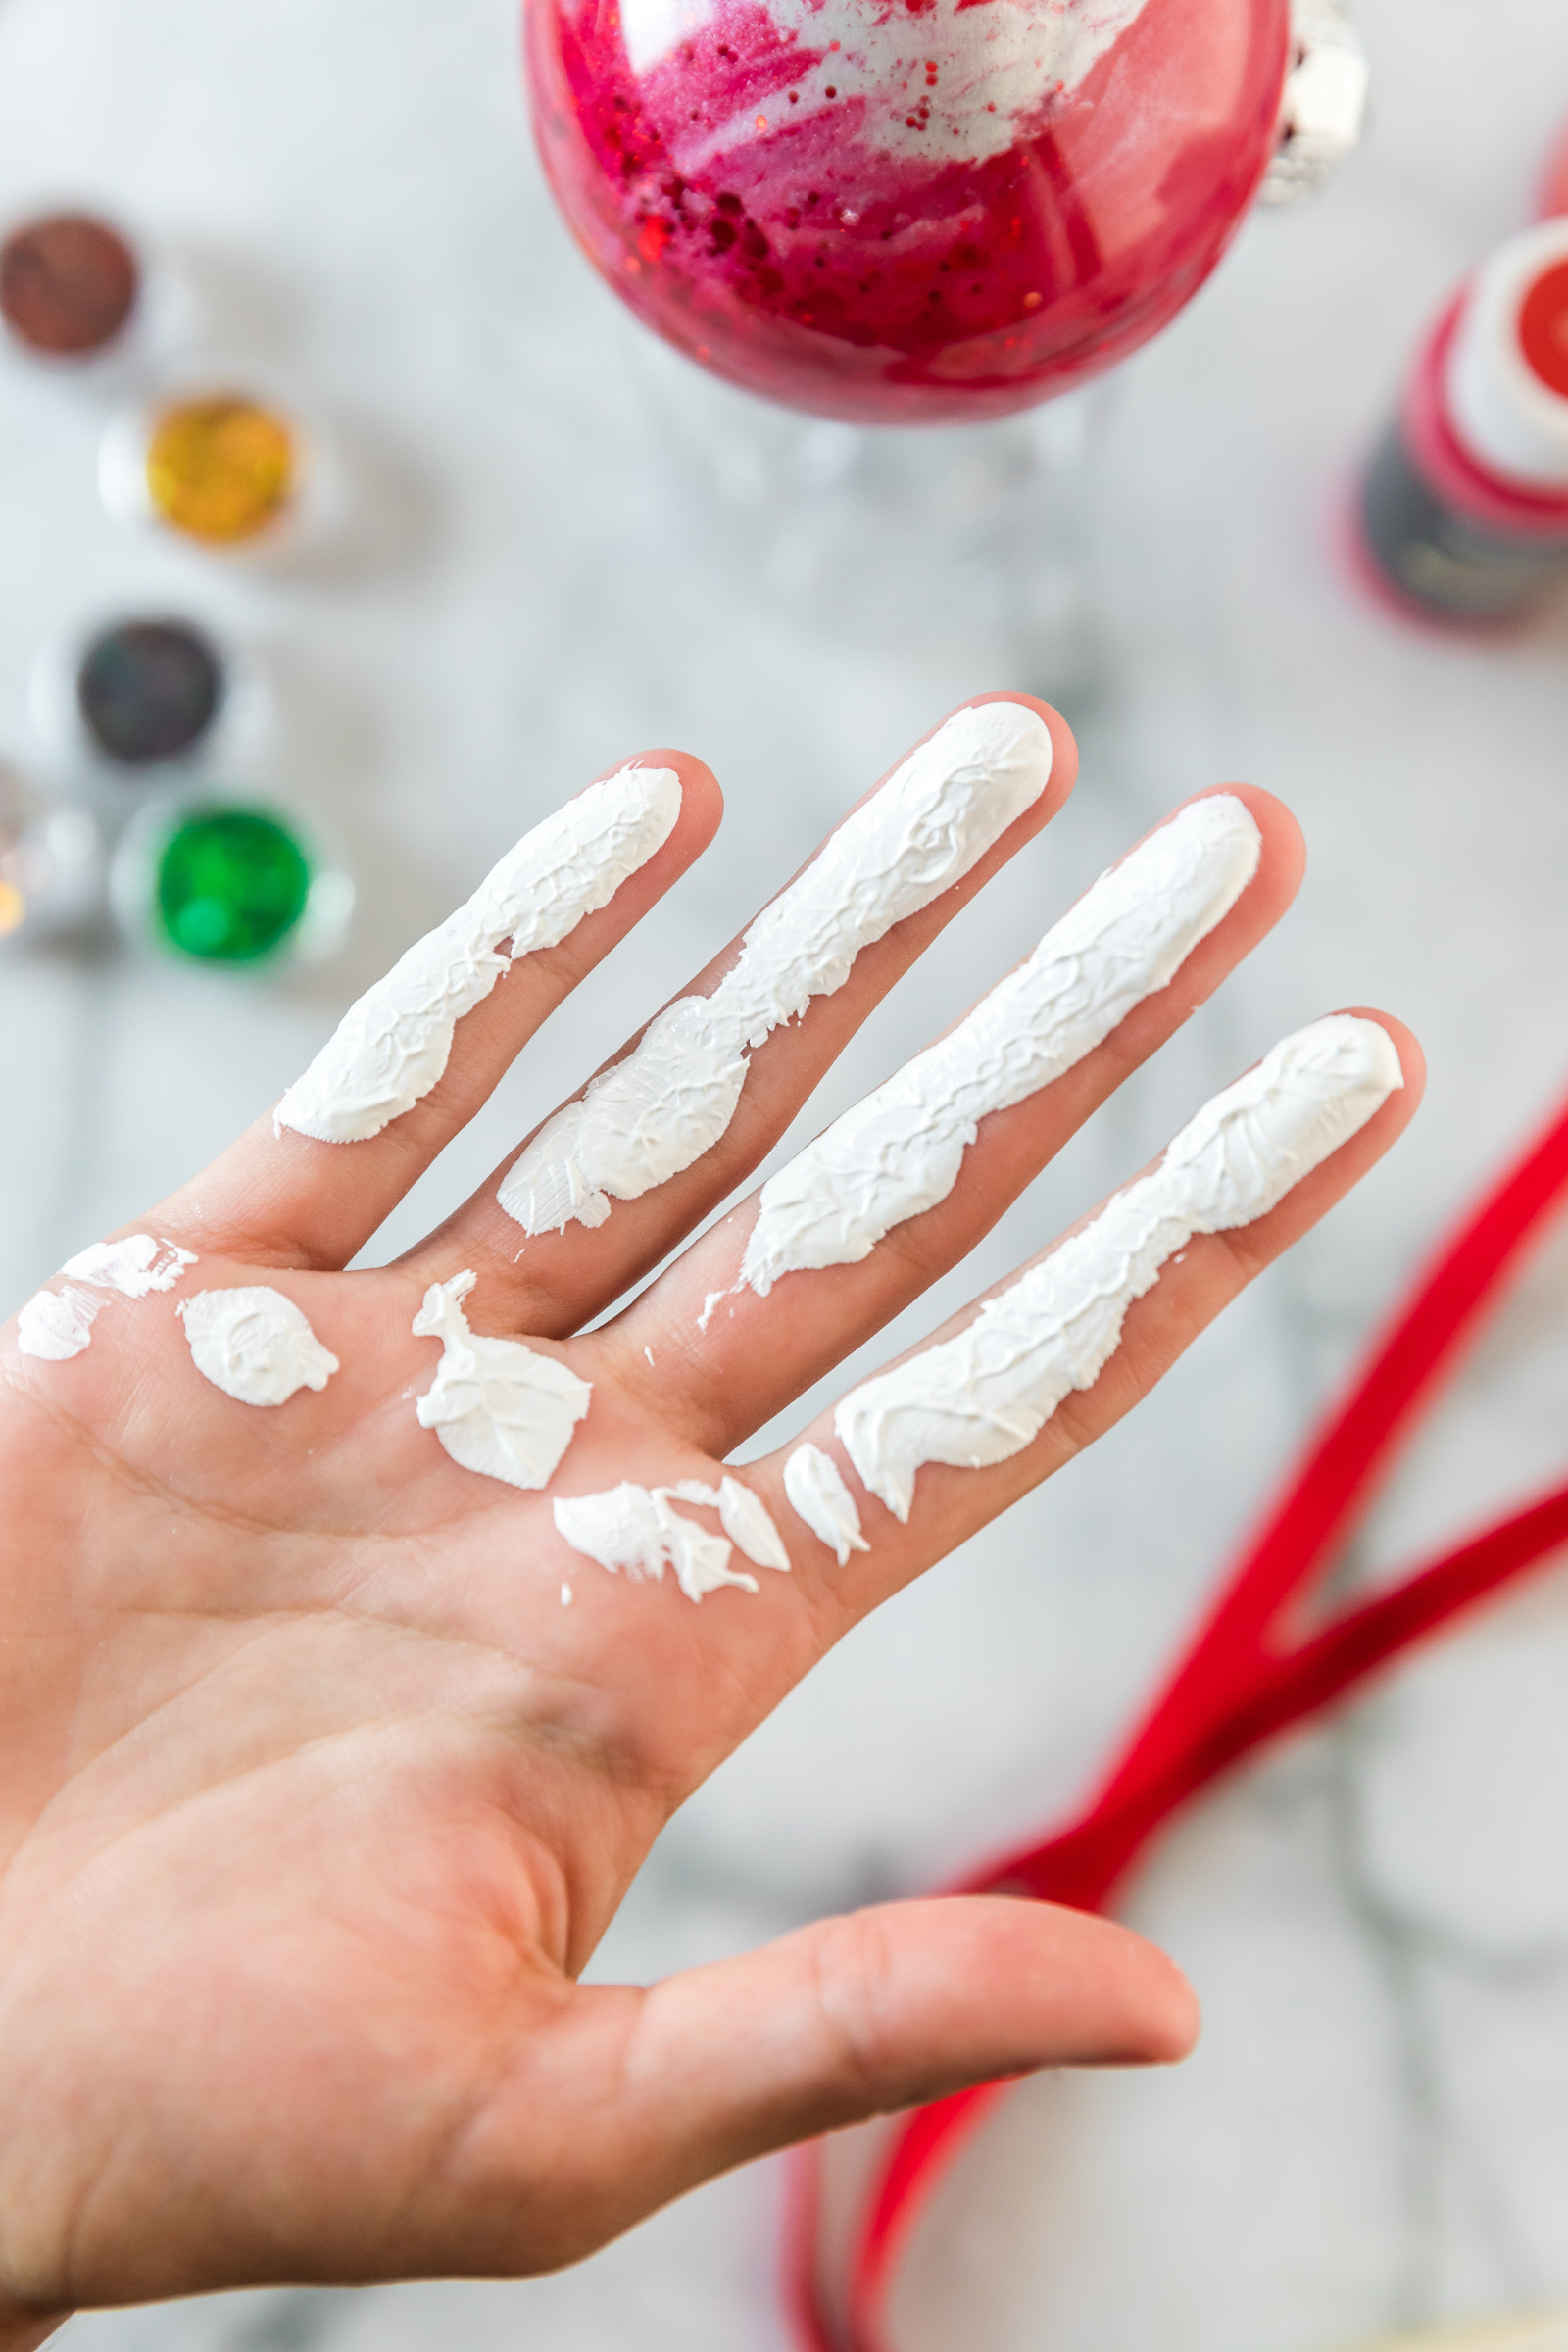
Apply a thin, even layer of washable children’s paint intended for handprint crafts to your child’s hand. You can apply the paint using a foam brush or have your child gently press their hand into a thin layer of paint placed on a disposable plate.
Avoid using too much paint. A thick layer can cause the individual lines and shapes of the handprint to blend together.
6. Make the Handprint
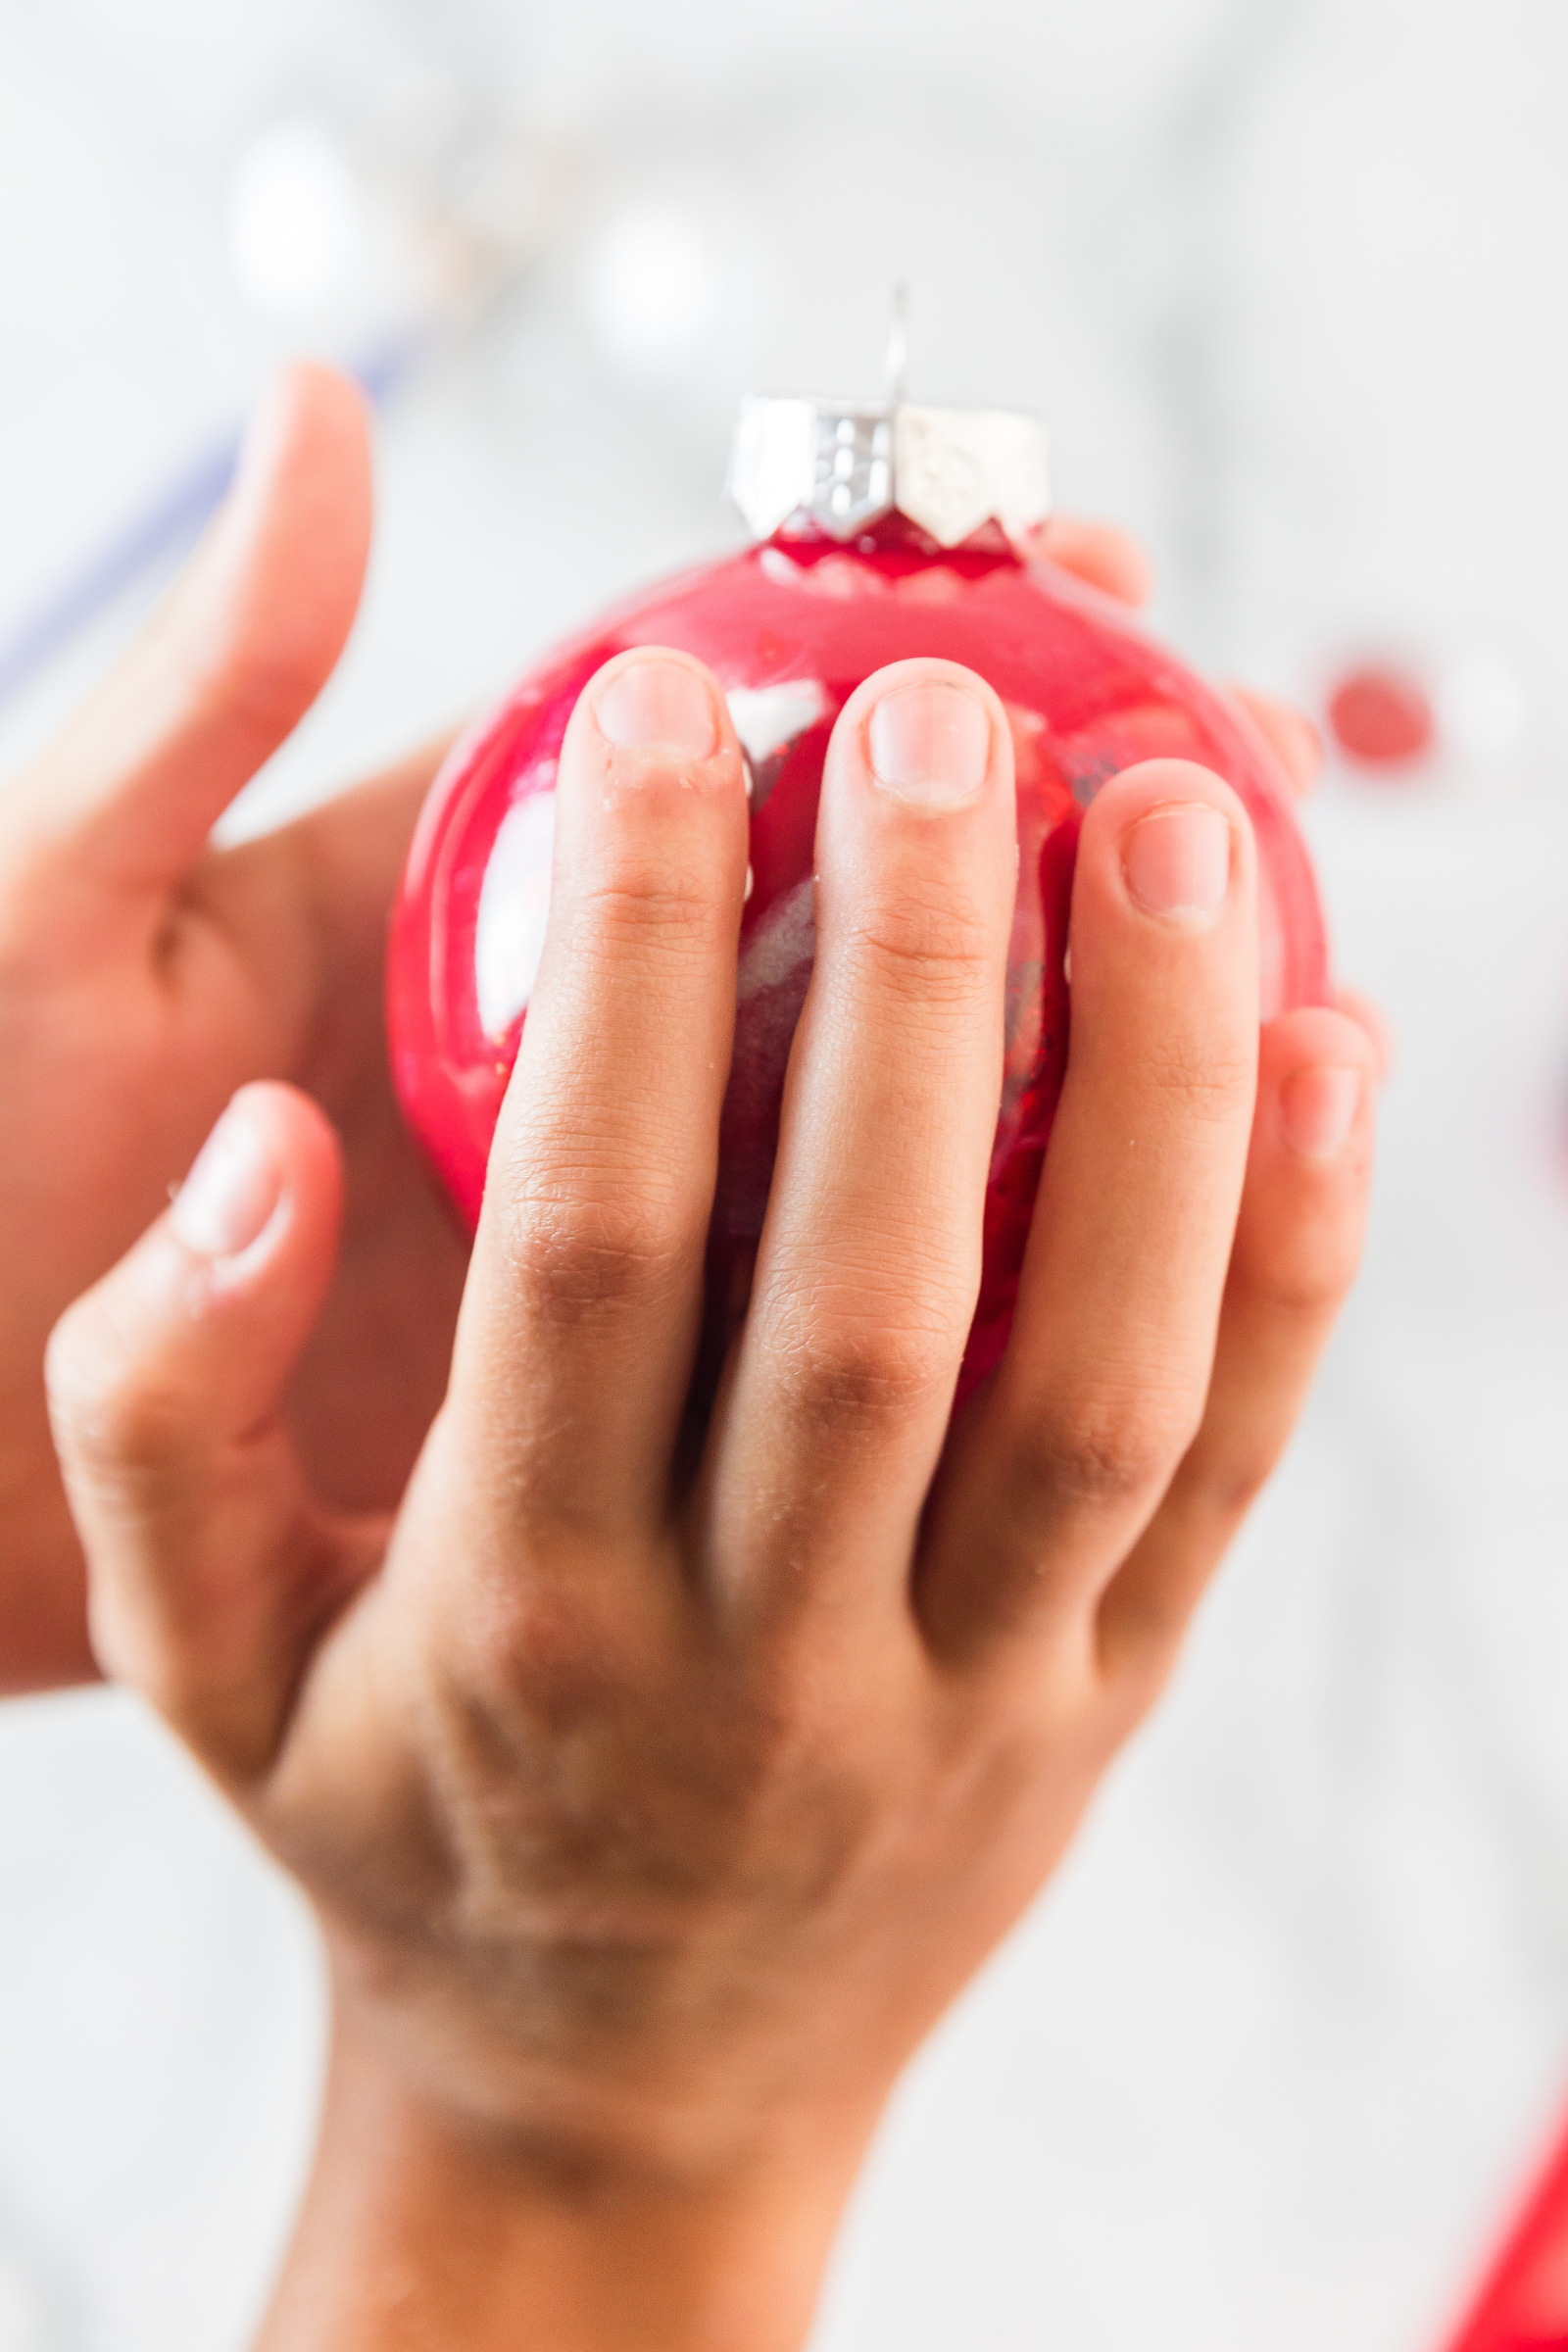
Position your child’s palm near the bottom of the ornament with their fingers pointing upward.
Gently wrap their hand around the ornament and press. Try to keep their fingers from sliding across the plastic because movement can smear the print.
Carefully lift the child’s hand away from the ornament.
Immediately wash your child’s hand according to the paint manufacturer’s directions. Keeping baby wipes or a damp washcloth nearby can make the initial cleanup easier.
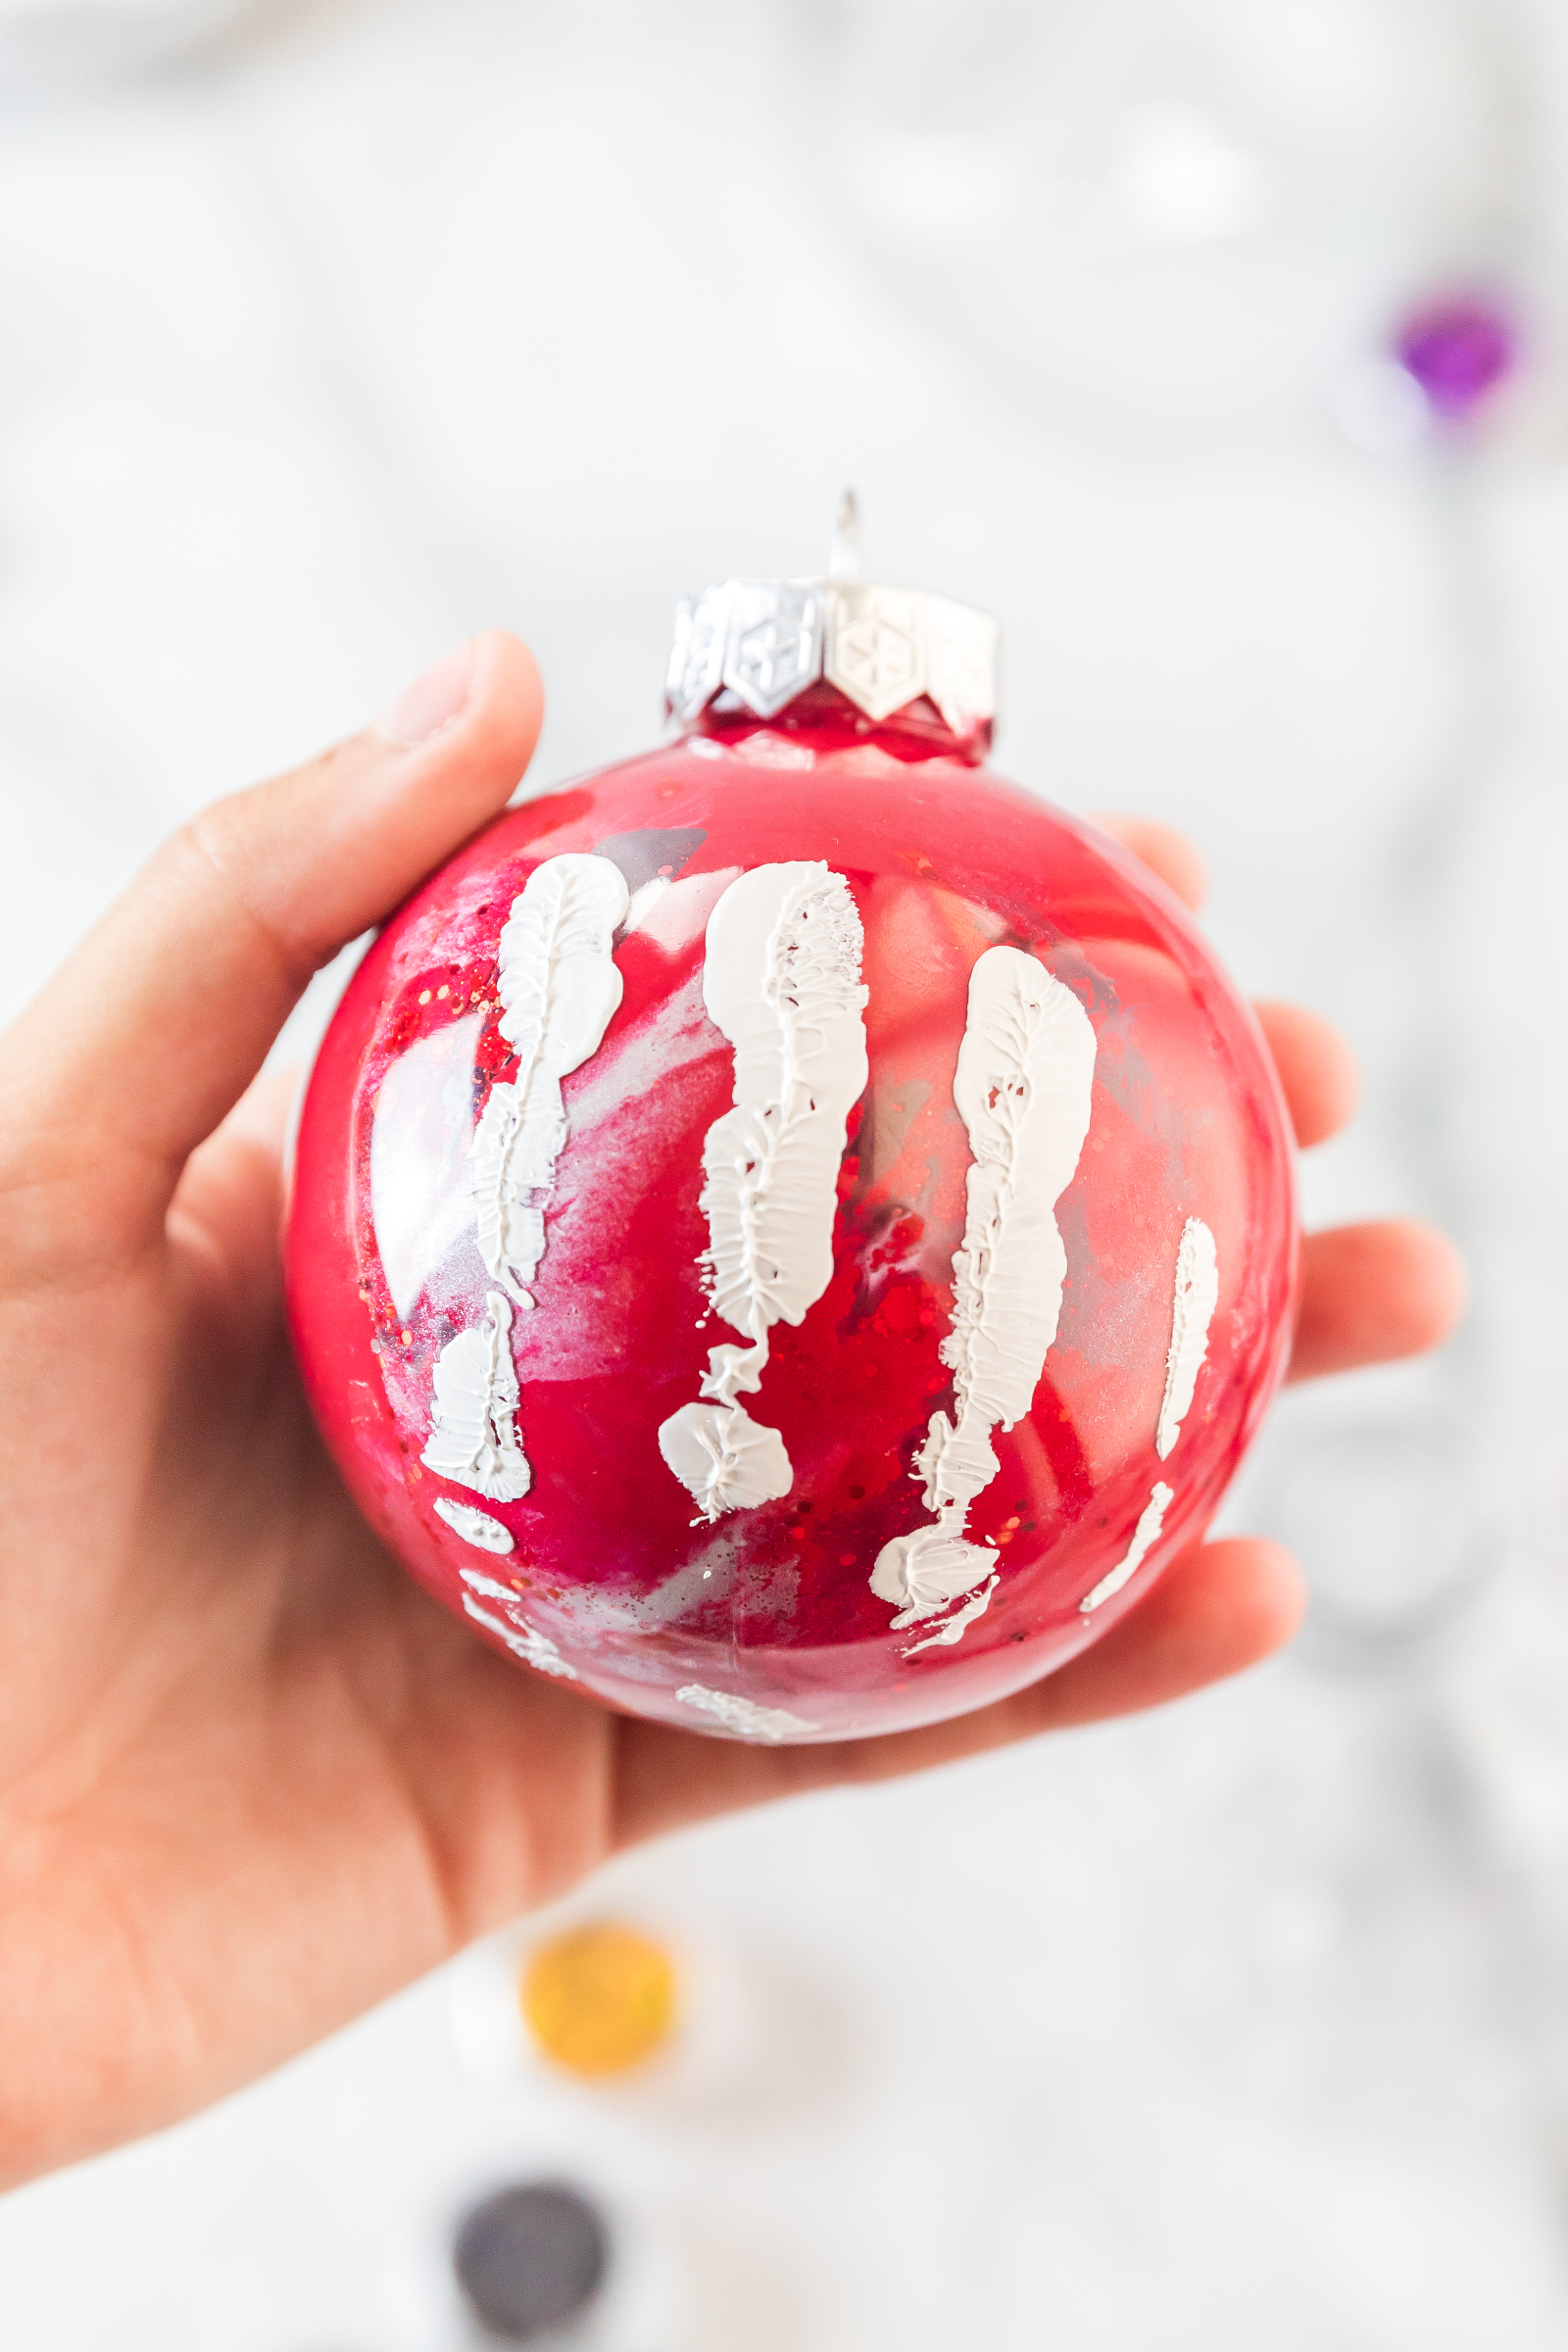
Allow the handprint to dry completely before decorating it. This will usually take approximately one to two hours, depending on your paint.
And don’t worry if the handprint isn’t absolutely perfect. Slightly uneven fingers or tiny imperfections are part of what makes handmade Christmas ornaments so charming.
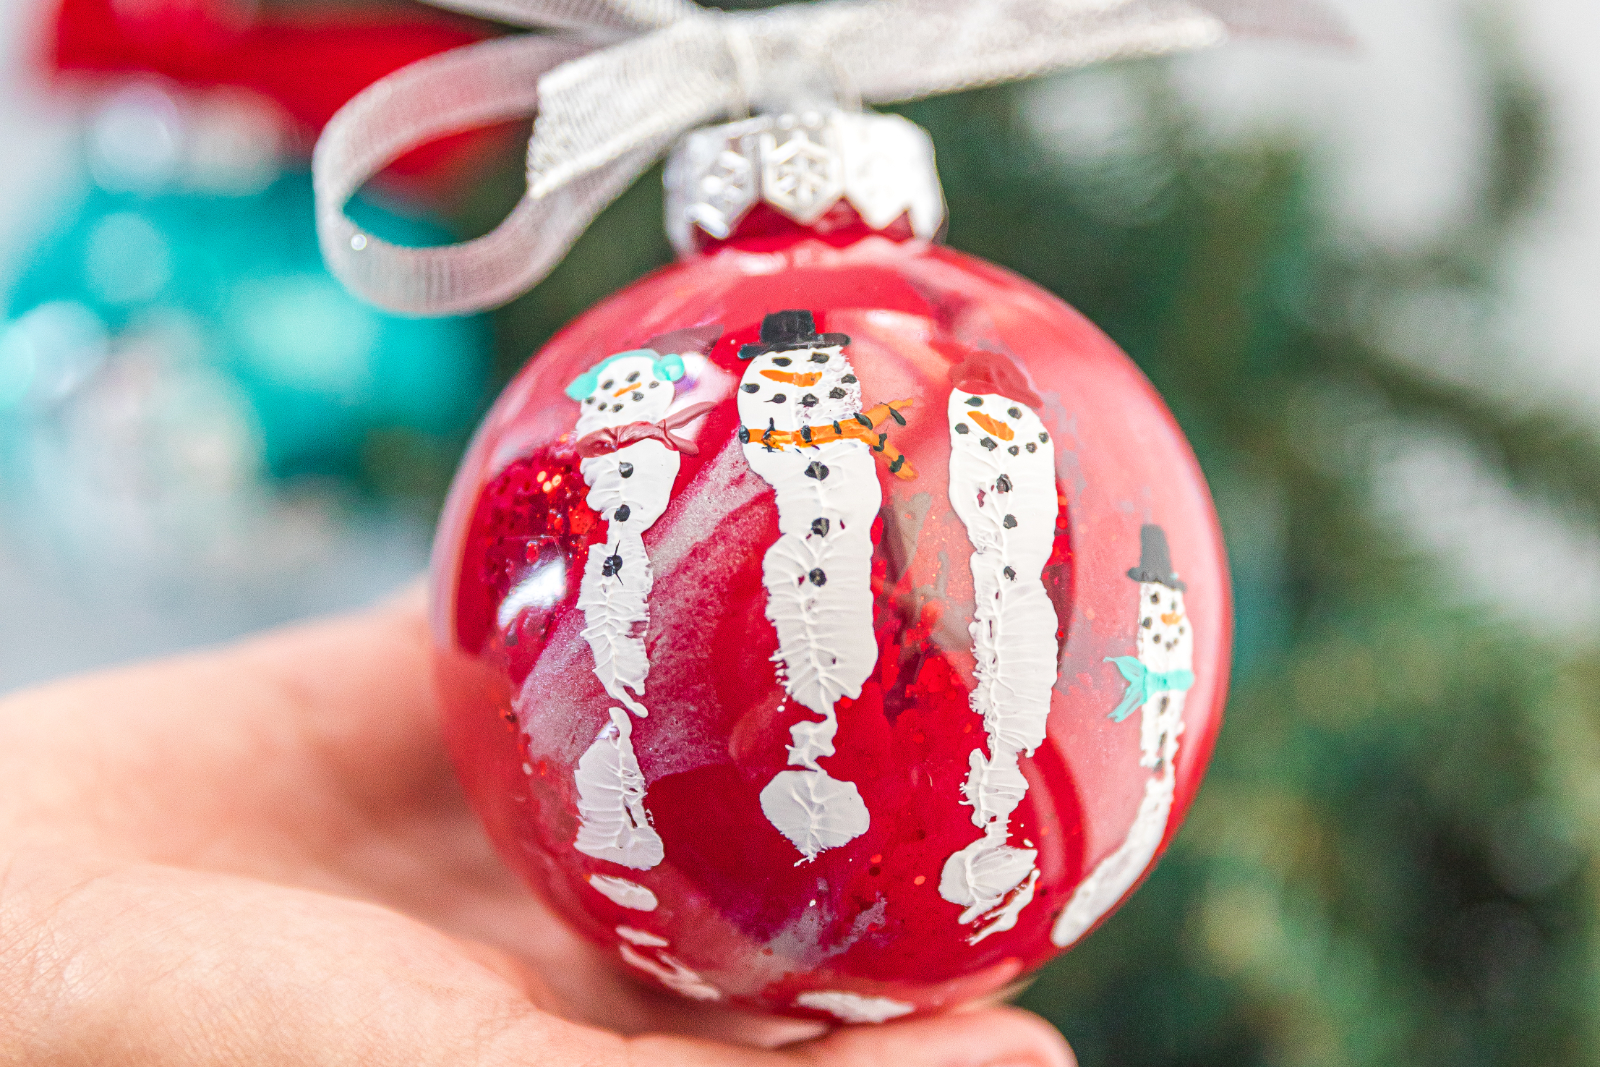
7. Turn the Fingers Into Snowmen
Once the handprint is completely dry, it’s time for the fun part.
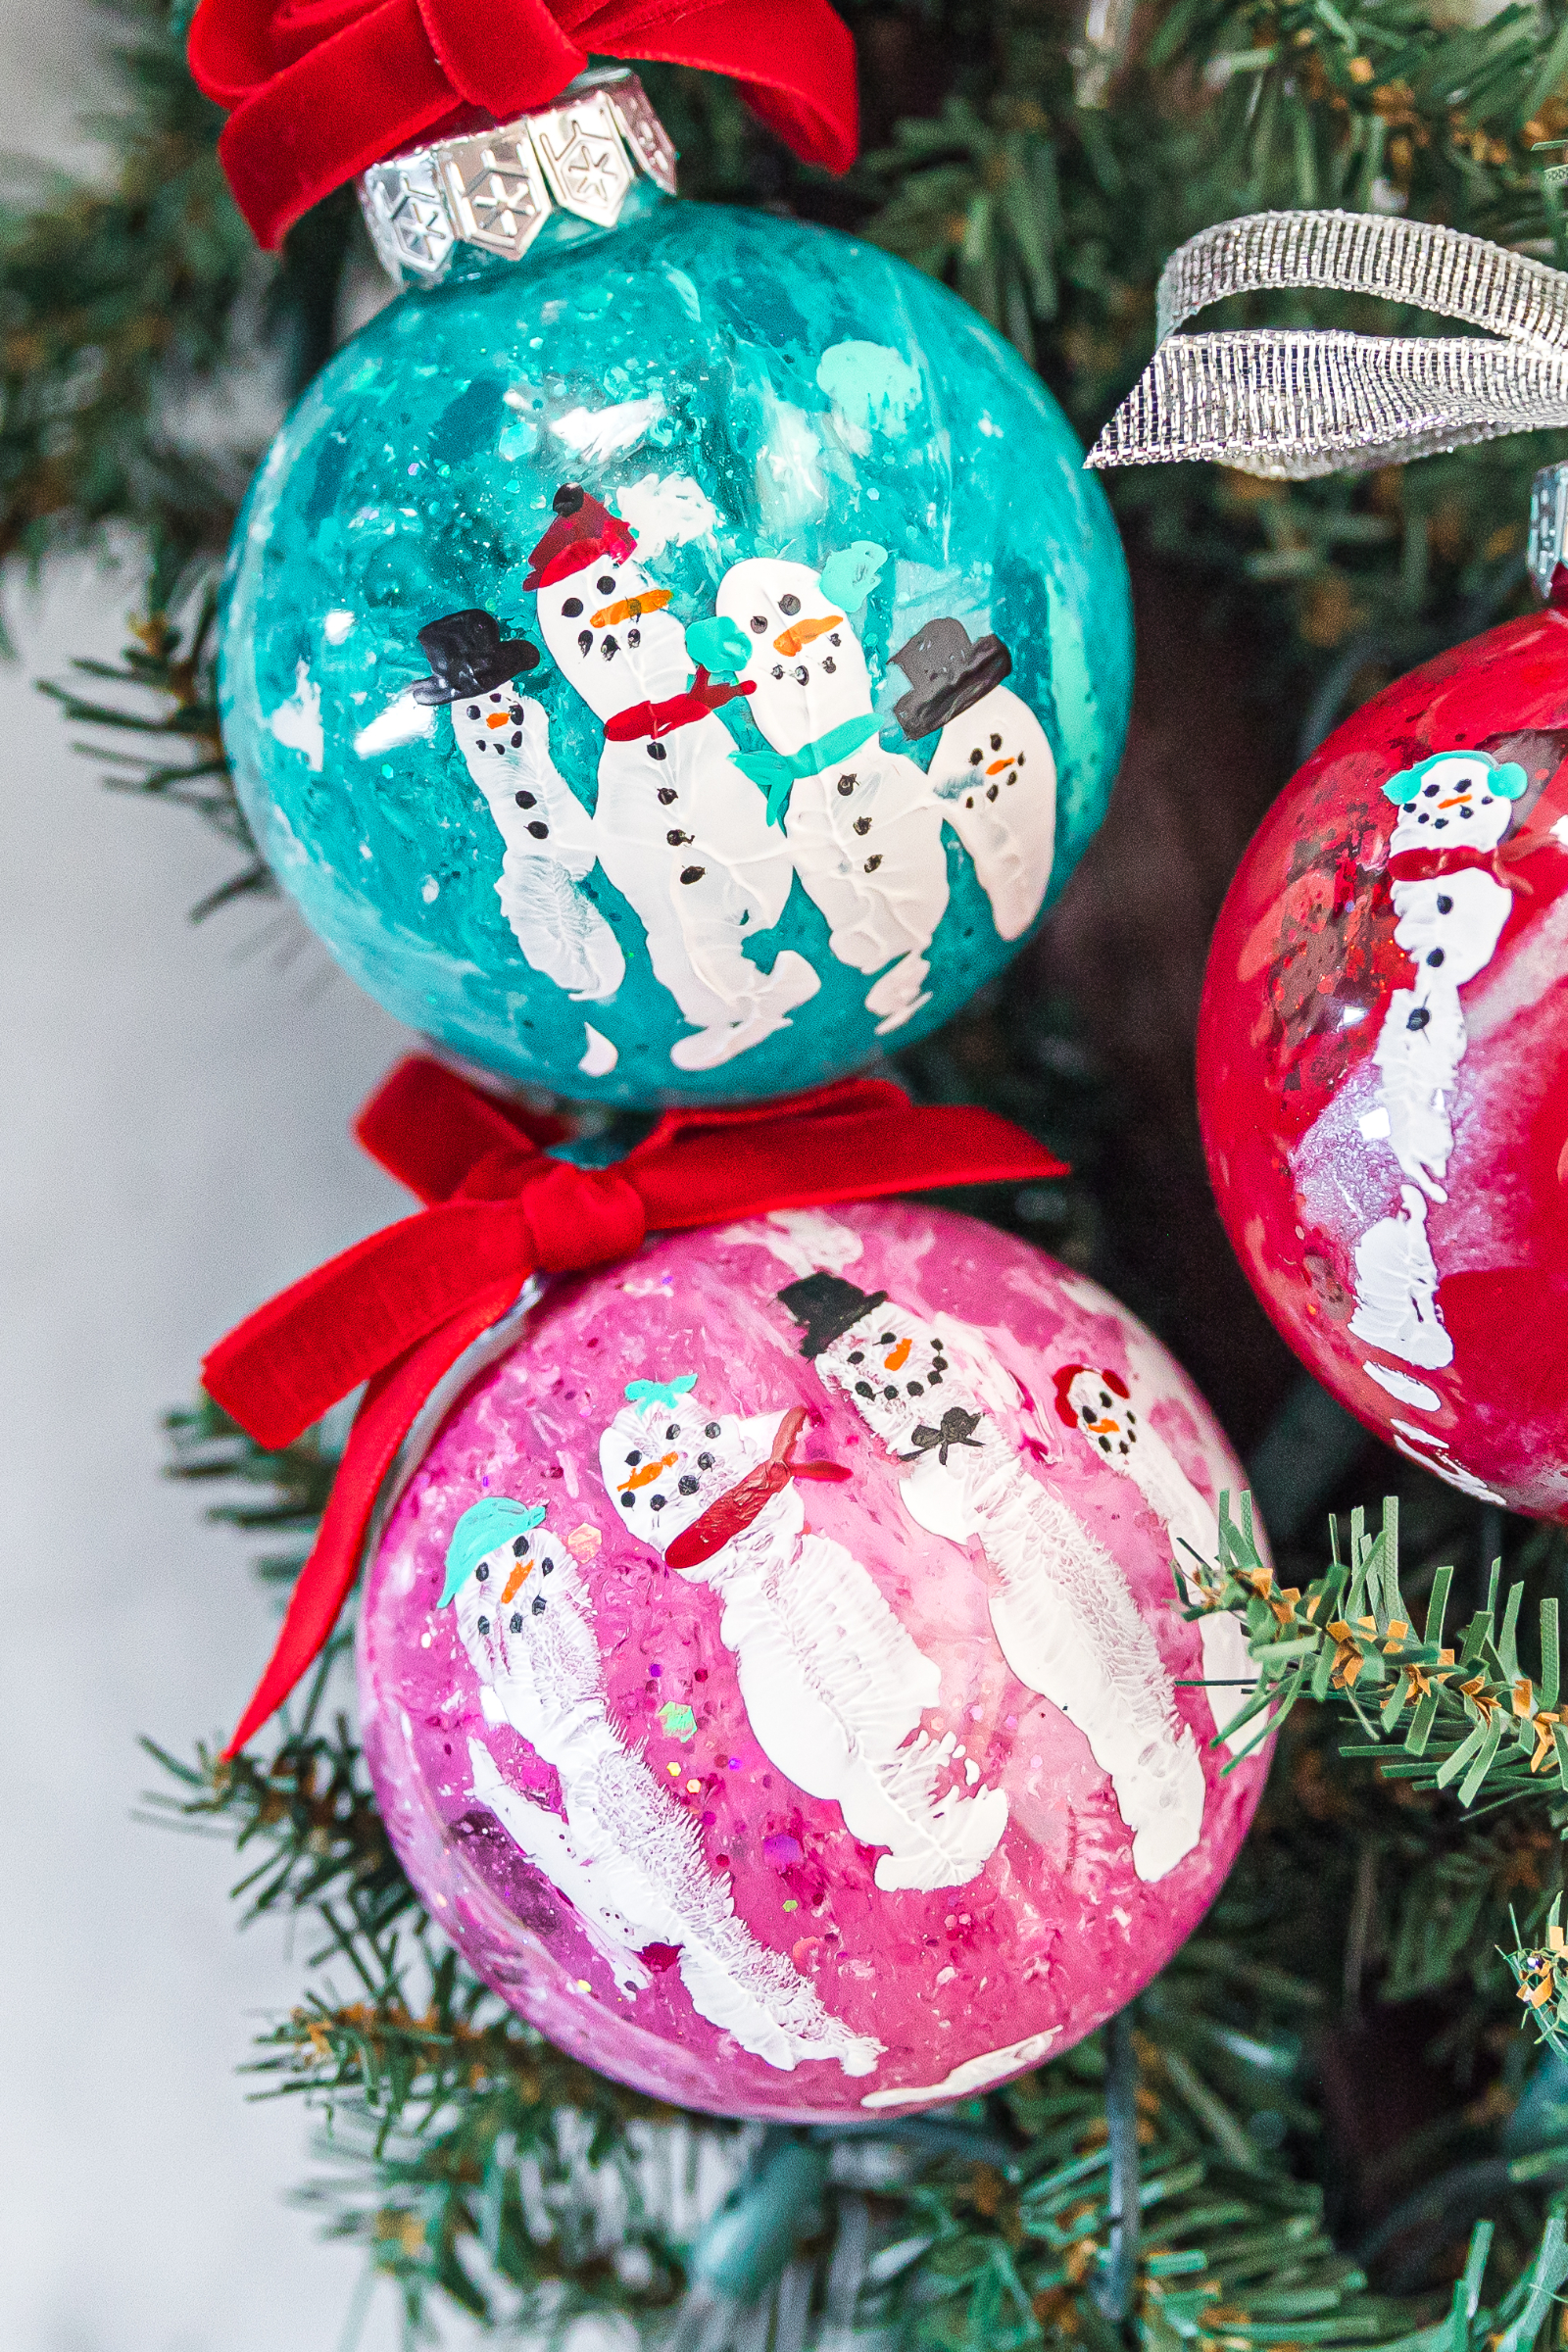
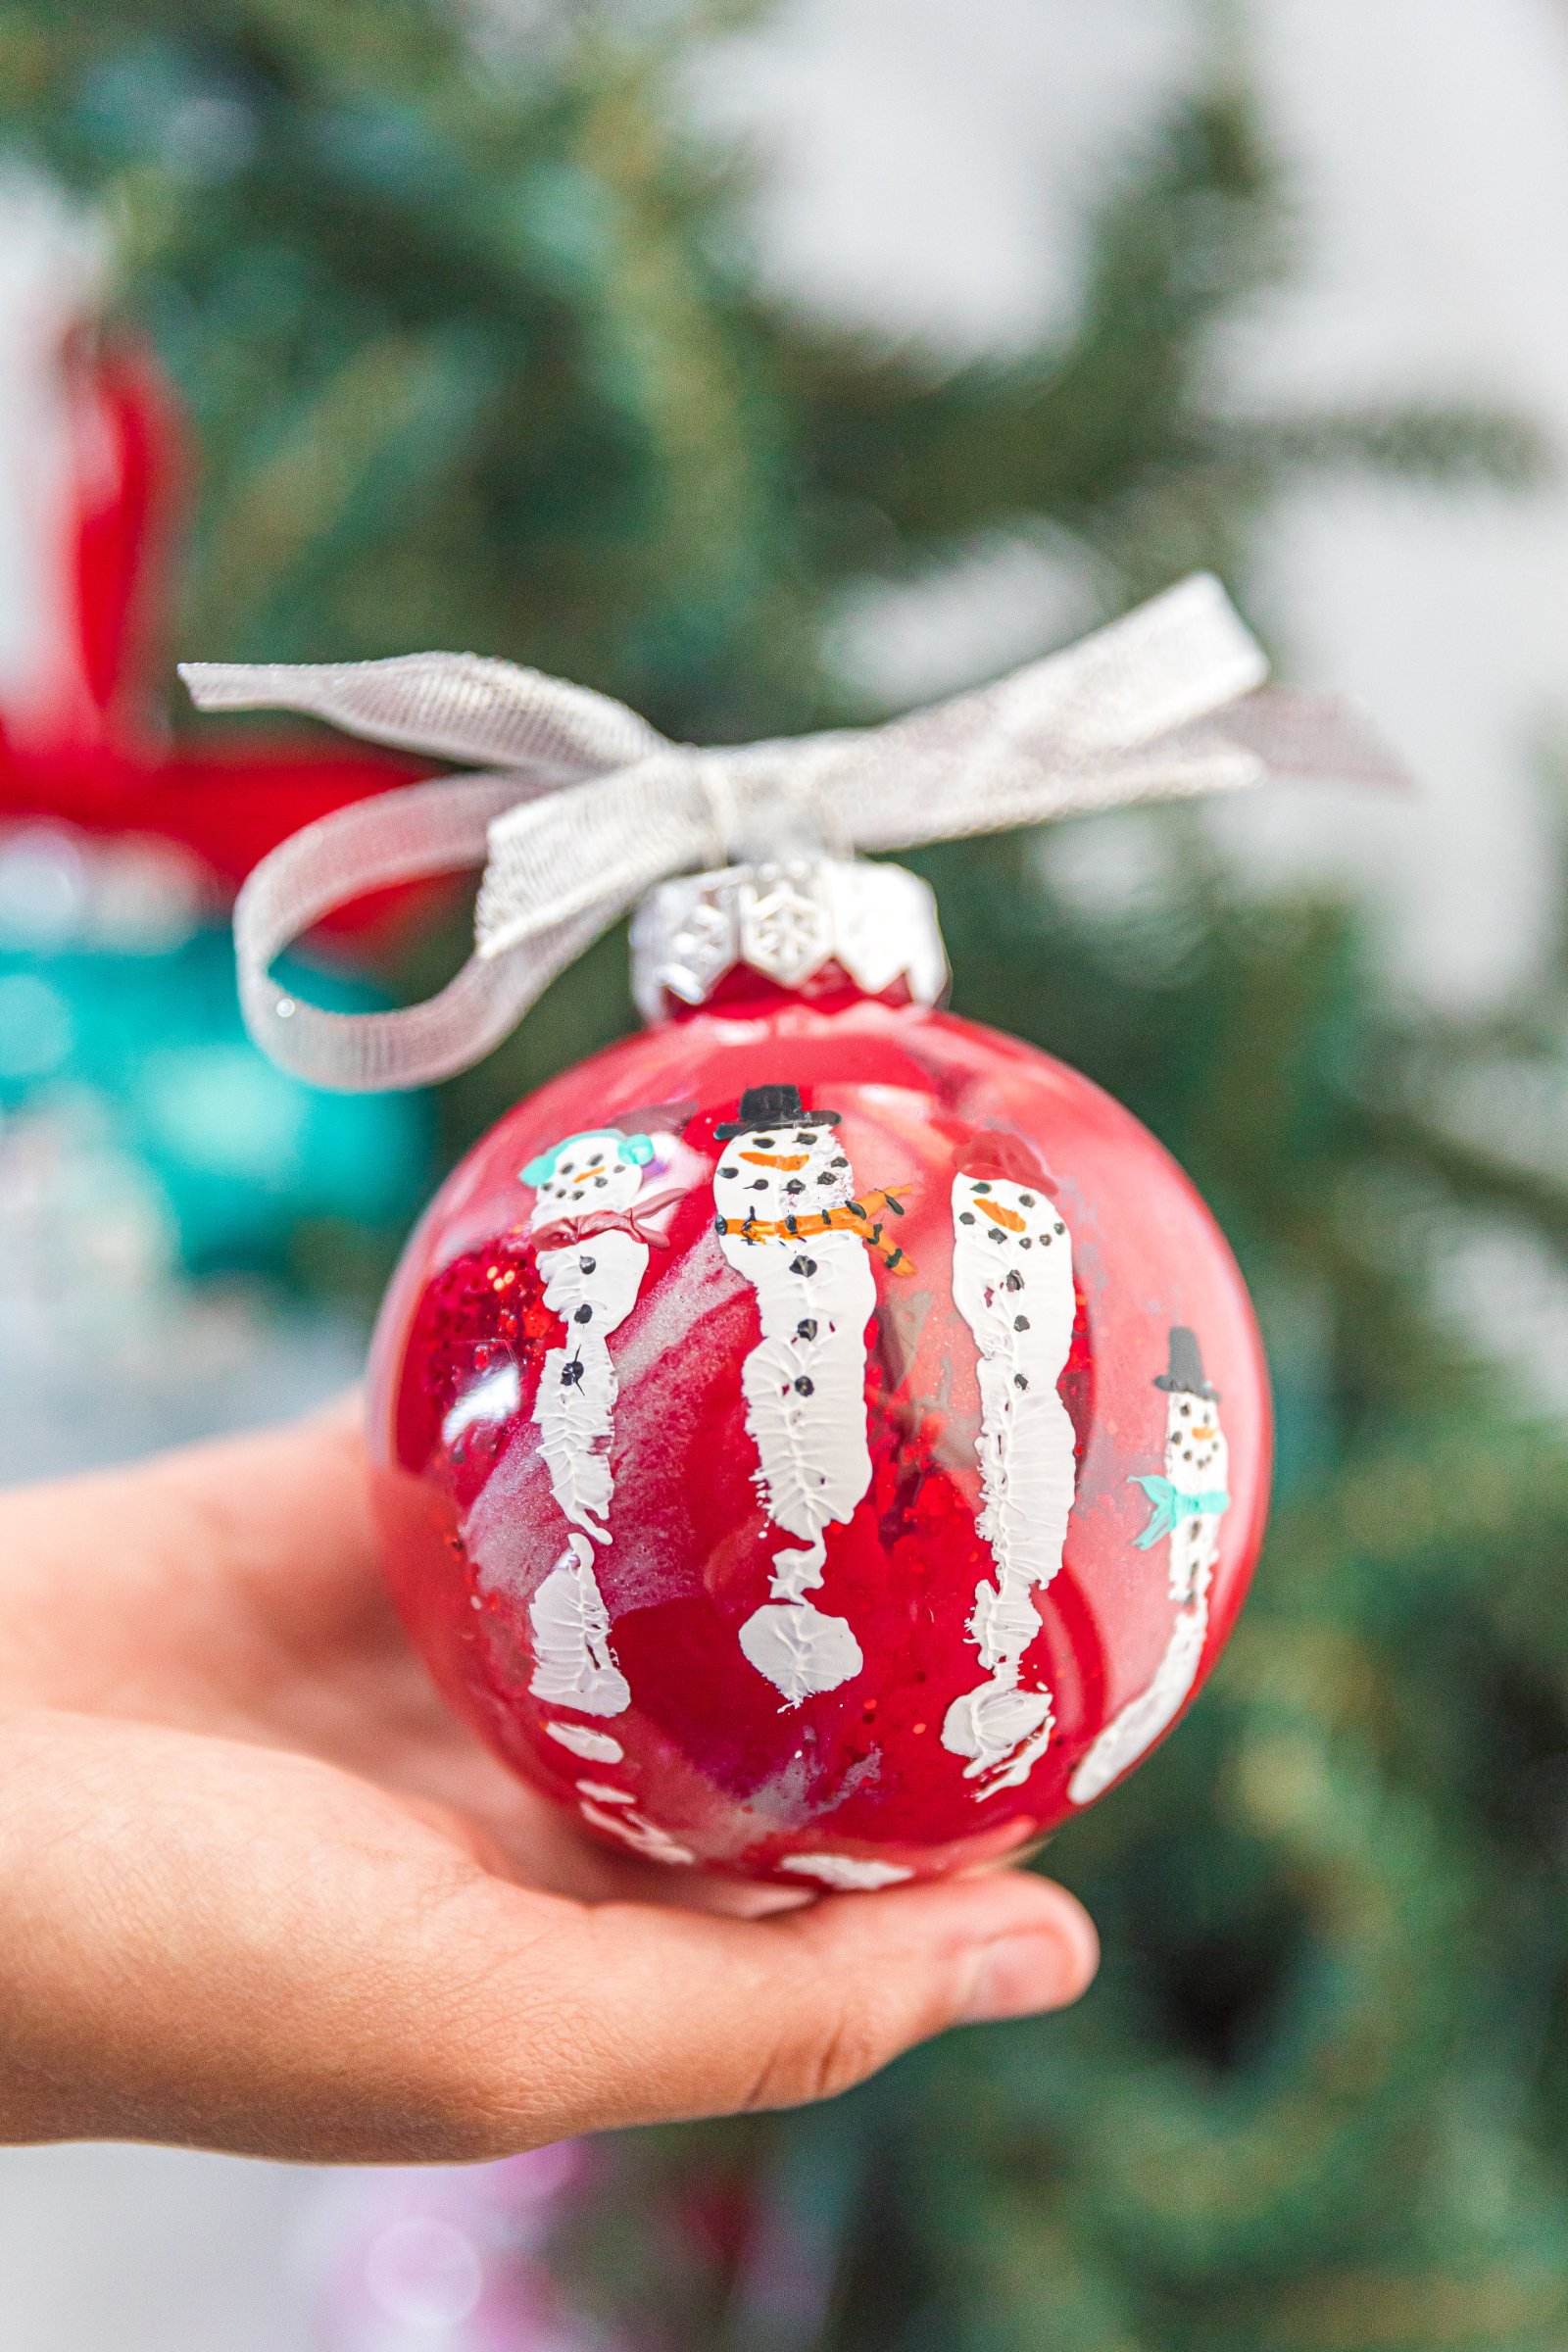
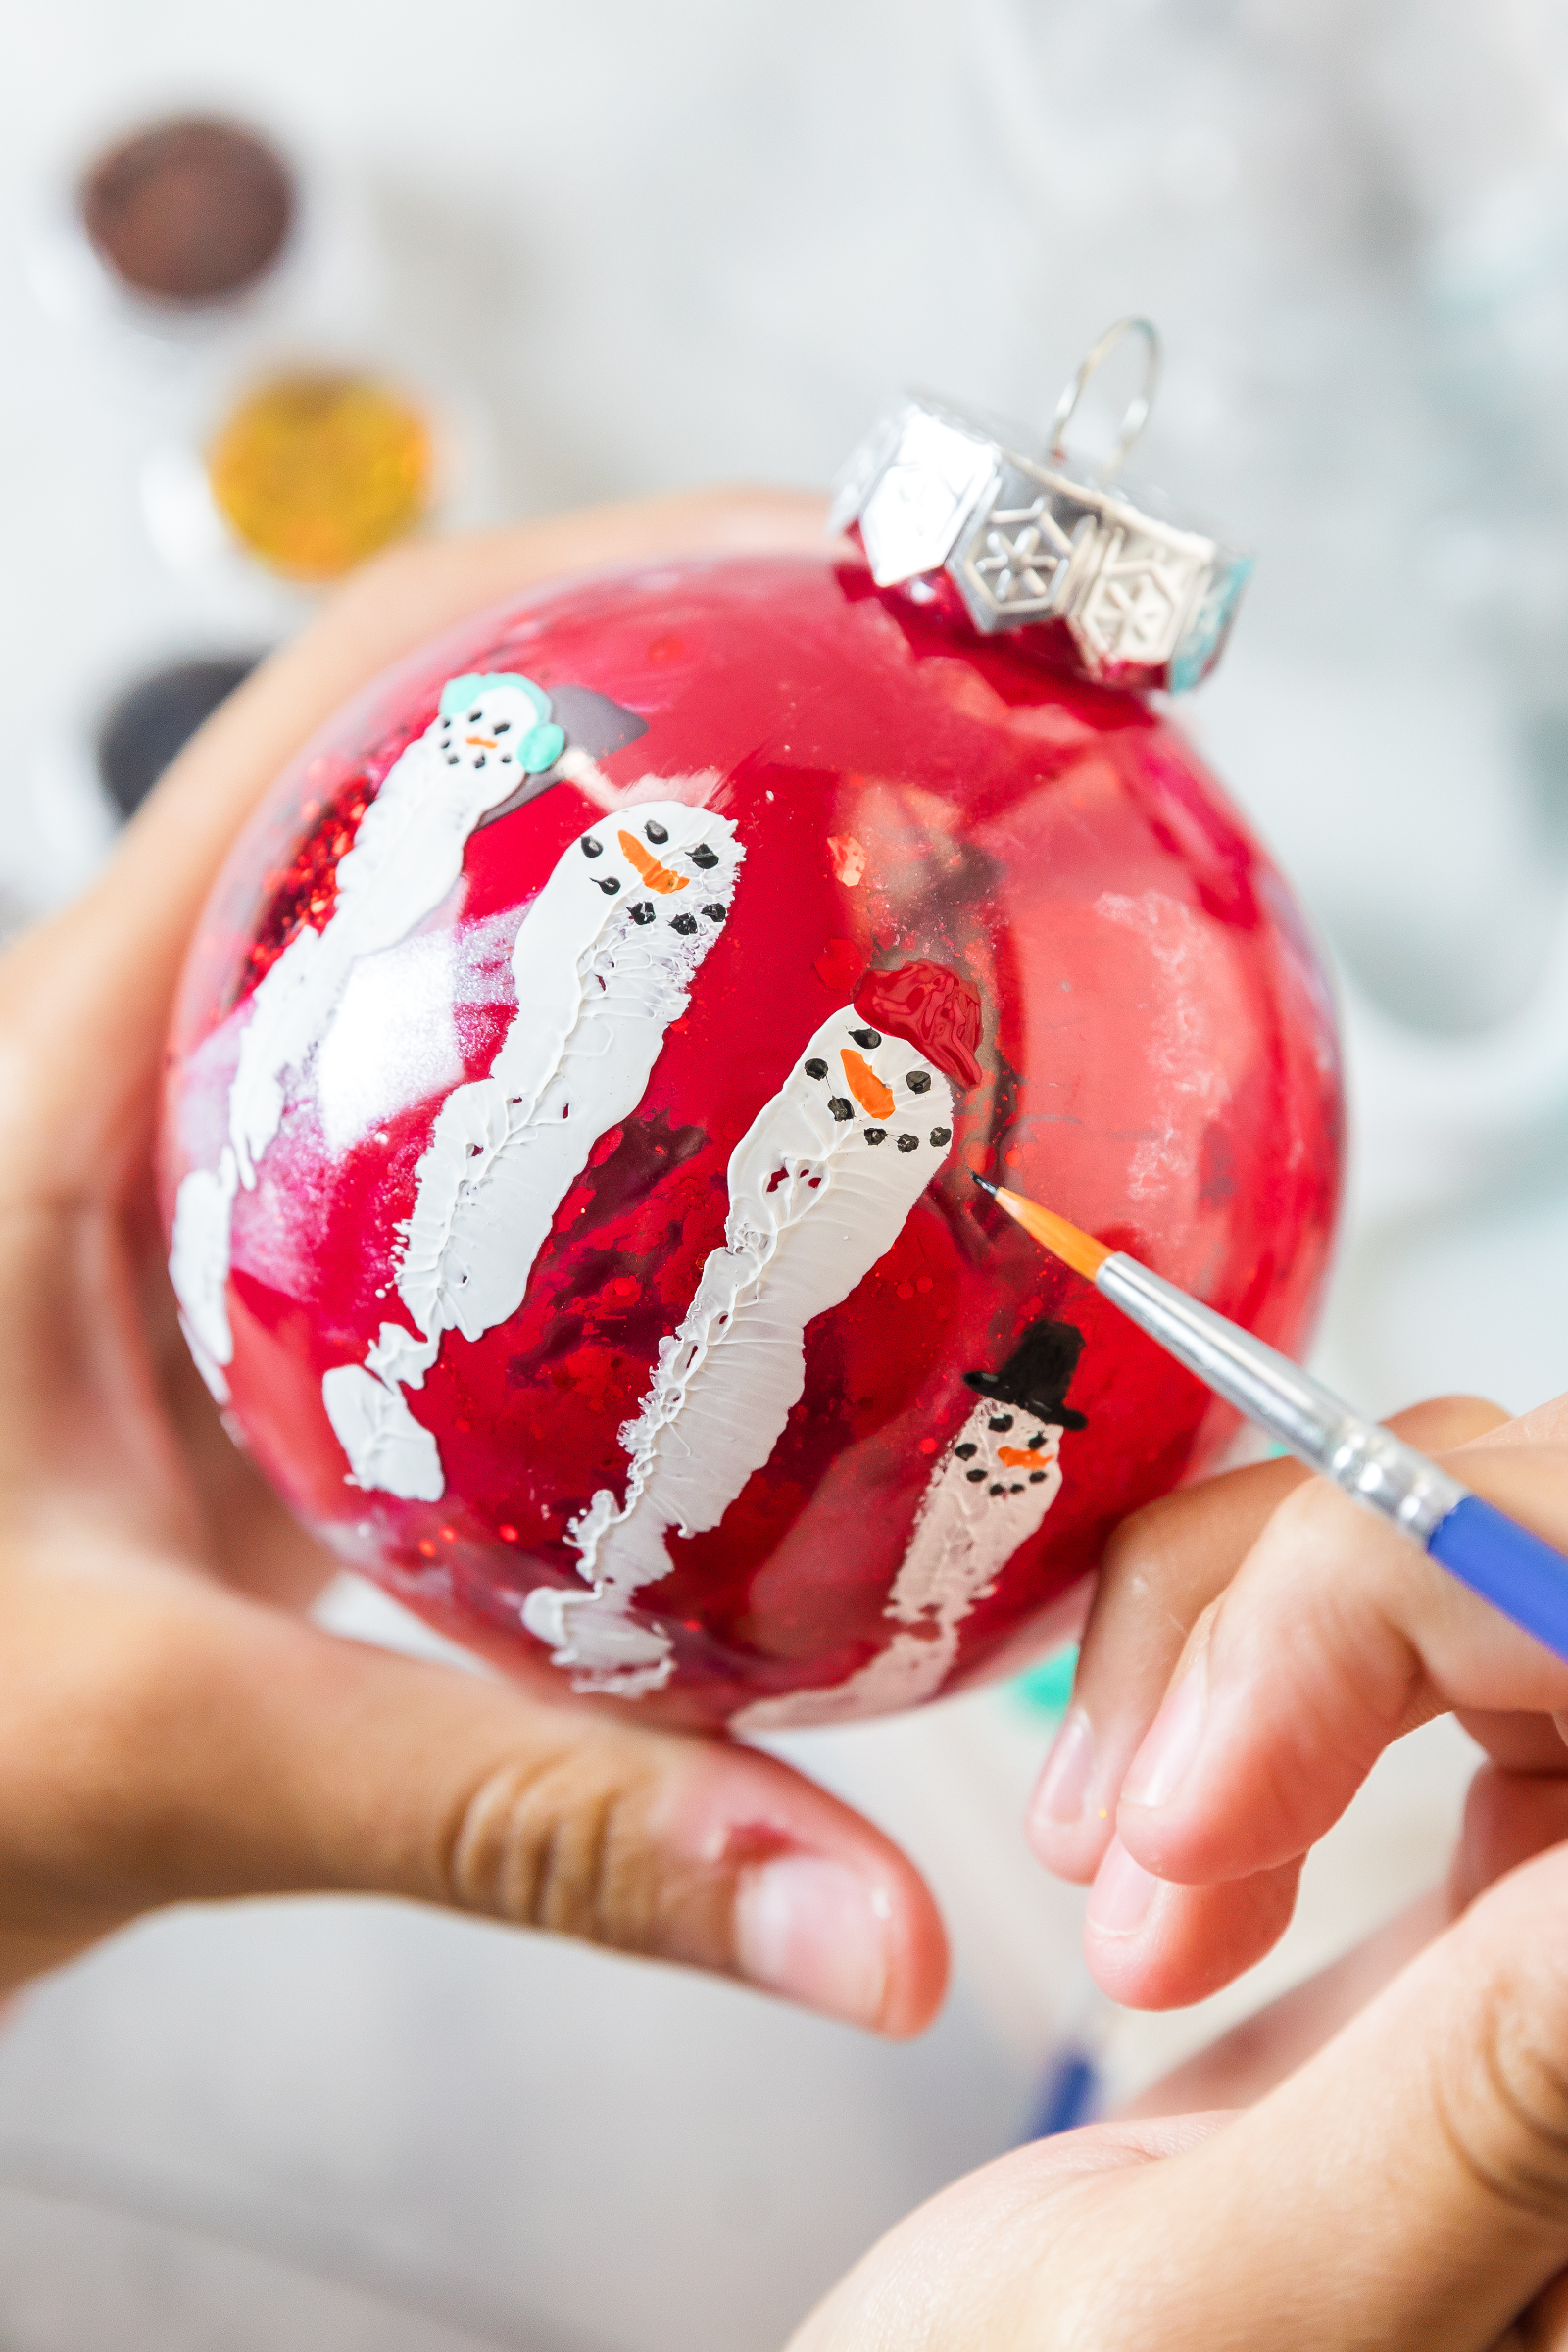
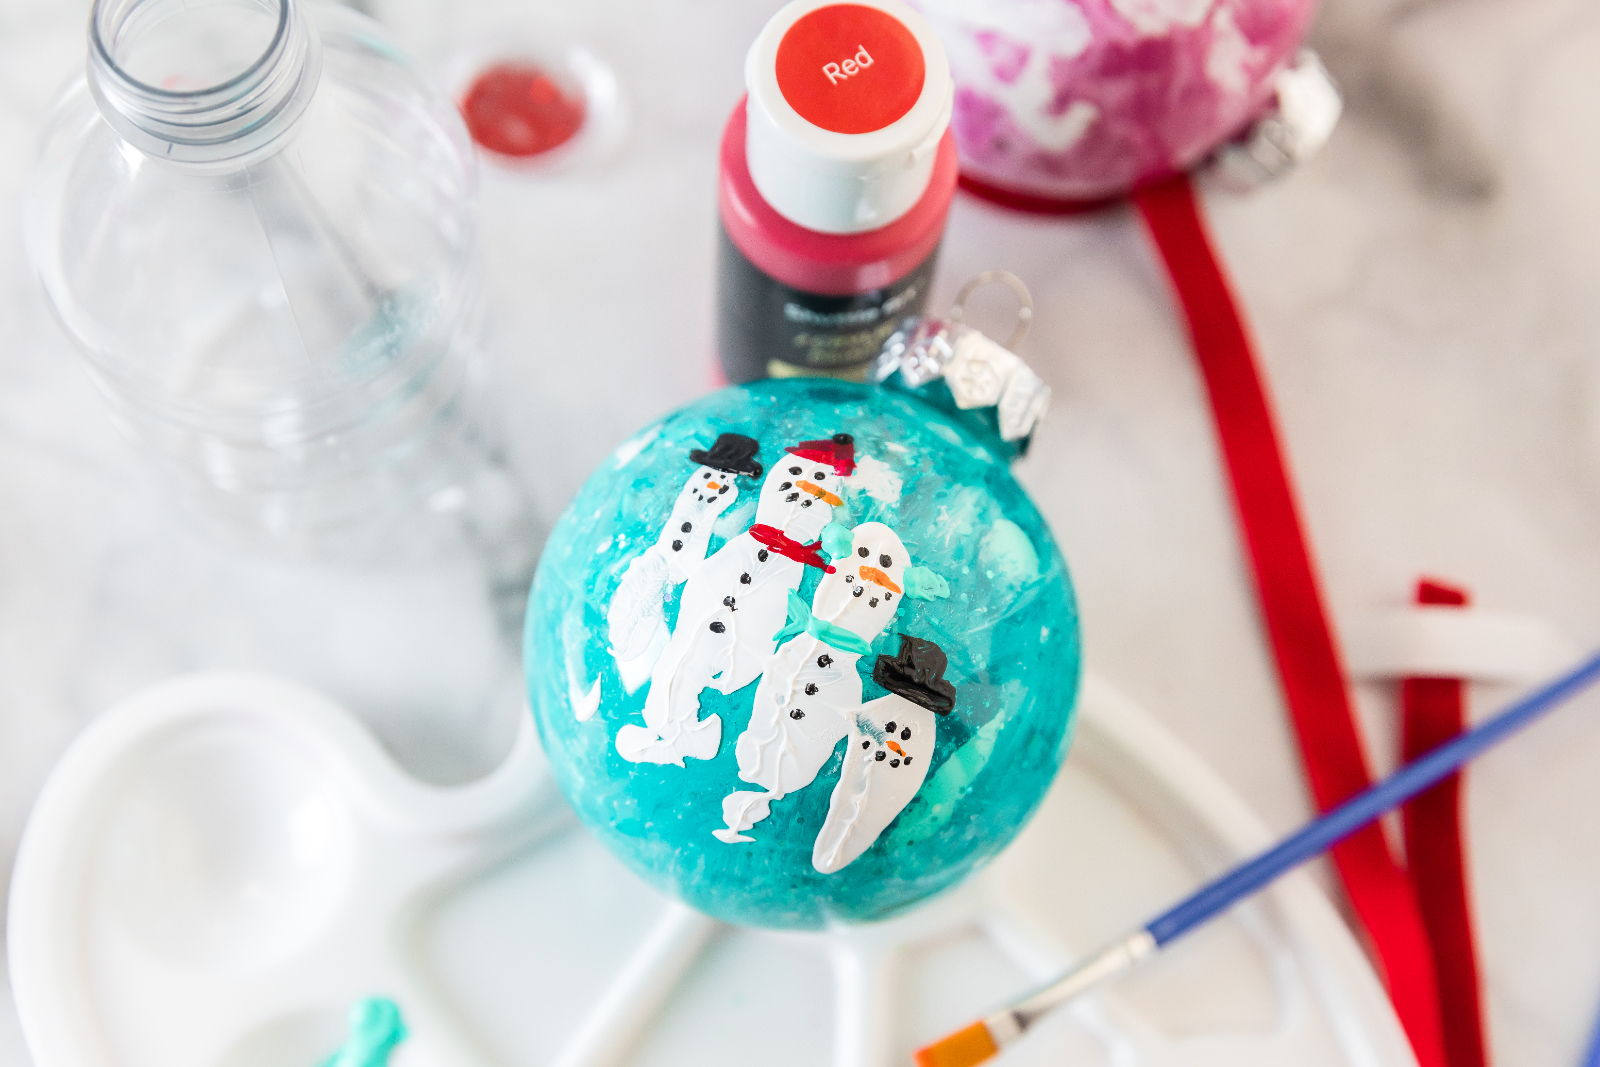
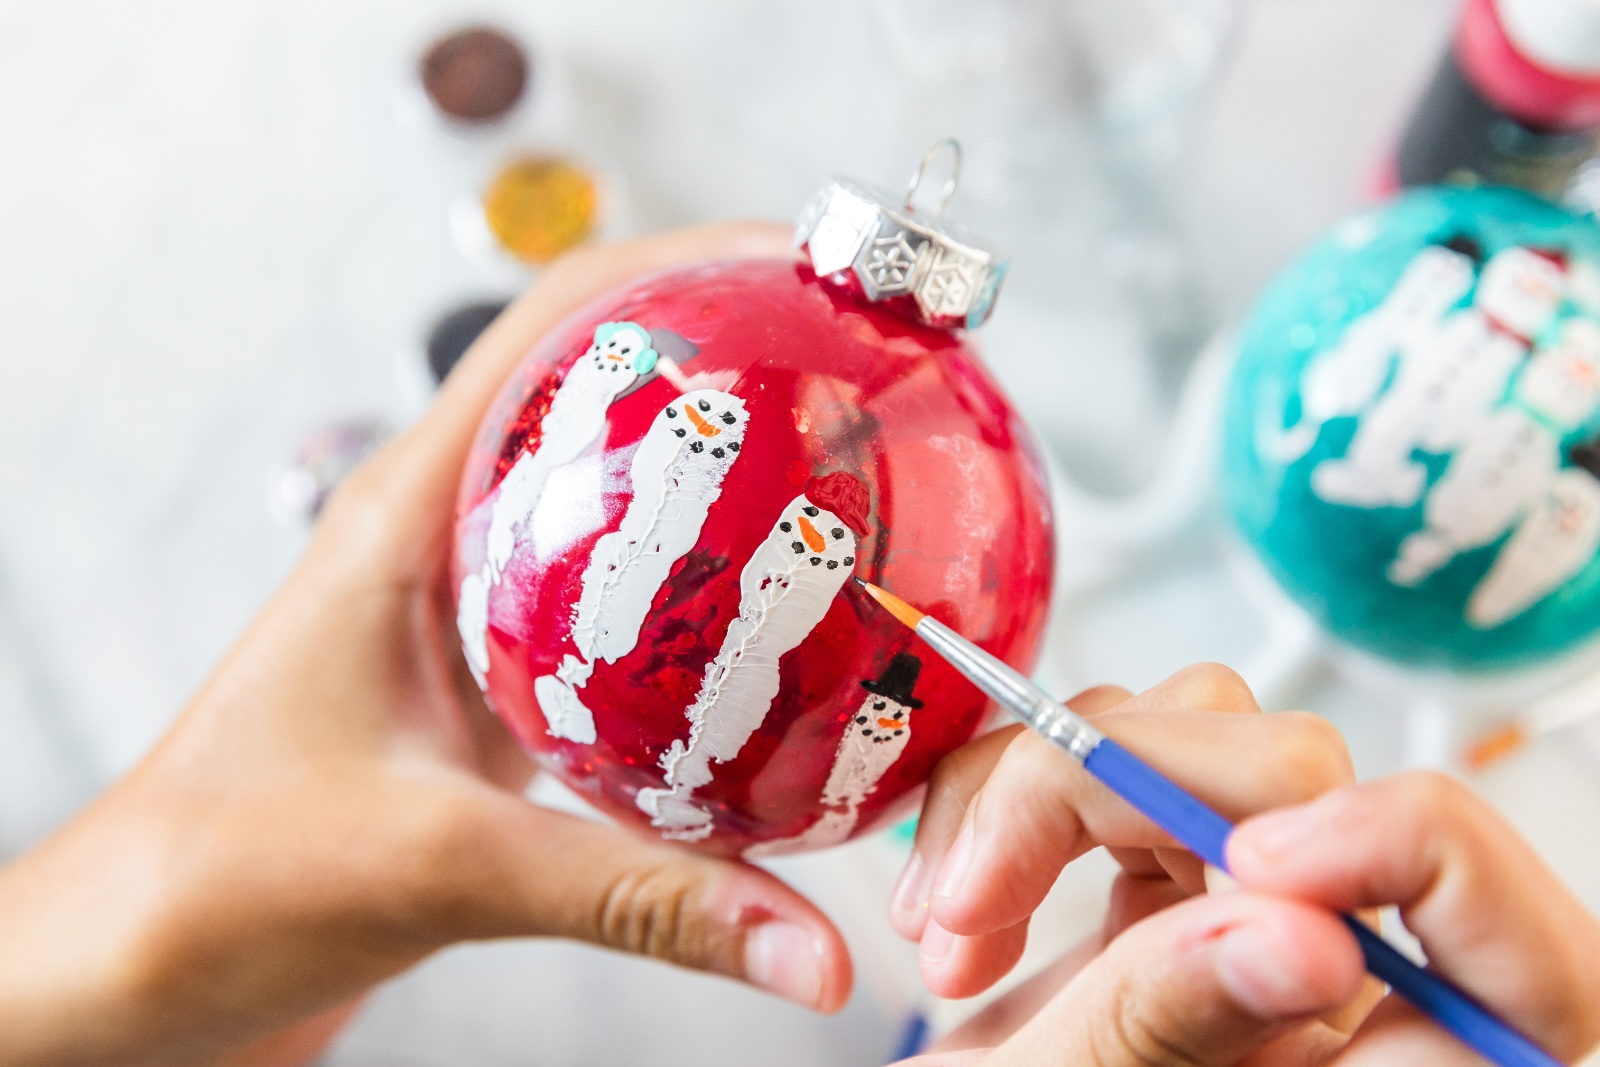
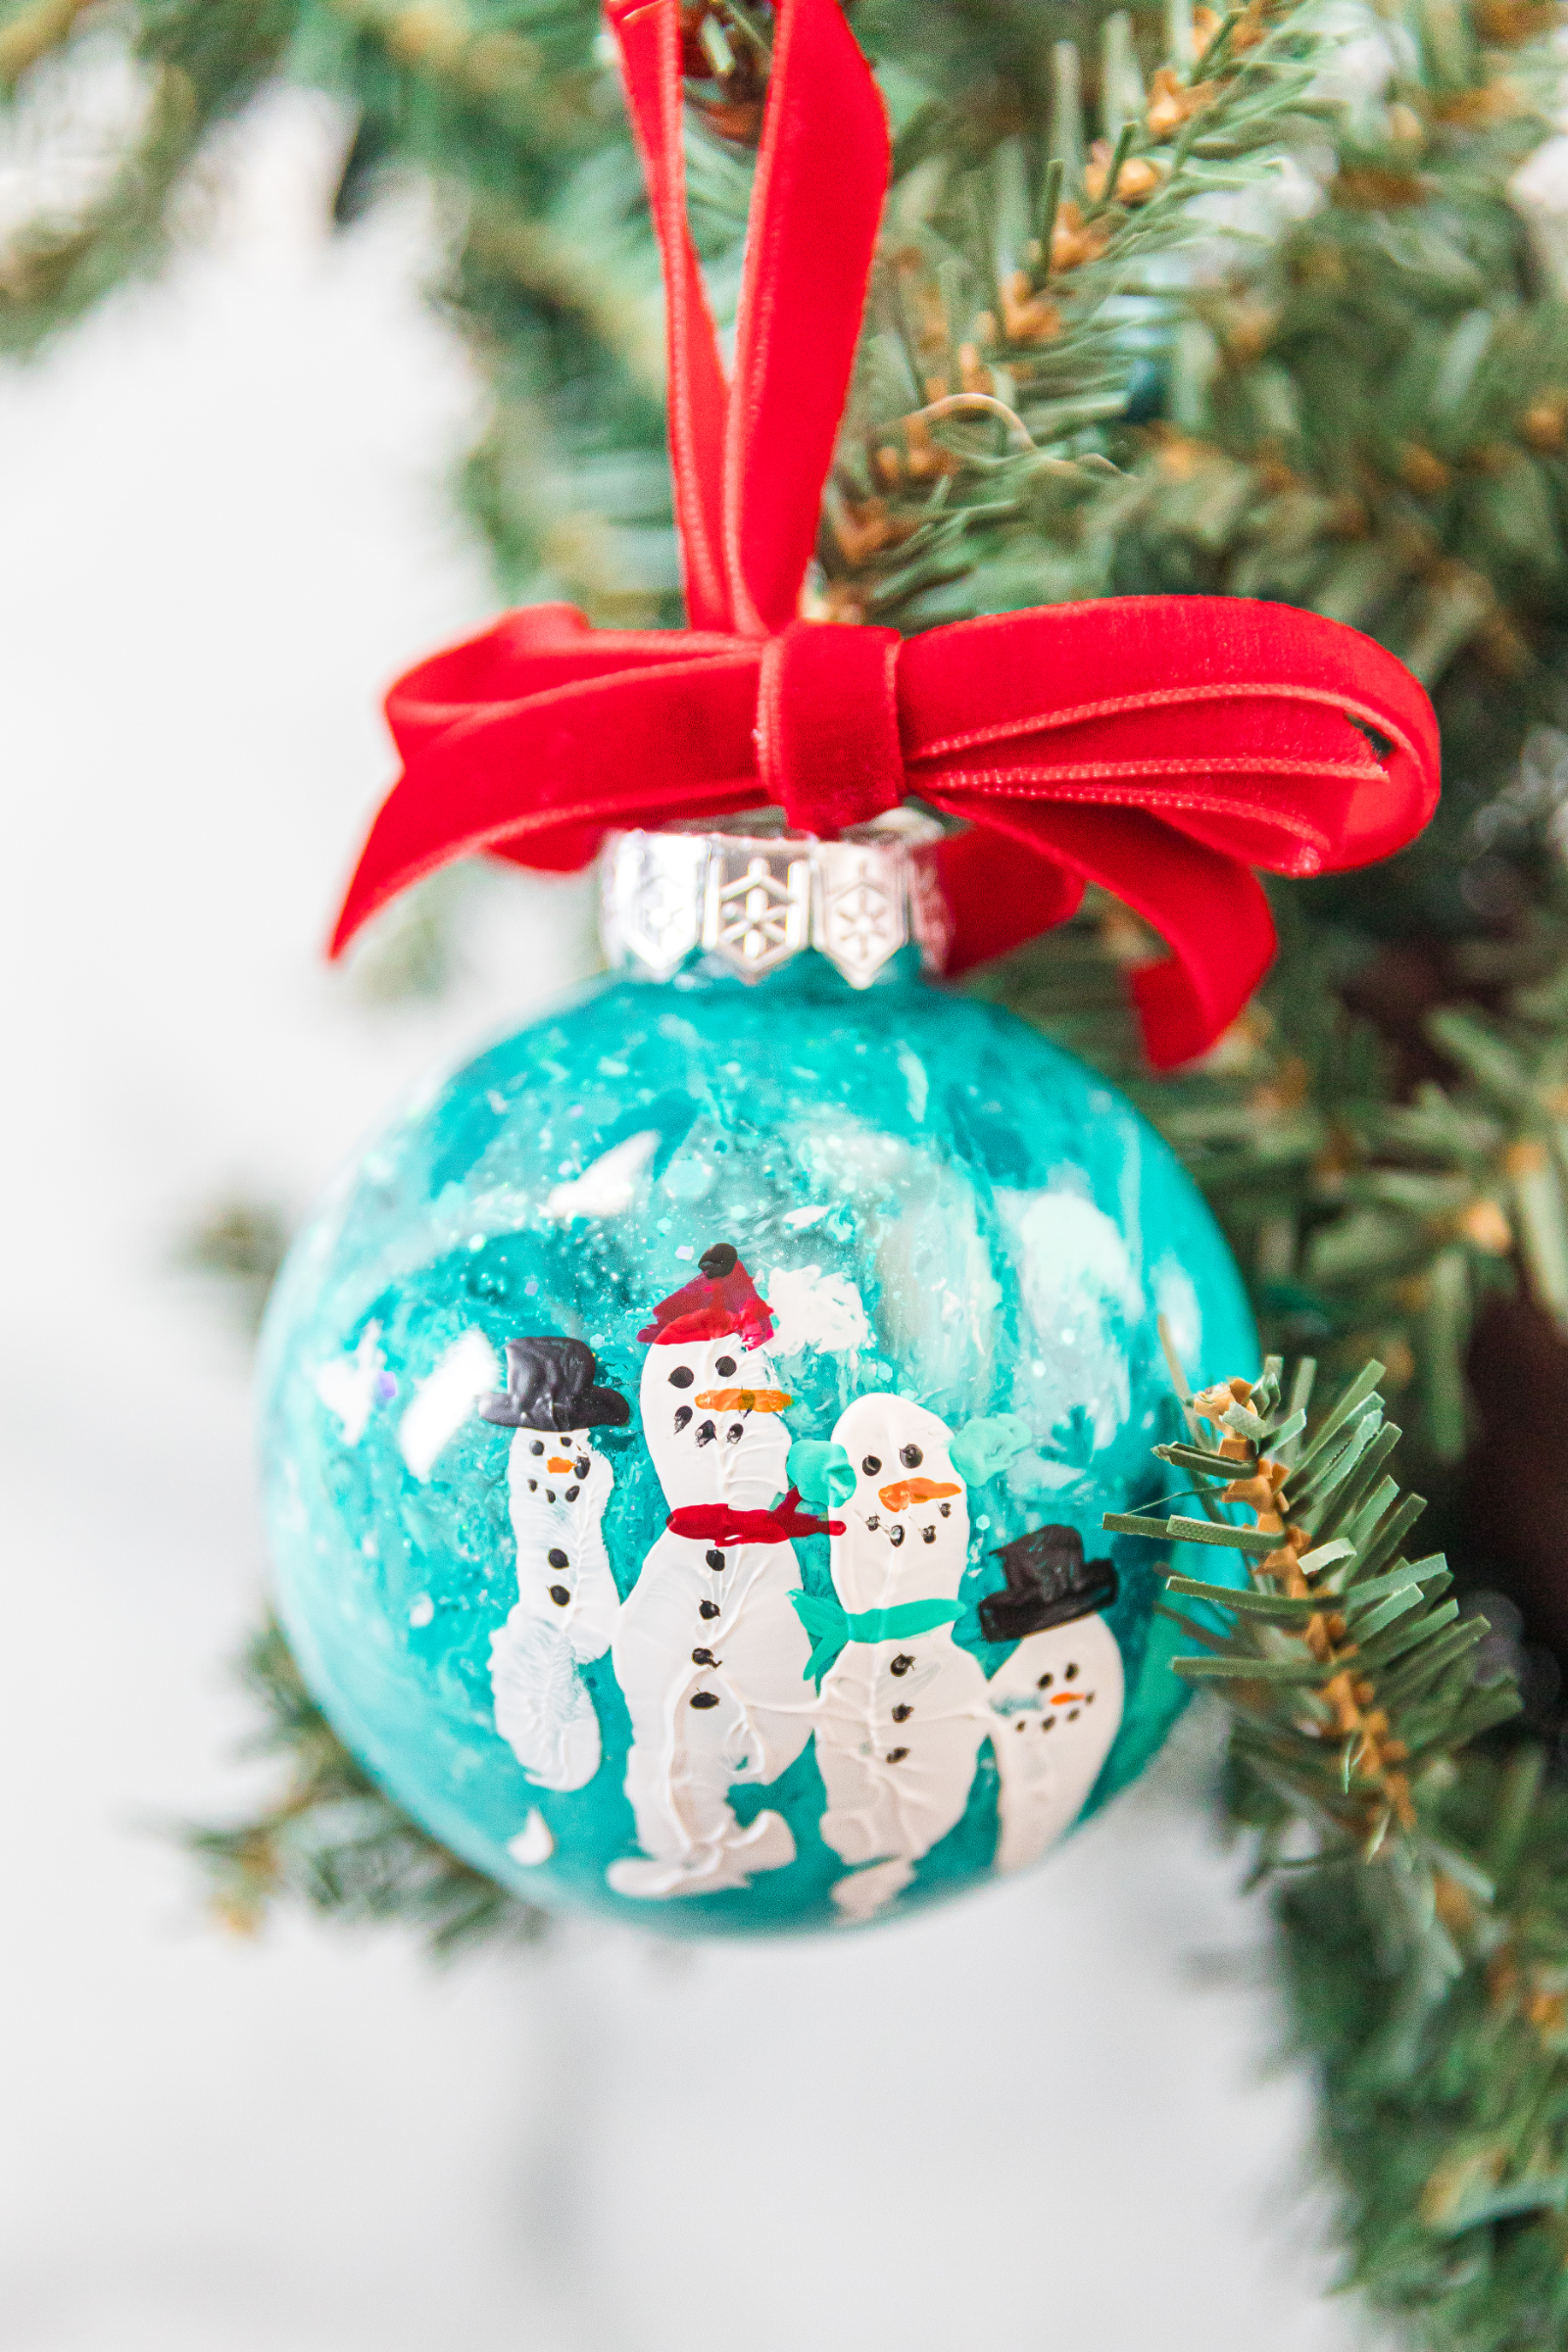
Use acrylic paint, acrylic paint pens, and small paintbrushes to transform each painted finger into a tiny snowman.
You can add:
- Black eyes
- Orange carrot noses
- Smiles
- Buttons
- Colorful scarves
- Winter hats
- Different facial expressions
Give every snowman a slightly different personality or coordinate all of their hats and scarves with your Christmas decorations.
An adult should complete the detailed acrylic painting, particularly when making this project with younger children.
8. Personalize Your Ornament
Use a permanent paint pen to add your child’s name and the year.
This small step transforms the project from a cute snowman ornament into a true family keepsake.
You could write something as simple as:
Emma, 2026
Or add a short message such as:
My Little Snowmen, 2026
Adding the year is especially important if you plan on making handprint ornaments as an annual Christmas tradition.
9. Seal the Ornament, If Desired
Washable children’s paint can scratch more easily than traditional craft paint, so you may want to protect the finished handprint with a clear brush-on sealer.
Allow every painted detail to dry completely before applying the sealer. Choose a product compatible with plastic and follow all of the manufacturer’s instructions for application and curing.
Testing the paint and sealer combination on a spare plastic ornament first is a good idea.
10. Add the Ribbon and Hang
Once everything has completely dried and cured, replace the ornament cap and attach a ribbon or ornament hanger.
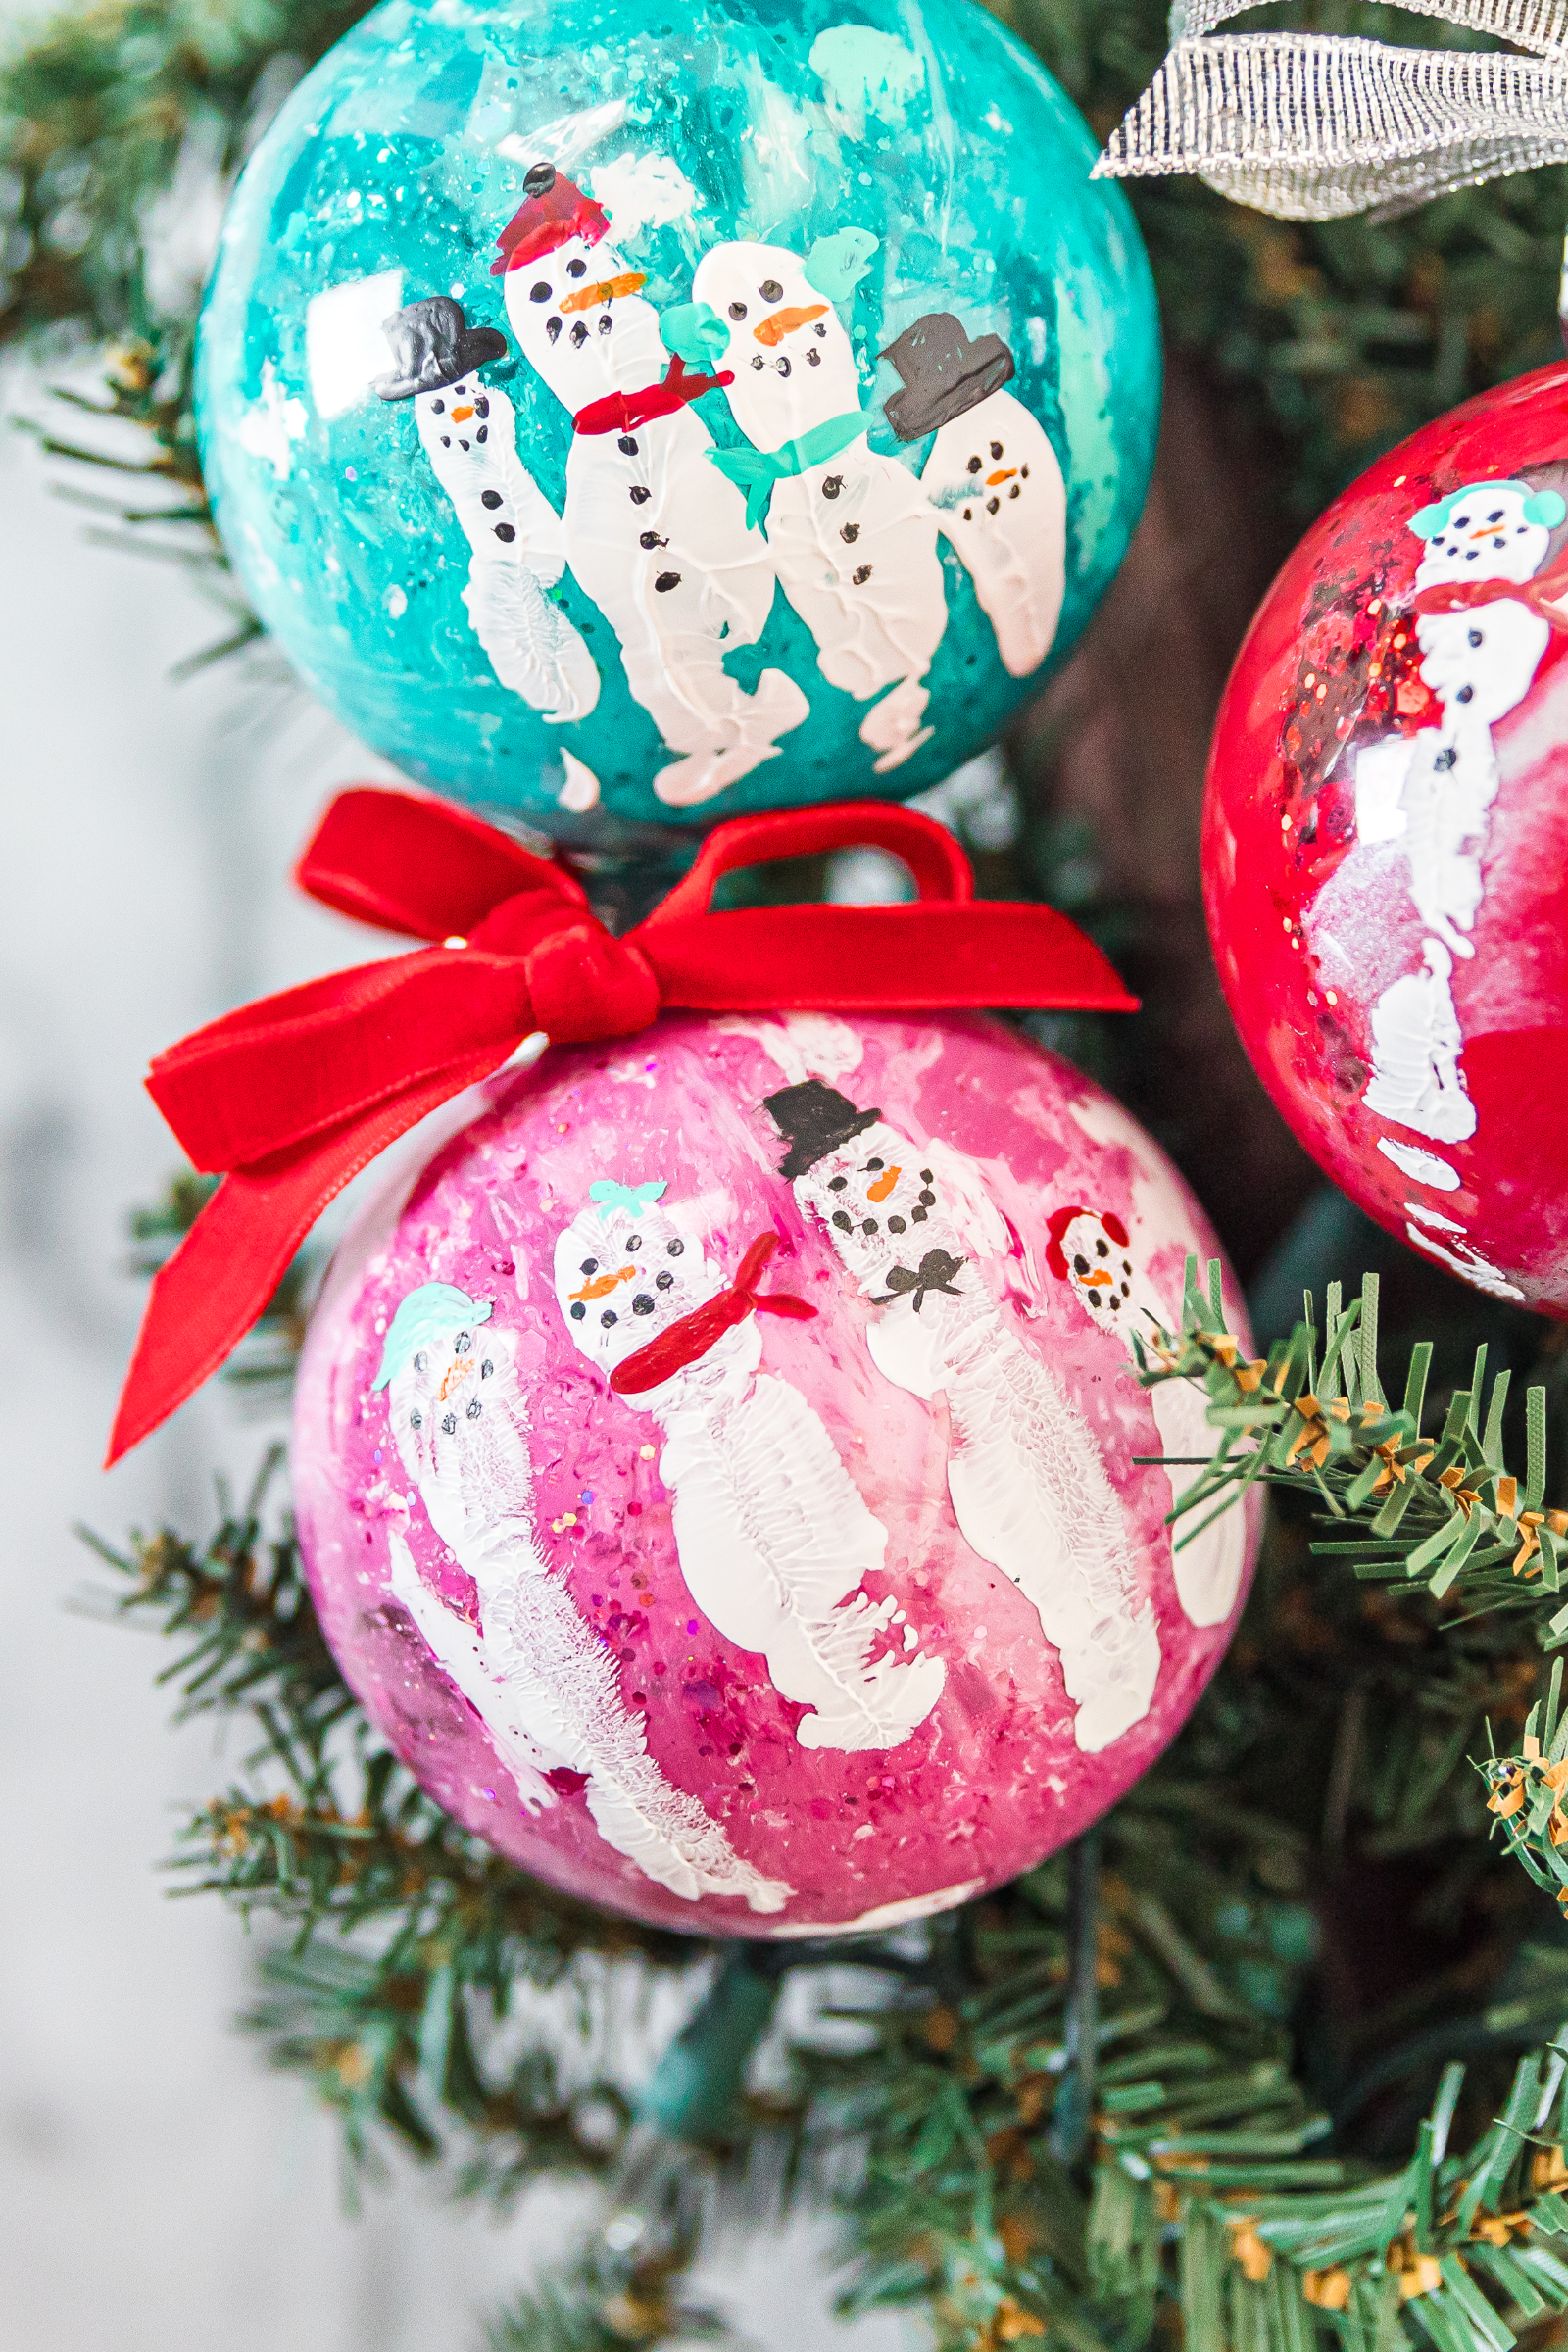
Your Snowman Handprint Keepsake Ornament is ready for the Christmas tree.

Tips for Getting the Best Handprint
Getting a clear handprint on a round ornament can be slightly trickier than making one on a flat piece of paper. A little preparation makes a big difference.
Use a plastic ornament instead of glass when crafting with children. Plastic is safer for little hands and much less likely to break if it gets dropped.
Choose an ornament large enough to comfortably accommodate your child’s hand. We used a 3.15-inch or 80mm ornament, but the ideal size will depend on your child’s age and hand size.
Apply a thin and even coat of washable paint. Too much paint can make the handprint look like one solid shape instead of showing individual fingers.
For younger children, gently help them keep their fingers slightly separated before pressing.
Most importantly, try to make the print with one press. Sliding the hand across the ornament can create smudges.
An Easy Drying Trick
One of the biggest challenges with this project is keeping the glue and paint from collecting at the bottom of the ornament.
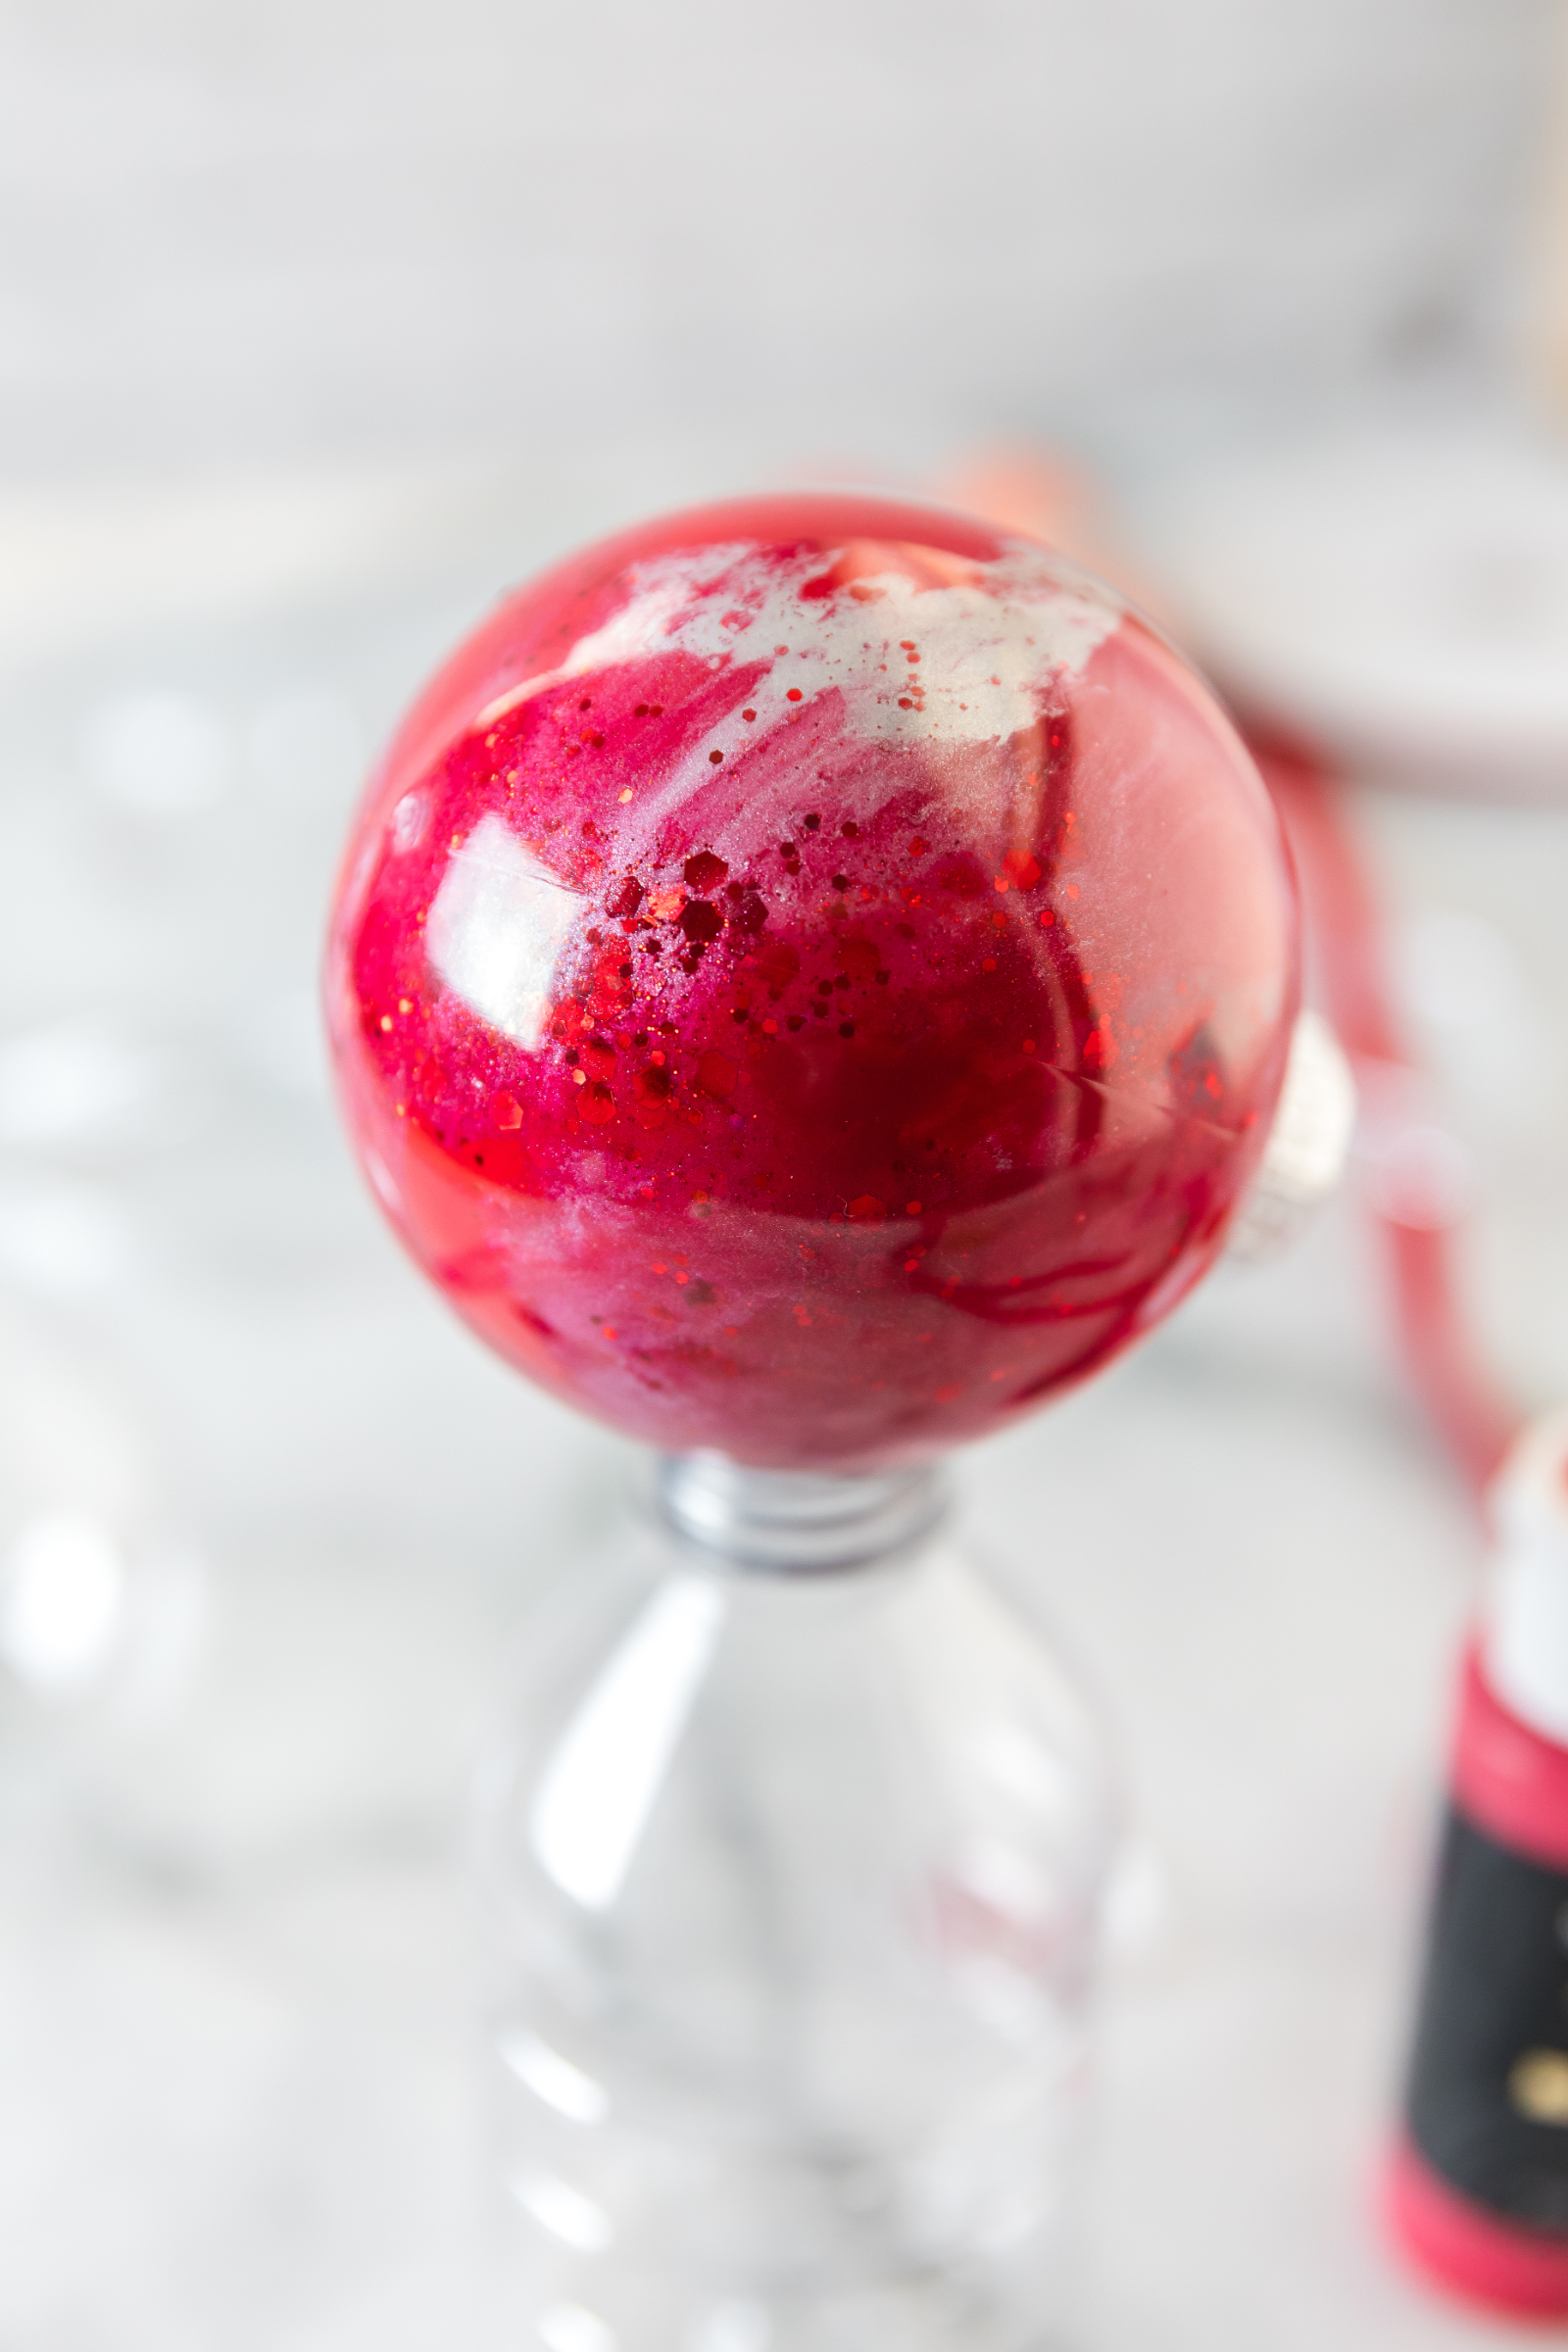
An empty water bottle or disposable plastic cup makes a convenient ornament drying stand. Position the ornament so you can easily rotate it periodically as the interior dries.
A disposable cup is particularly useful because any excess glue or paint that runs from the opening can drip directly into the cup, making cleanup much easier.
Leave the top off the ornament while the interior glue, glitter, and paint dry. This can help everything dry more quickly, but place something underneath to catch any drips.
Turn It Into a Christmas Tradition
One of the sweetest things about this Christmas craft is that you can repeat it year after year.
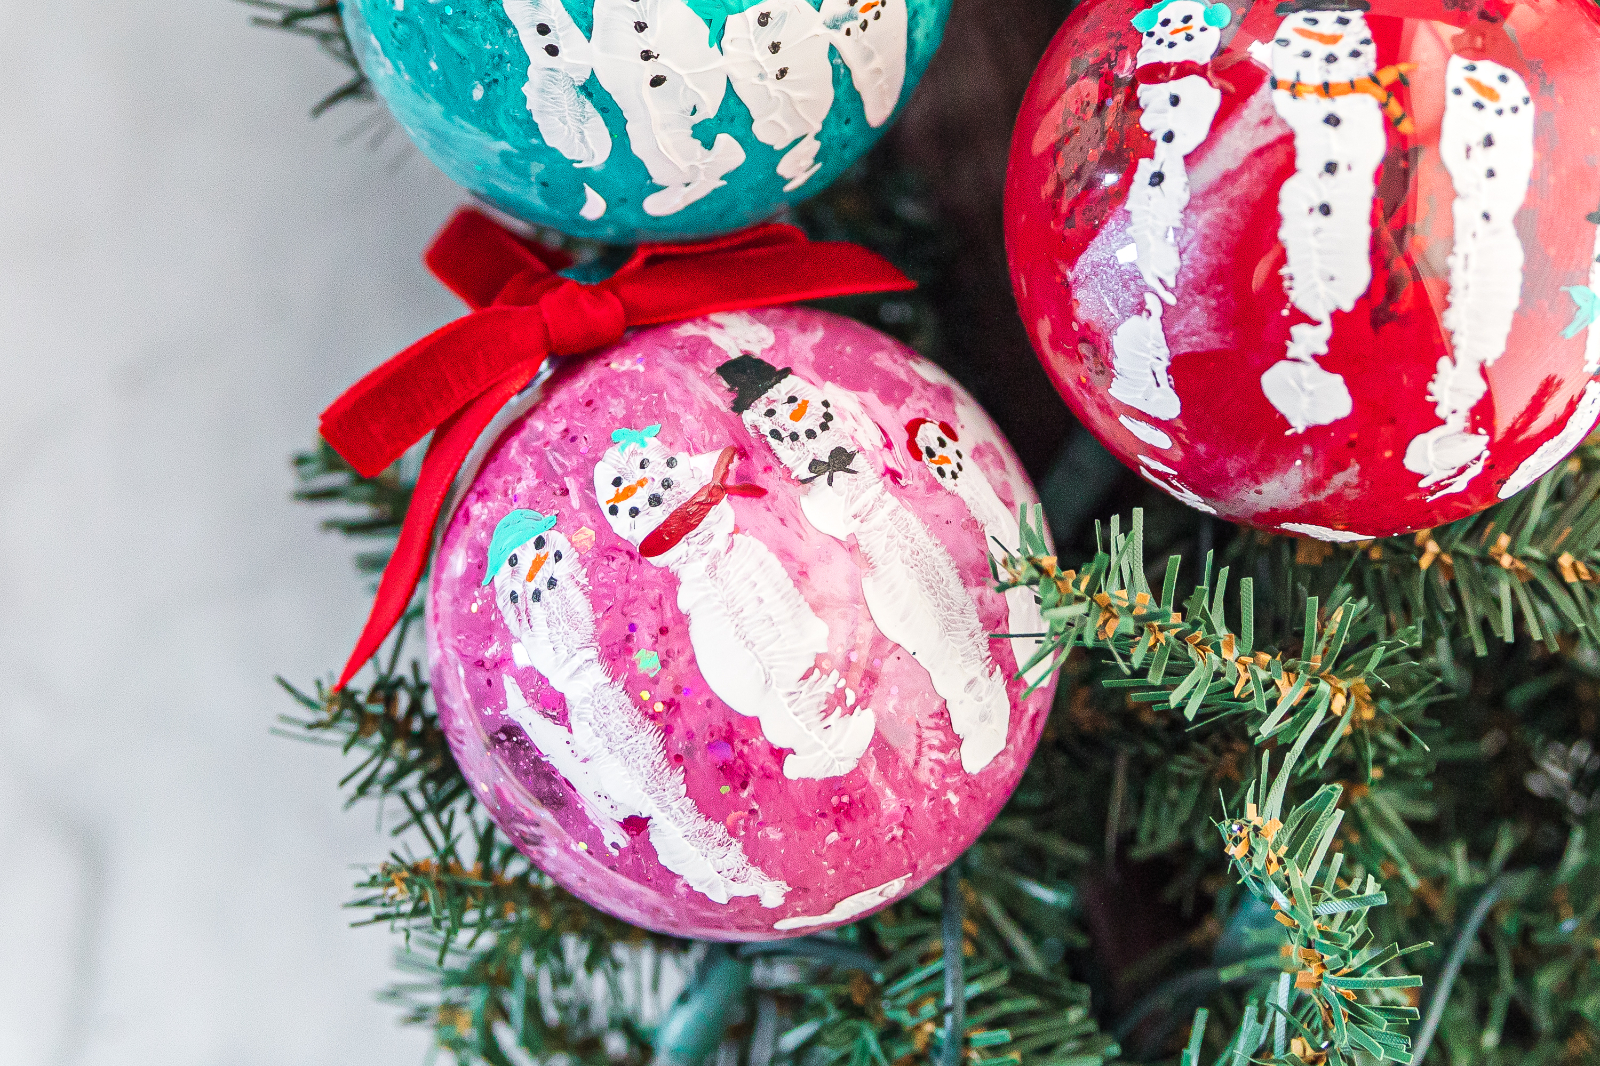
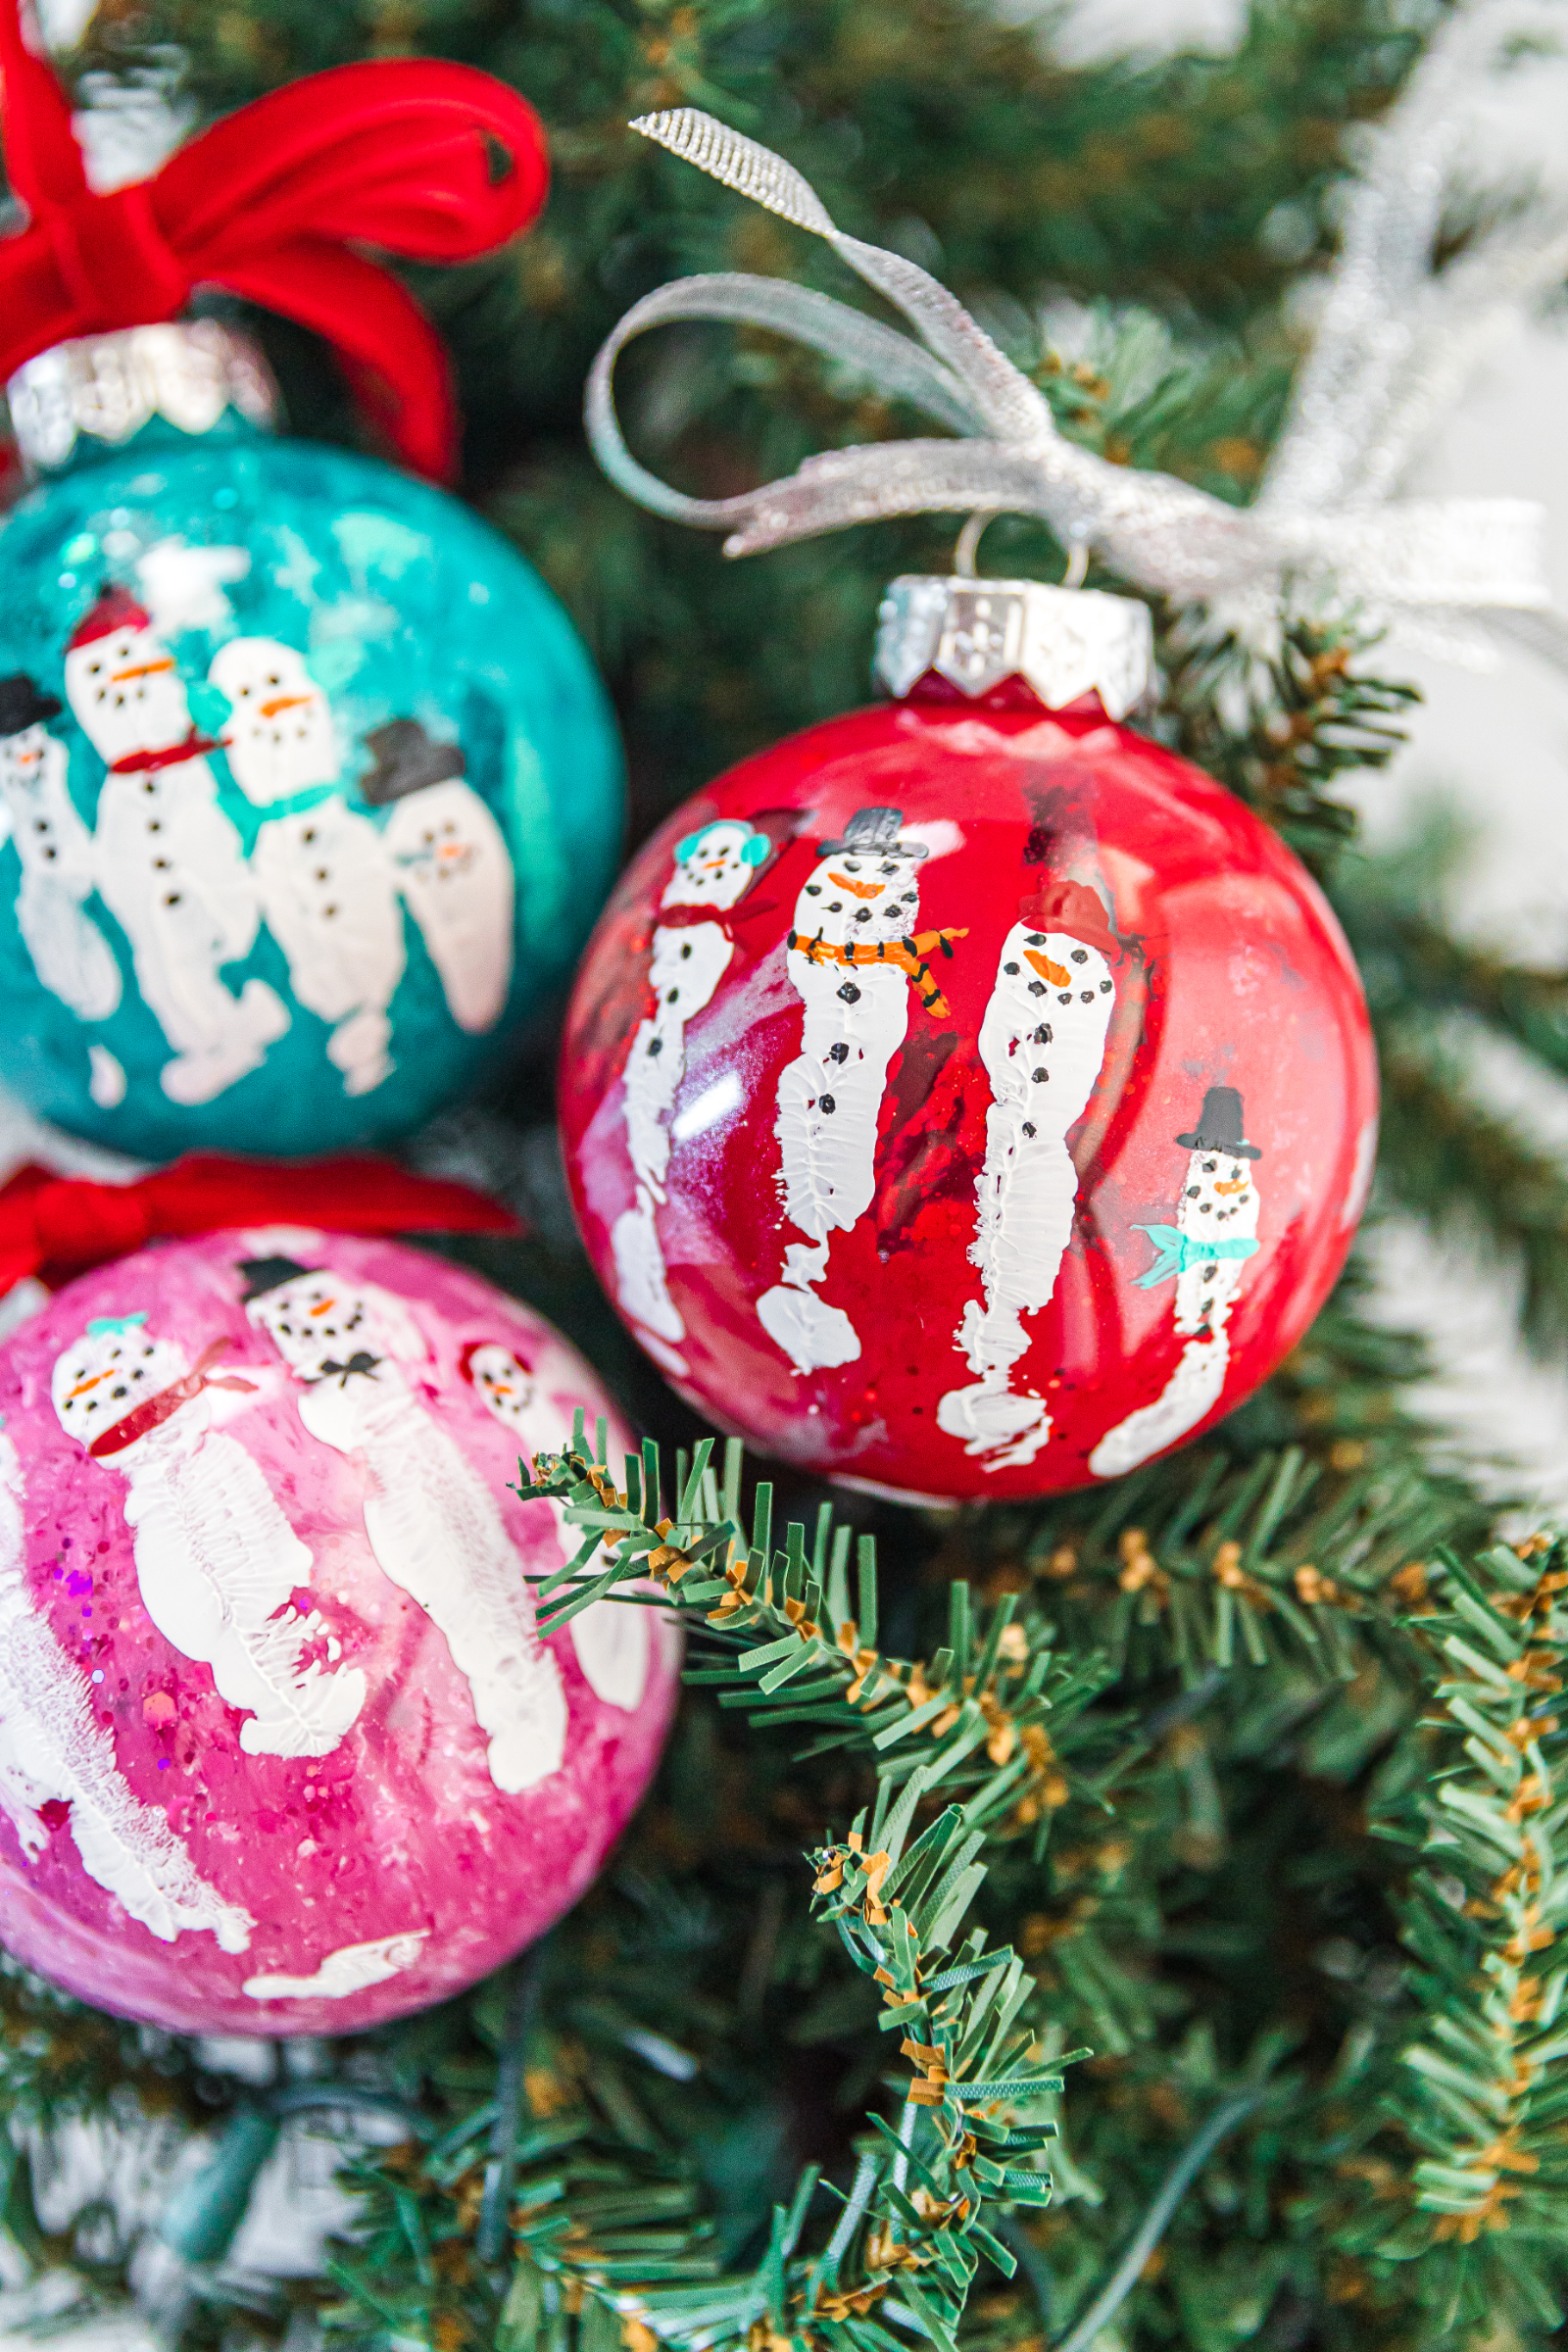
Make one ornament this Christmas and another next Christmas using the same size ornament. Over time, you’ll have a collection that shows how much your child’s hand has grown.
You could also change the colors each year or let your child choose the glitter and snowman accessories as they get older.
For families with multiple children, assign each child a different ornament color. You could even add handprints to both sides of a larger ornament if there’s enough room.
These ornaments also make meaningful homemade Christmas gifts. Grandparents, aunts, uncles, godparents, and other loved ones may especially appreciate receiving a keepsake featuring the child’s actual handprint.
Important Safety Notes
Adult supervision is required throughout this project.
Only use washable children’s paint labeled as appropriate for skin contact when making the handprint. Follow all safety, washing, and cleanup instructions provided by the paint manufacturer.
Do not apply regular acrylic craft paint directly to a child’s skin unless the manufacturer specifically states that the product is suitable for that purpose. Acrylic craft paint can be used for decorating the dried handprint and adding the snowman details.
Adults should handle the detailed acrylic painting and sealing steps.
Keep glue, glitter, paints, sealer, and small ornament components out of reach of young children. Work in a well-ventilated area when using a sealer and follow the manufacturer’s safety directions.
The finished ornament is intended for decorative use only and should not be treated as a toy.

Snowman Handprint Keepsake Ornament FAQs
What will I need to complete this project?
You’ll need a clear round plastic fillable ornament, clear craft glue, glitter, washable children’s paint suitable for handprint crafts, acrylic paint or paint pens, small paintbrushes, a funnel or folded paper, and ribbon or an ornament hanger. You may also want a foam brush or disposable plate, clear brush-on sealer, permanent paint pen, and baby wipes for cleanup.
Can I use a glass ornament?
A plastic fillable ornament is recommended. Plastic is safer for children to hold while creating the handprint and is much less likely to break if accidentally dropped.
What size ornament works best?
Choose a round ornament with enough room for your child’s palm and fingers. The ideal size depends on your child’s age and hand size. We used a 3.15-inch or 80mm ornament for this project.
Can I use regular acrylic paint for the handprint?
No. Regular acrylic craft paint should not be applied directly to a child’s skin unless its manufacturer specifically states that it is safe for skin contact.
Use washable children’s paint intended for handprint crafts for the actual handprint. Regular acrylic craft paint can be used afterward to create the snowman faces, hats, scarves, buttons, and other decorative details.
Will the handprint stay on the ornament?
Washable paint can scratch, particularly on a smooth plastic surface. Applying a compatible clear brush-on sealer after the paint has completely dried can help protect your finished ornament.
Test your paint and sealer on a spare ornament first to make sure the products work well together.
Can I use a spray sealer?
A brush-on sealer provides more control and can help you avoid overspray on areas you don’t want coated. Whichever product you choose, make sure it is compatible with plastic and follow the manufacturer’s instructions carefully.
How long should the ornament dry?
Plan for approximately 24 hours of total drying time, although the exact timing depends on the products you use.
Allow each layer to dry completely before moving to the next stage. If you seal the ornament, follow the sealer manufacturer’s recommended drying and curing times before handling, hanging, or storing it.
Can I add more than one child’s handprint?
Yes. If your ornament is large enough, you can add a handprint to each side. Let the first handprint dry completely before turning the ornament over and making the second.
Another option is to give each child their own ornament and create a coordinating set for your Christmas tree.
How should I store the ornament?
Once Christmas is over, wrap the ornament gently in tissue paper and place it inside a sturdy ornament storage box. Avoid stacking heavy decorations on top of it and try to keep the painted surface from rubbing against other ornaments.
A Handmade Christmas Ornament Worth Keeping
Christmas trees have a way of becoming family scrapbooks. Alongside the shiny store-bought decorations are the ornaments that remind us of babies’ first Christmases, preschool crafts, family vacations, and Christmas mornings from years ago.
This Snowman Handprint Keepsake Ornament deserves a place among those special decorations.
It might only take a few minutes to press your child’s hand onto the ornament, but that little handprint captures a moment you can’t recreate once they’ve grown. Add their name and the year, and you’ll have a personalized tree ornament that becomes more meaningful every Christmas.
Make one for your own tree, create extras as gifts for grandparents, or start a yearly handprint ornament tradition. However you use it, this simple children’s Christmas craft is a sweet way to preserve those little fingers for many Christmases to come.