DIY Christmas Salt Dough Ornaments – A Festive Holiday Craft for All Ages
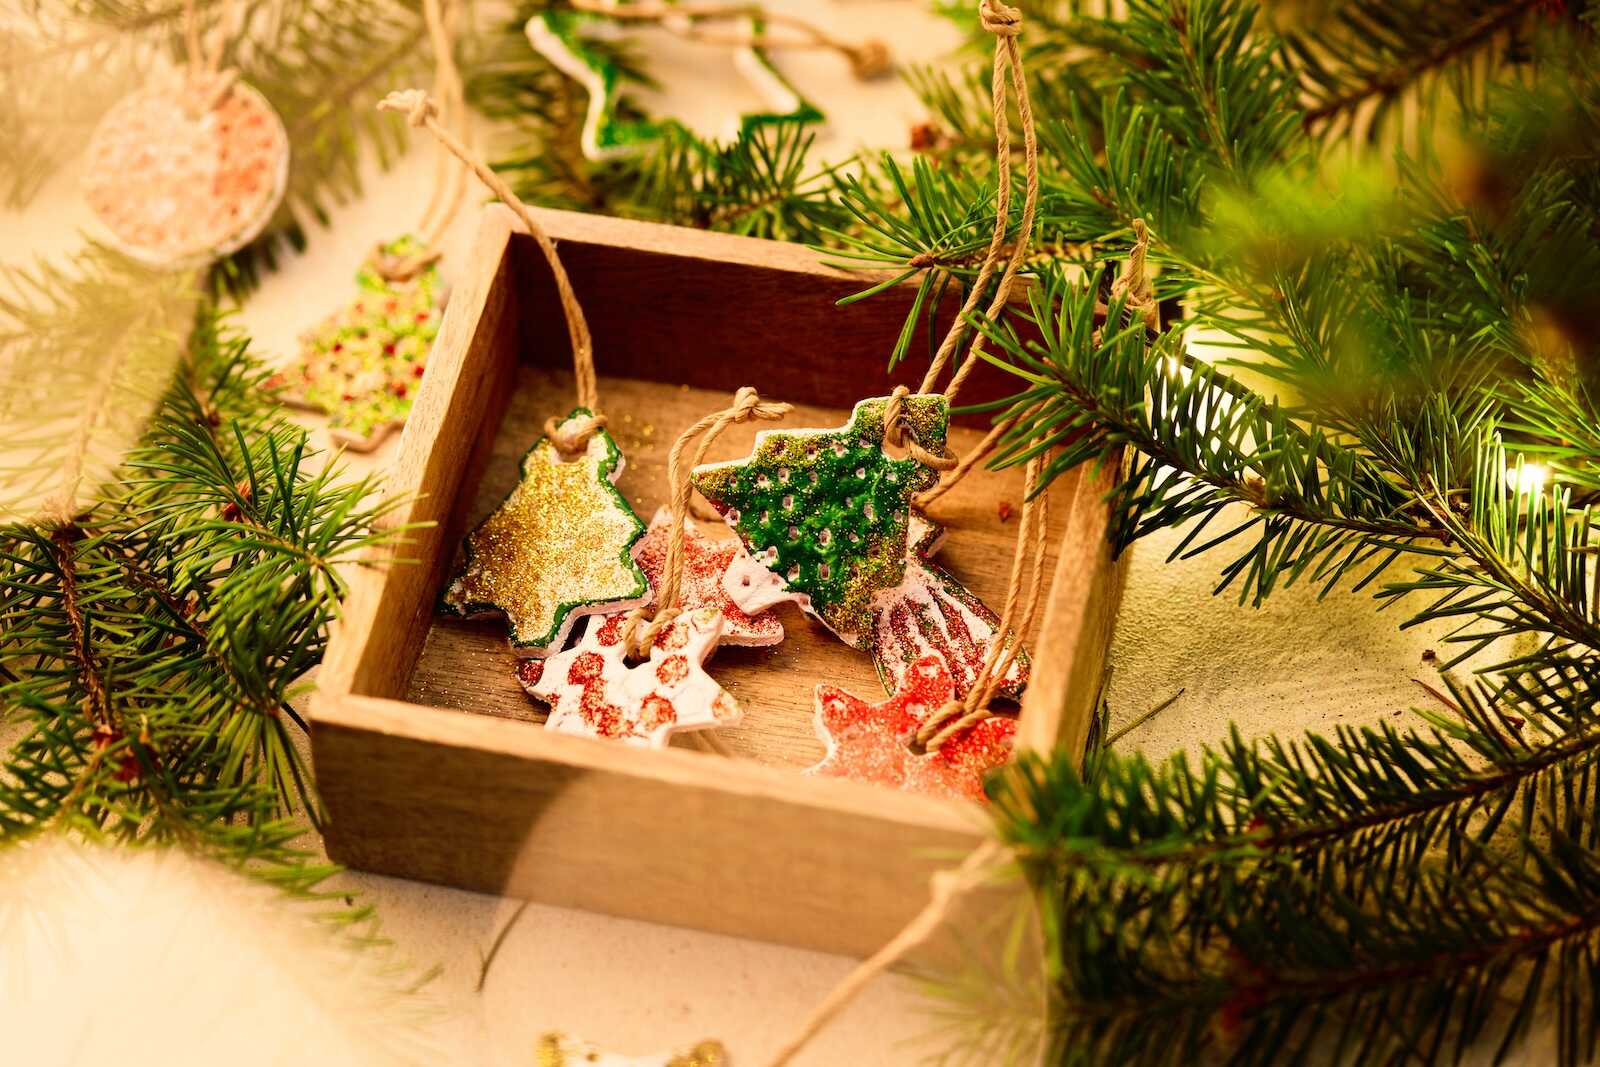
There’s nothing quite like the charm of handmade Christmas decorations. From garlands to wreaths, homemade touches infuse the season with warmth and nostalgia. One timeless craft that continues to delight both kids and adults is making DIY Salt Dough Ornaments. These rustic, customizable ornaments are inexpensive, easy to create, and can become cherished keepsakes for years to come.
In this post, you’ll find a complete guide to making your own salt dough ornaments for the holidays—from the basic recipe to creative decorating ideas, preservation tips, and fun variations to try with your family.


What Are Salt Dough Ornaments?
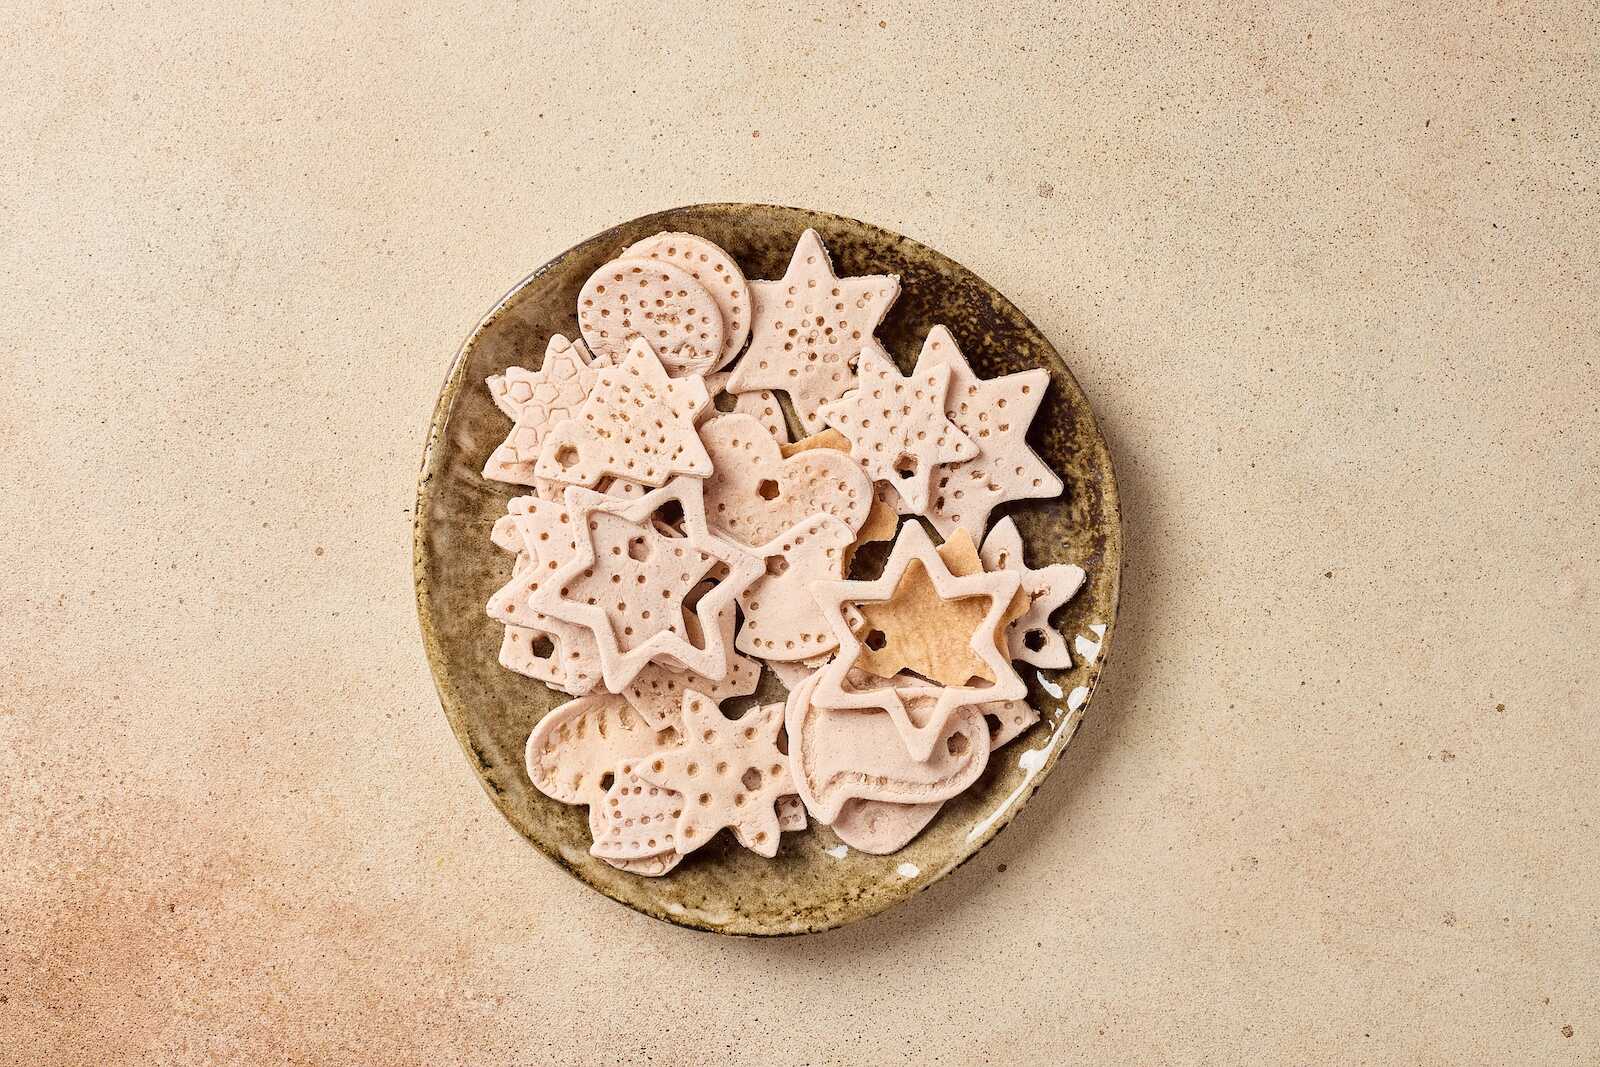
Salt dough ornaments are made from a simple mixture of flour, salt, and water. The dough can be rolled out and cut into festive shapes using cookie cutters or hand-shaped into custom designs. Once dried and hardened, they can be painted, stamped, or embellished to suit your holiday décor.
This old-fashioned craft is especially popular among families because it’s safe for children, and the results can be as simple or detailed as you like.


Why You’ll Love This Craft
- Budget-Friendly: Uses pantry staples you probably already have.
- Kid-Friendly: A great craft project for toddlers, school-age kids, and teens.
- Customizable: Paint, glitter, stamp, or personalize with names and dates.
- Keepsake Worthy: Perfect for baby’s first Christmas handprint or paw print ornaments.
- Gift-Ready: Makes thoughtful handmade gifts or gift tag embellishments.
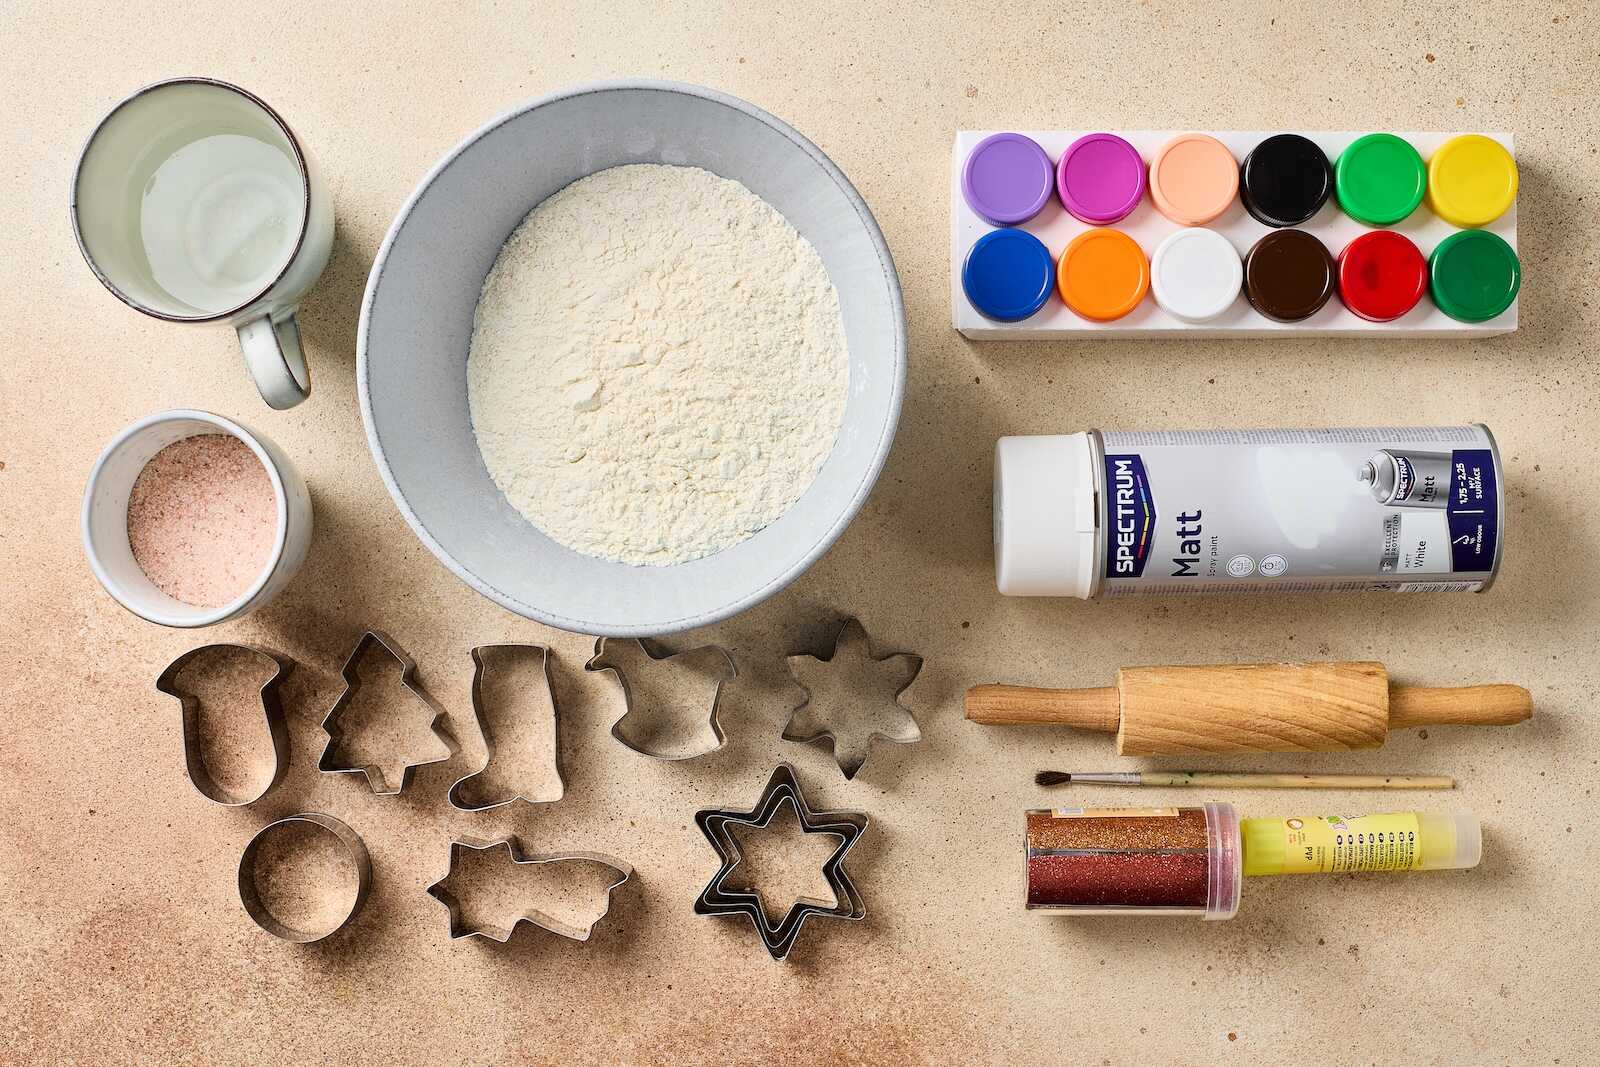
Ingredients & Supplies
Before you start crafting, gather the following:
Salt Dough Recipe:
- 2 cups all-purpose flour
- ½ cup fine salt
- ¾ cup warm water (you may need slightly more or less)
For Decorating:
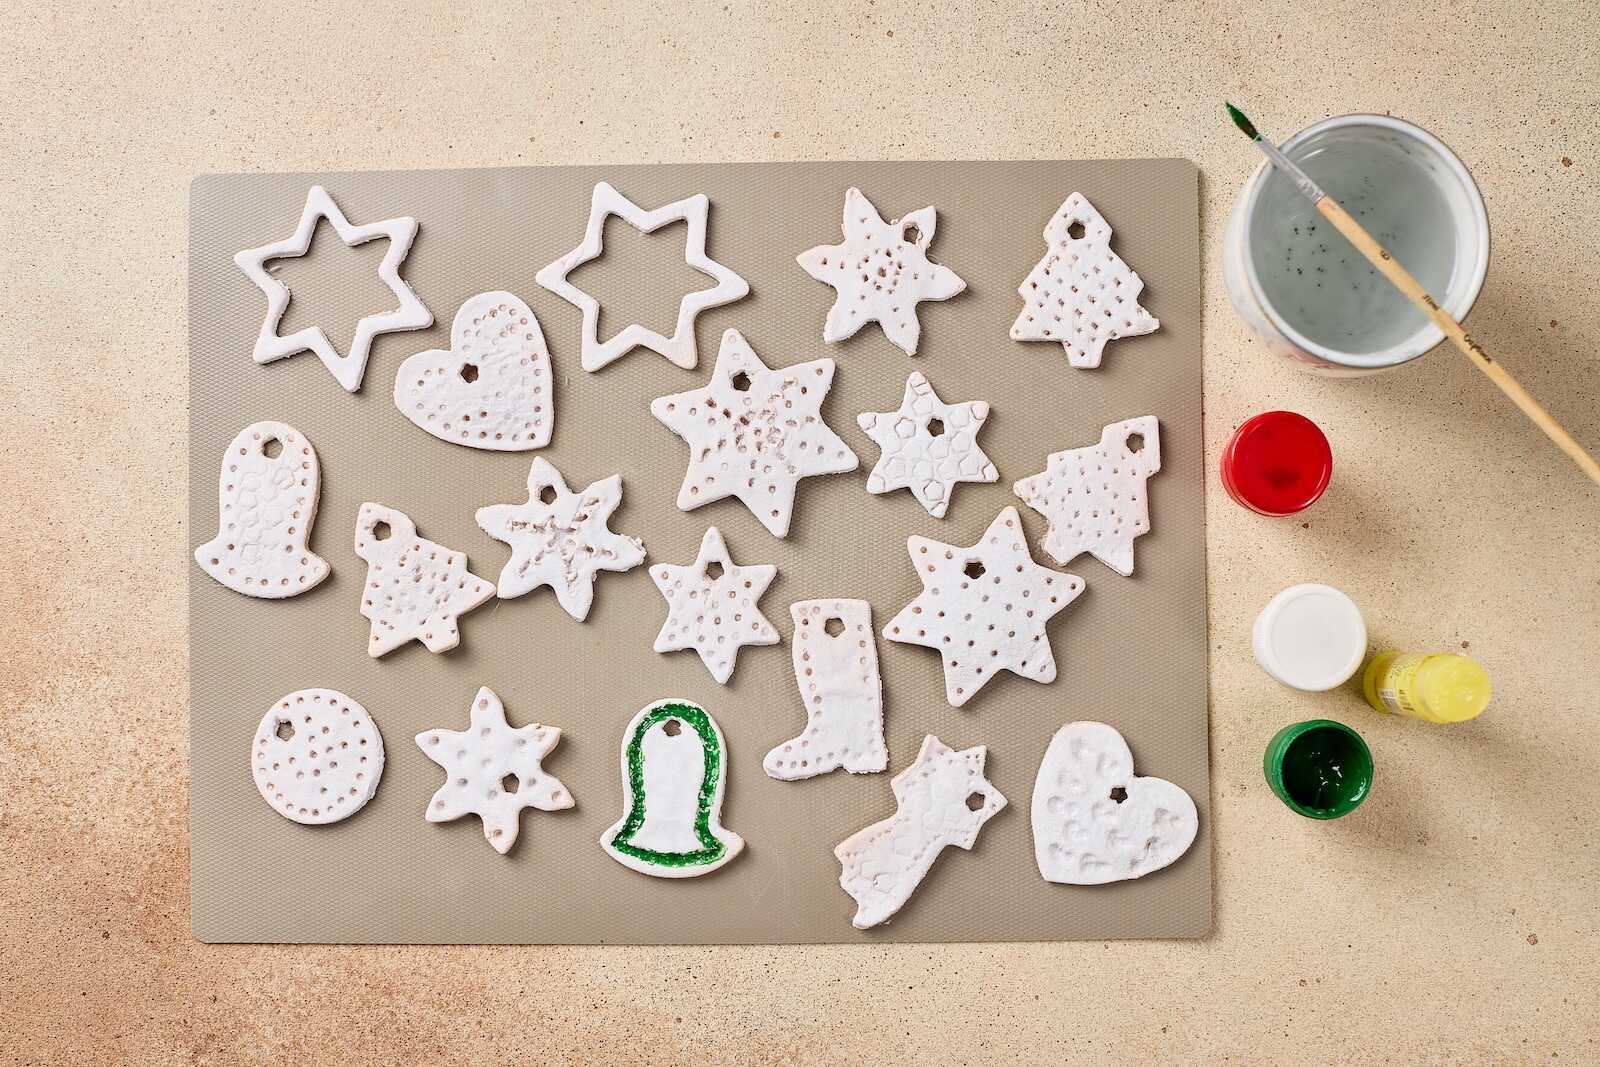
- Acrylic paint (red, green, white, gold, etc.)
- Glitter (fine or chunky)
- Paintbrushes
- Ribbon or twine (for hanging)
- Clear sealer (Mod Podge gloss or acrylic spray)
Step-by-Step Instructions
Step 1: Make the Dough
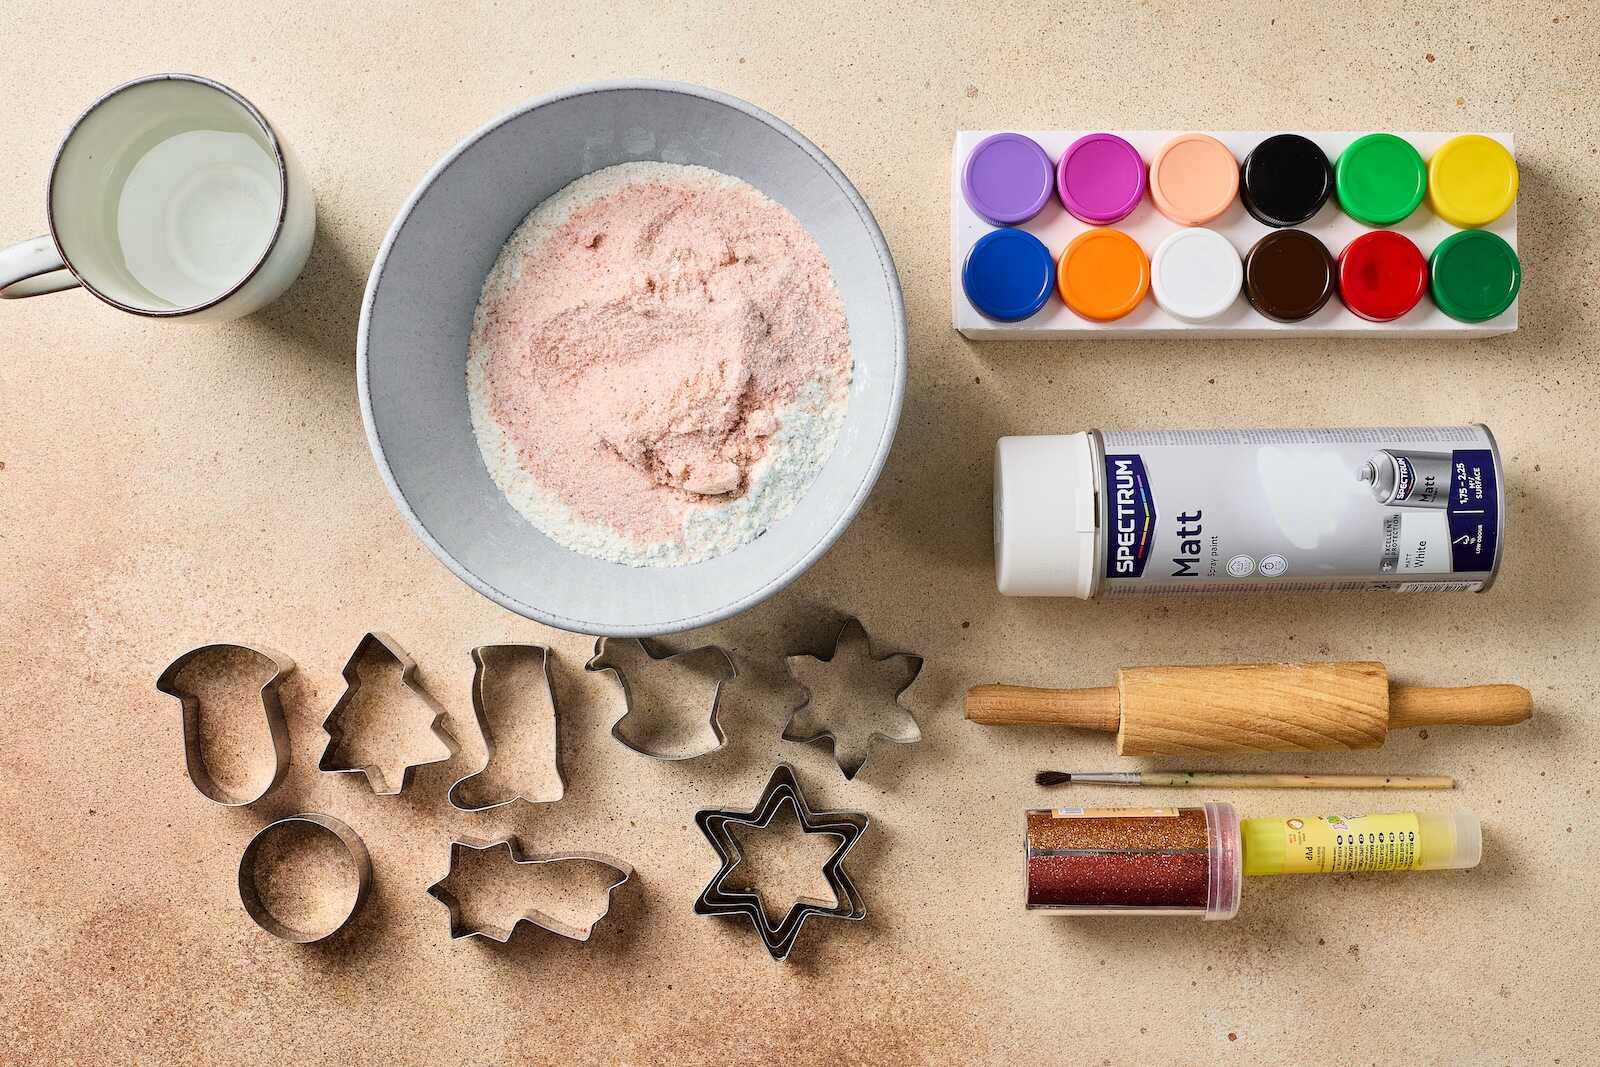
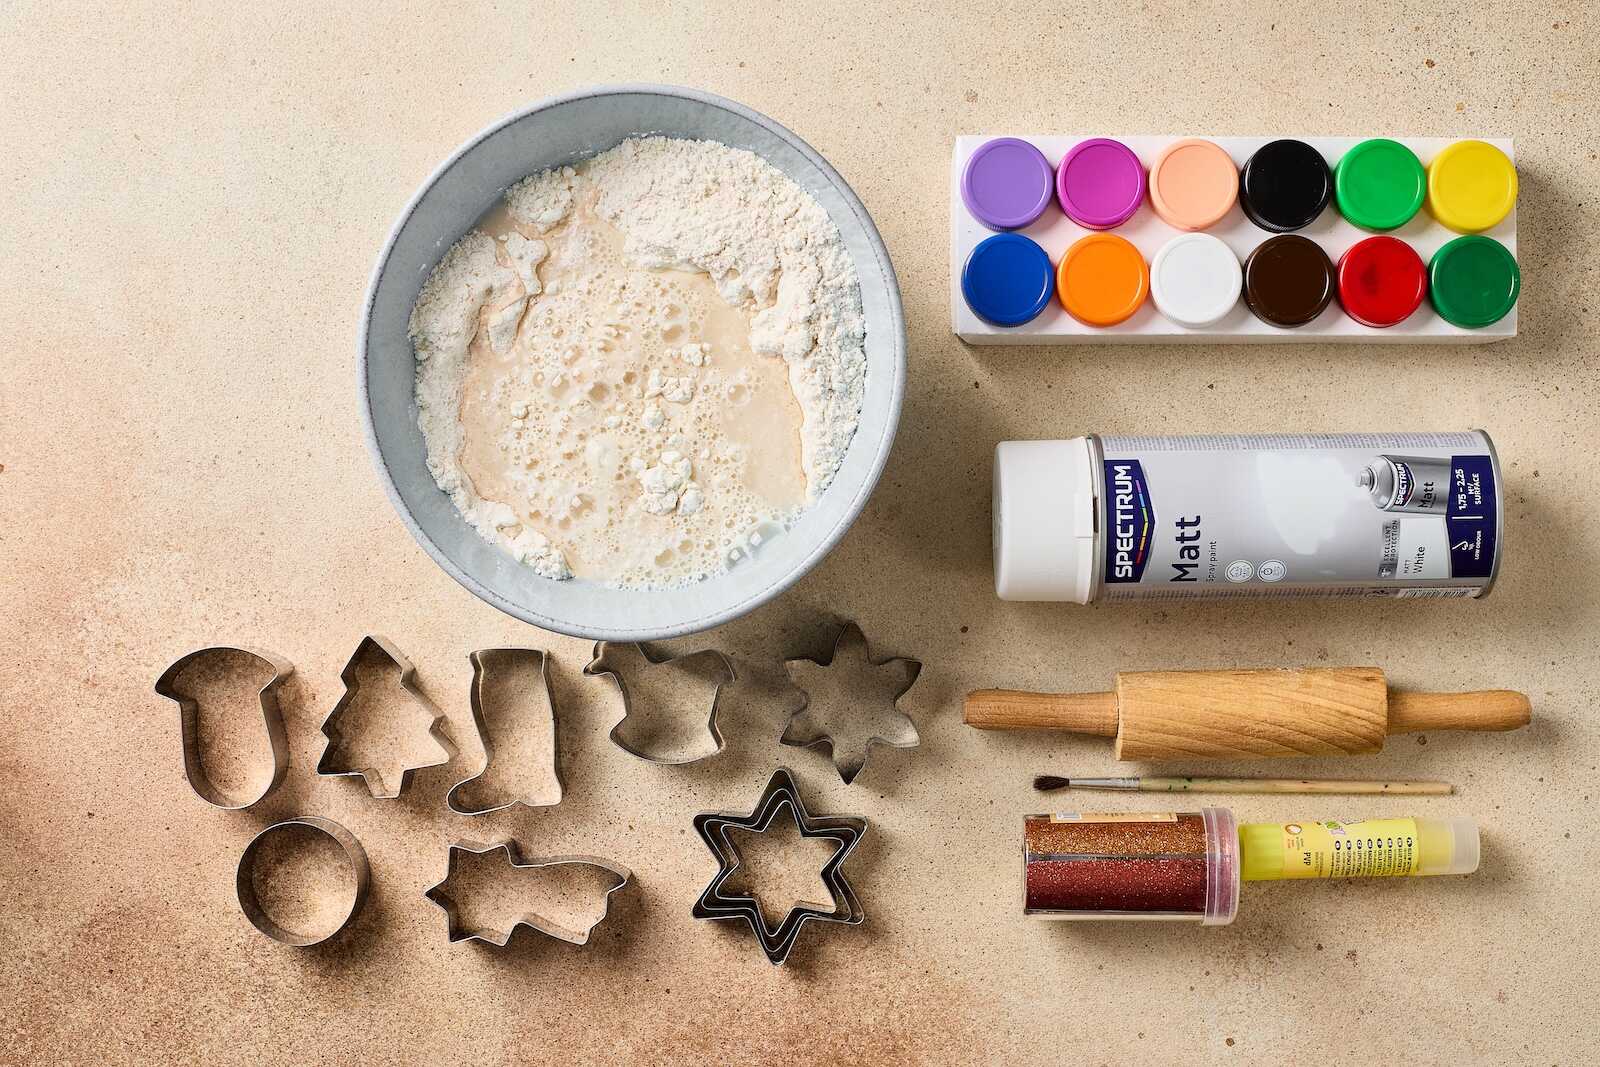
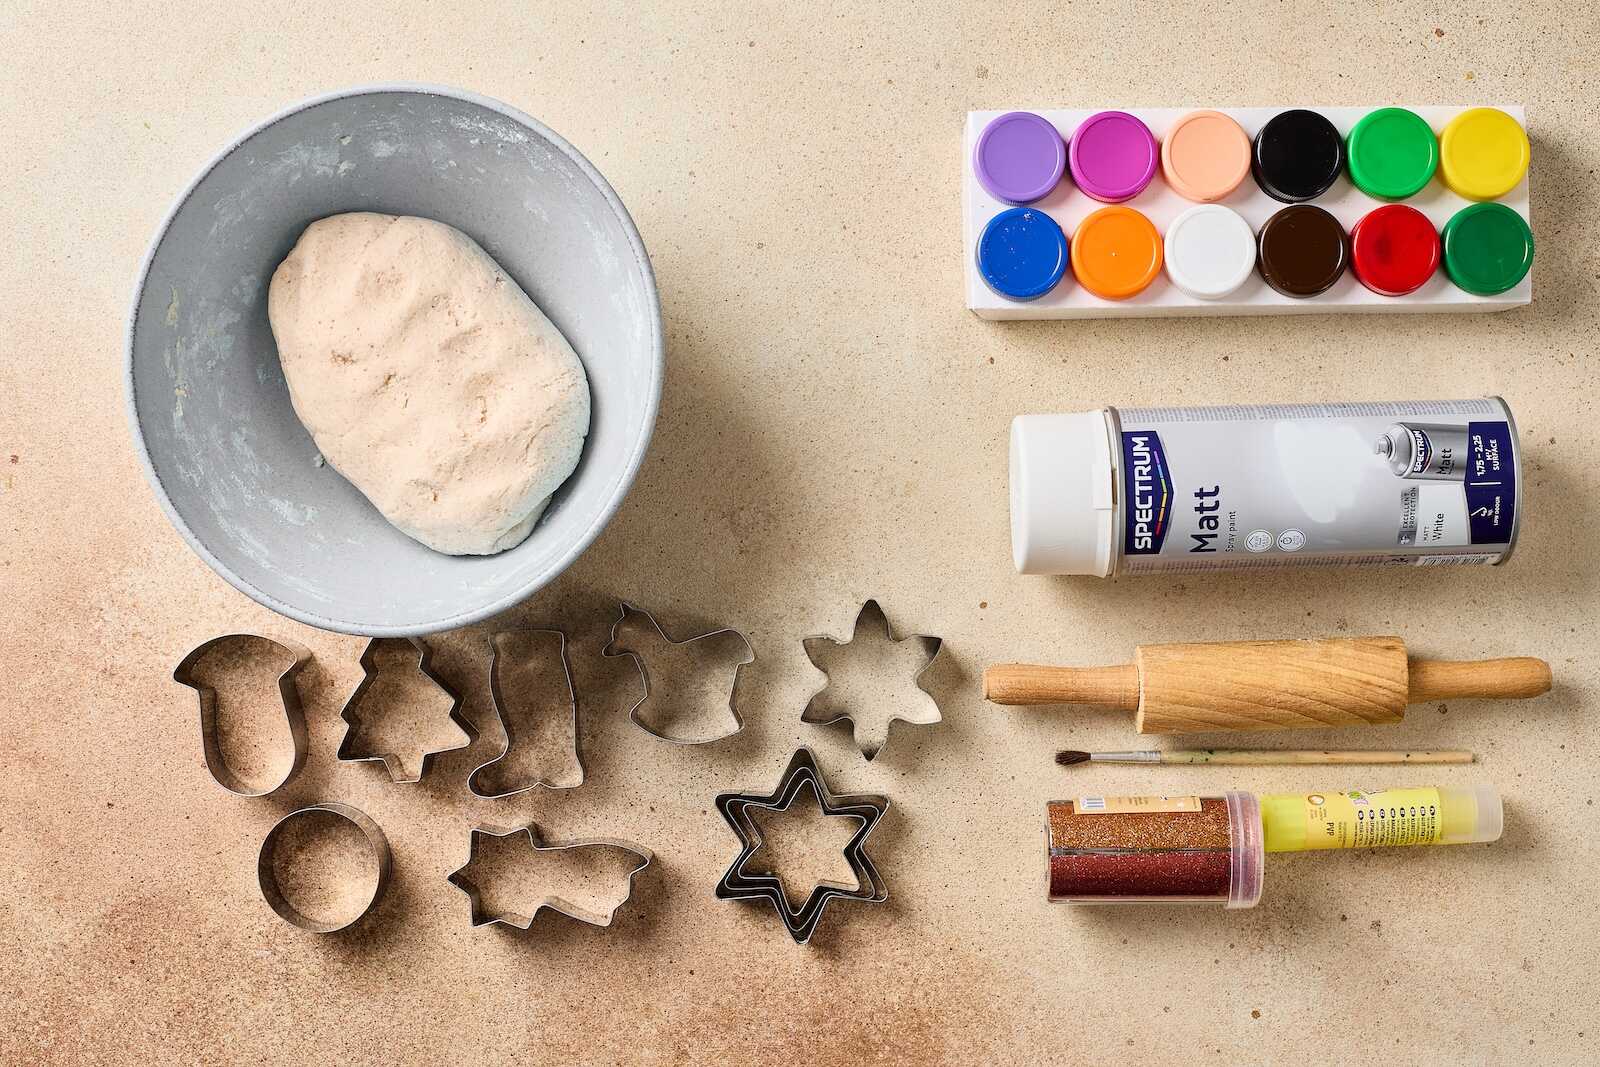
In a mixing bowl, combine flour and salt. Gradually stir in warm water. Knead for 5–10 minutes until smooth and not sticky. Add more flour if needed.
Step 2: Roll Out the Dough
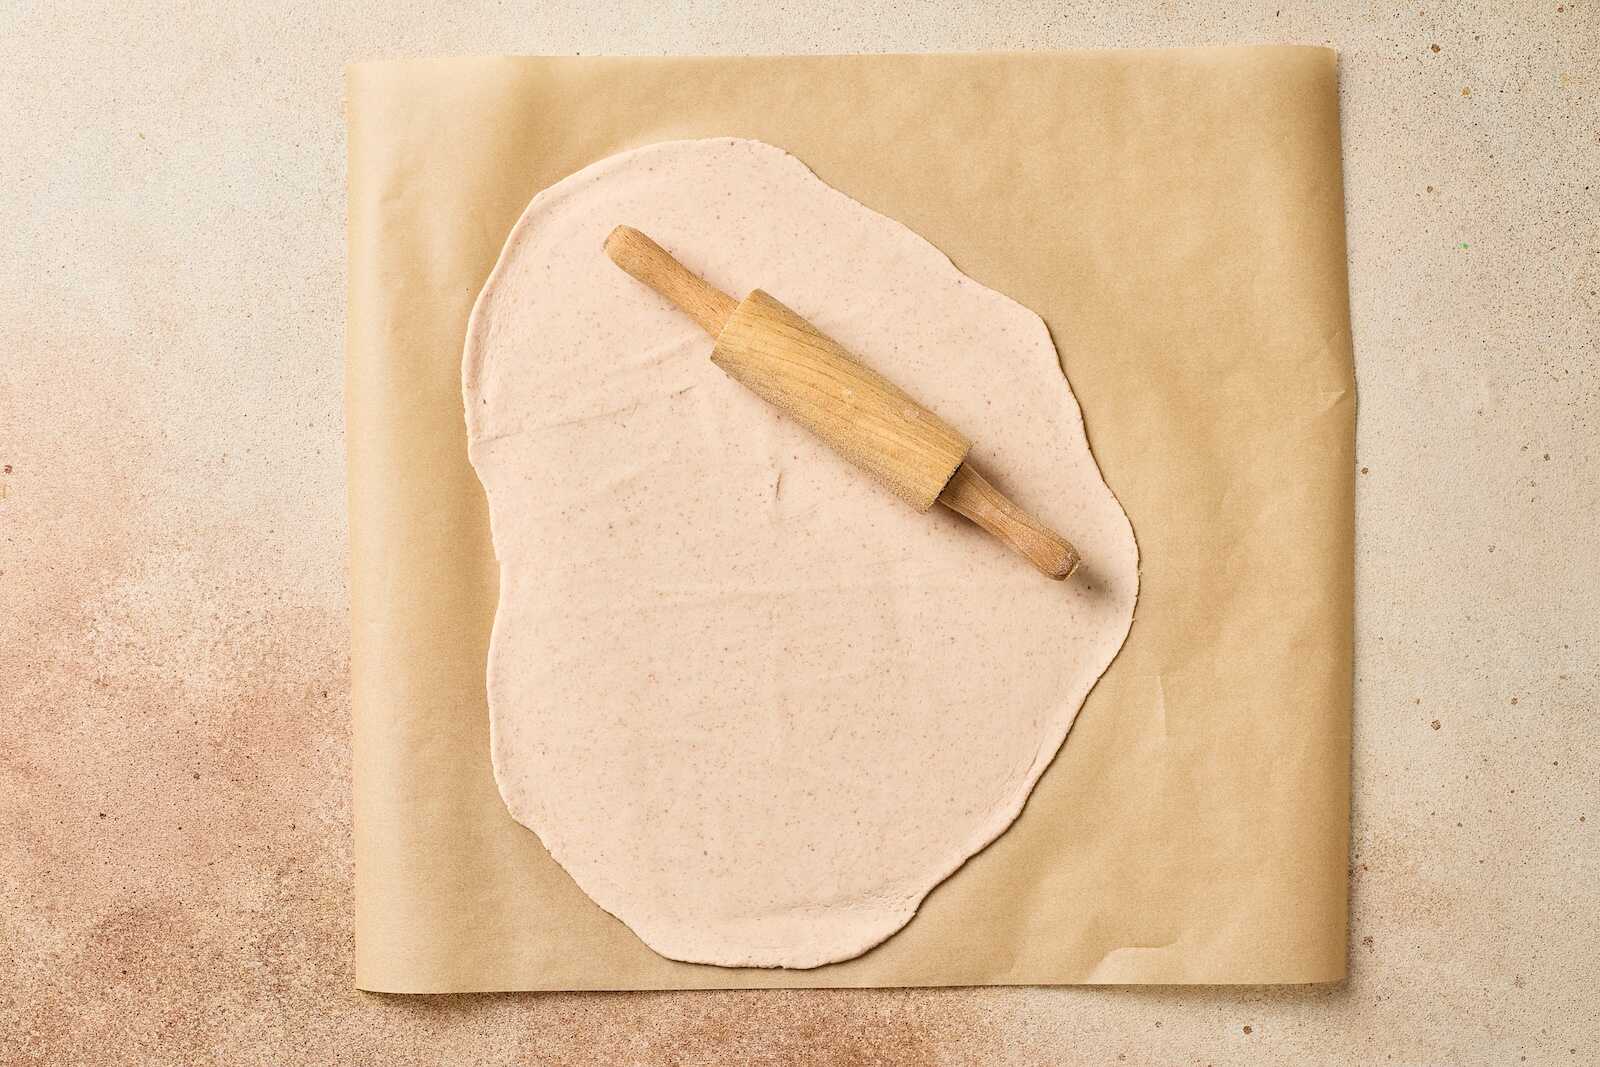
Lightly flour your work surface. Roll the dough to about 1/4 inch thick.
Step 3: Cut Out Shapes
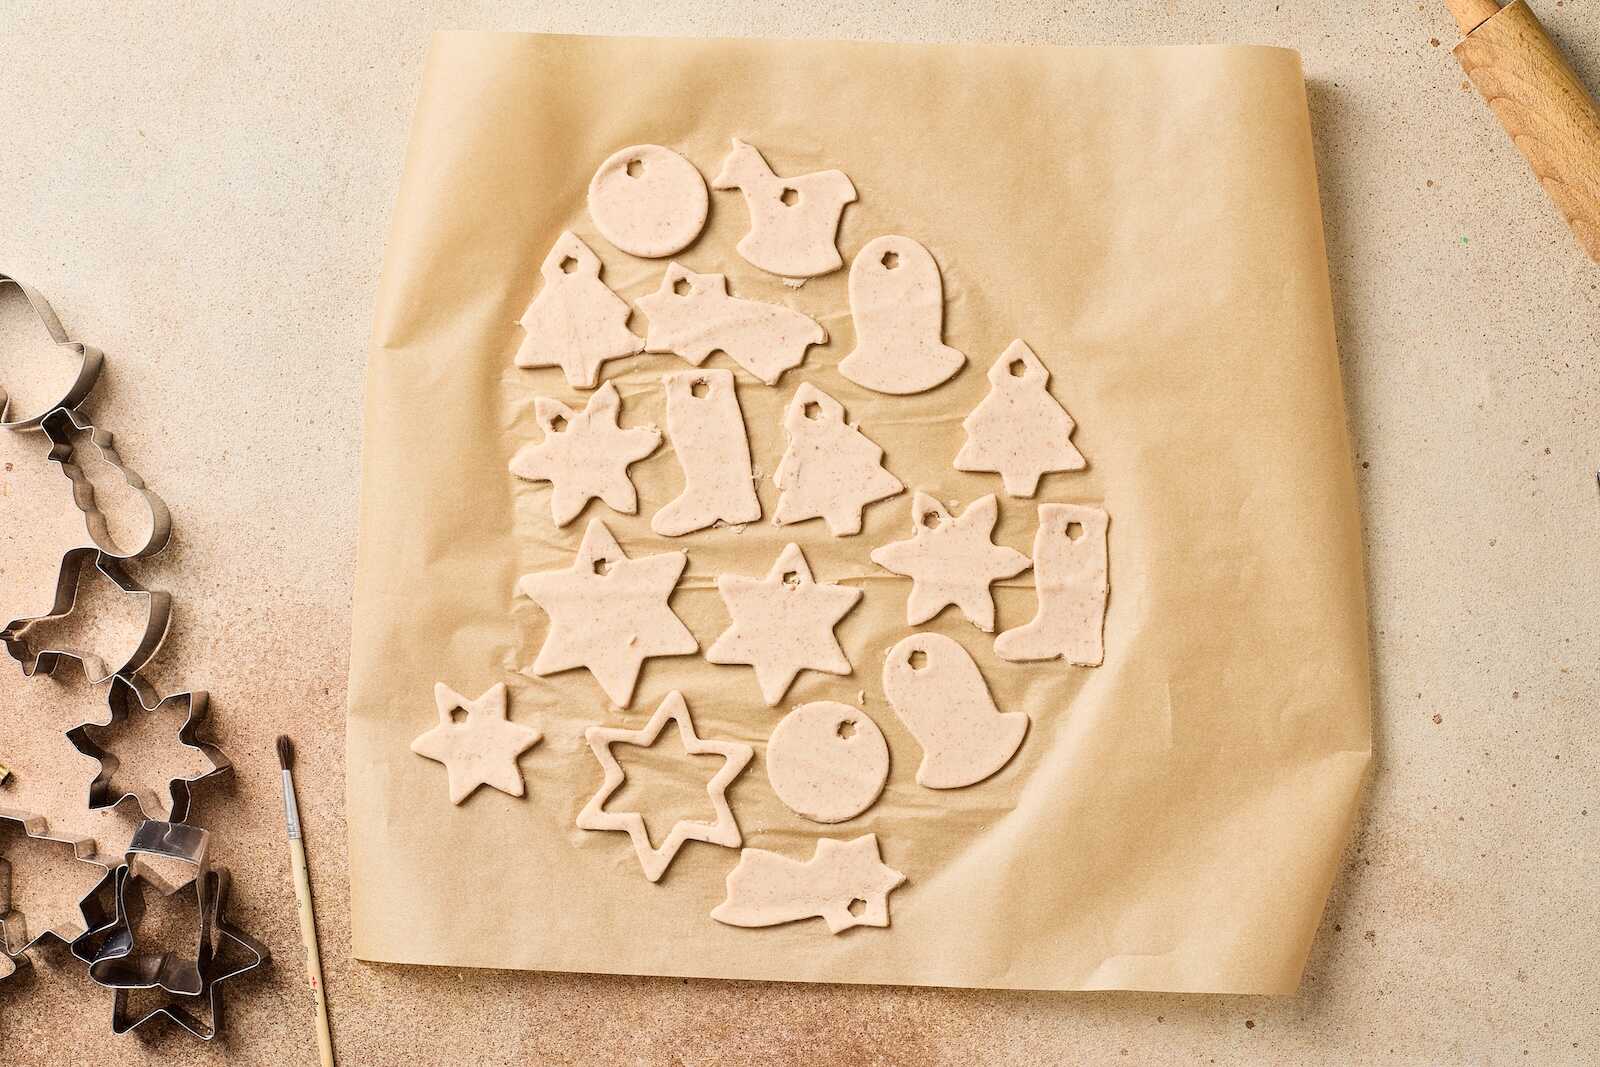
Use your favorite holiday cookie cutters to cut out shapes. Re-roll the scraps to make more ornaments.
Step 4: Add Holes for Hanging
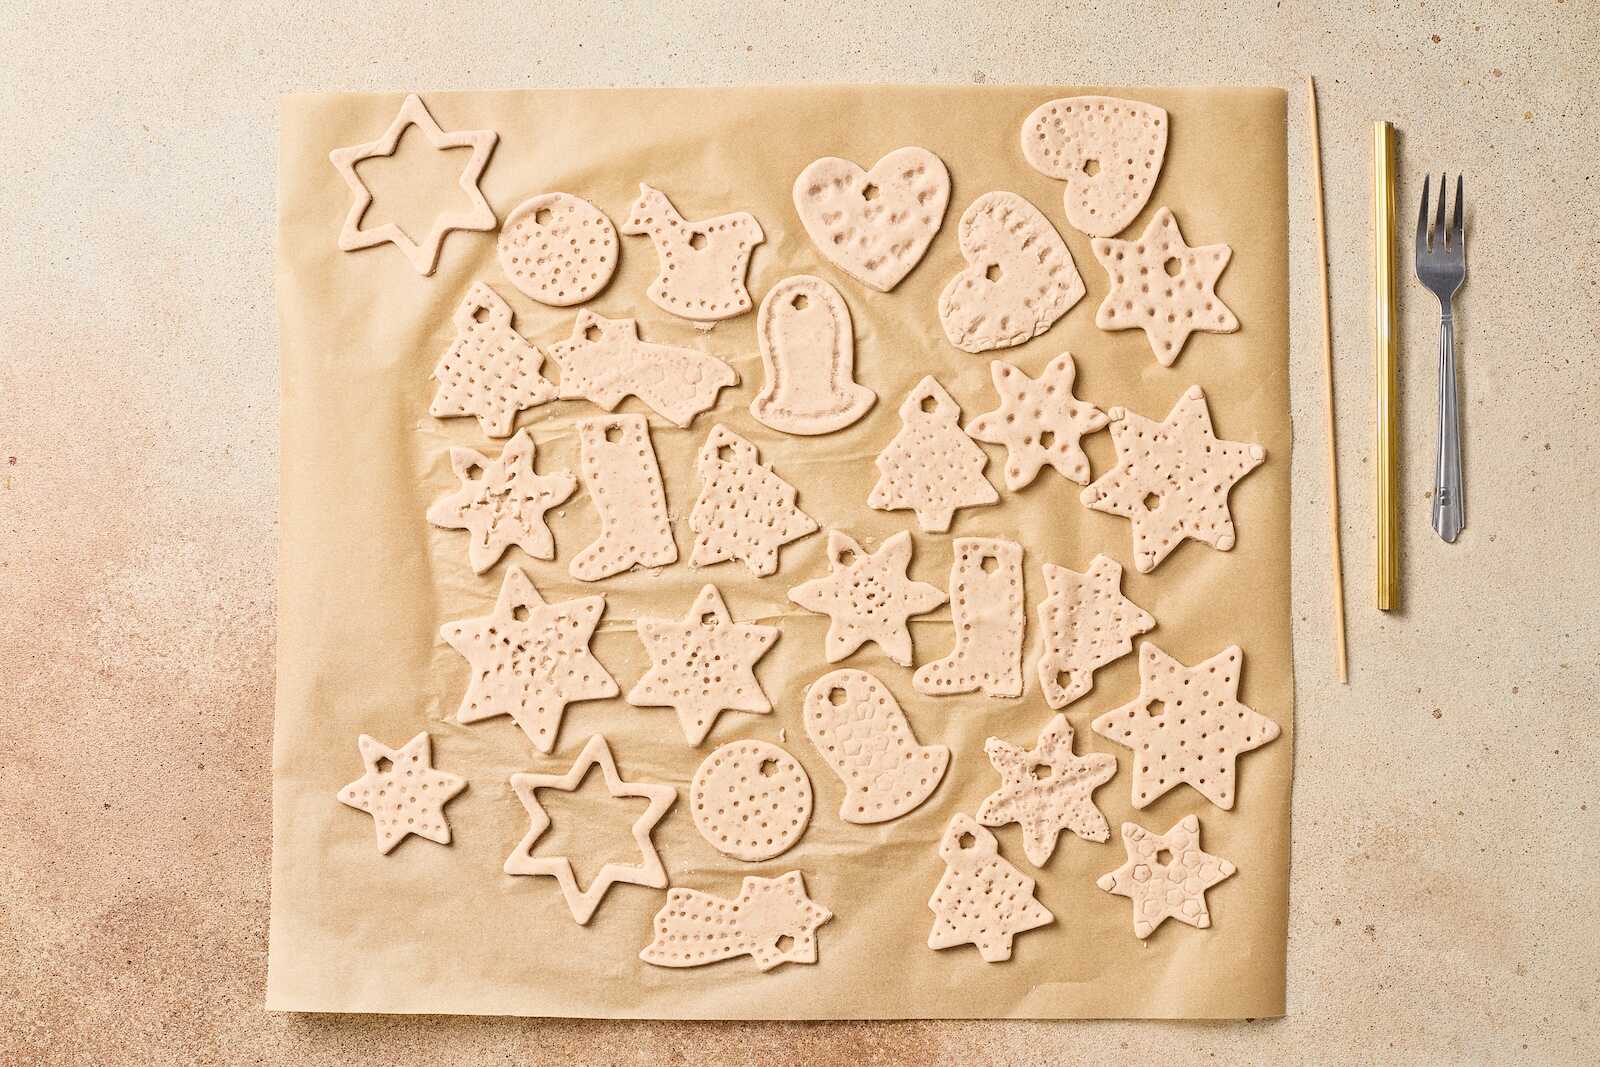
Use a straw or toothpick to poke a hole near the top of each ornament. Make sure it goes all the way through.
Step 5: Bake or Air Dry
Oven Method:
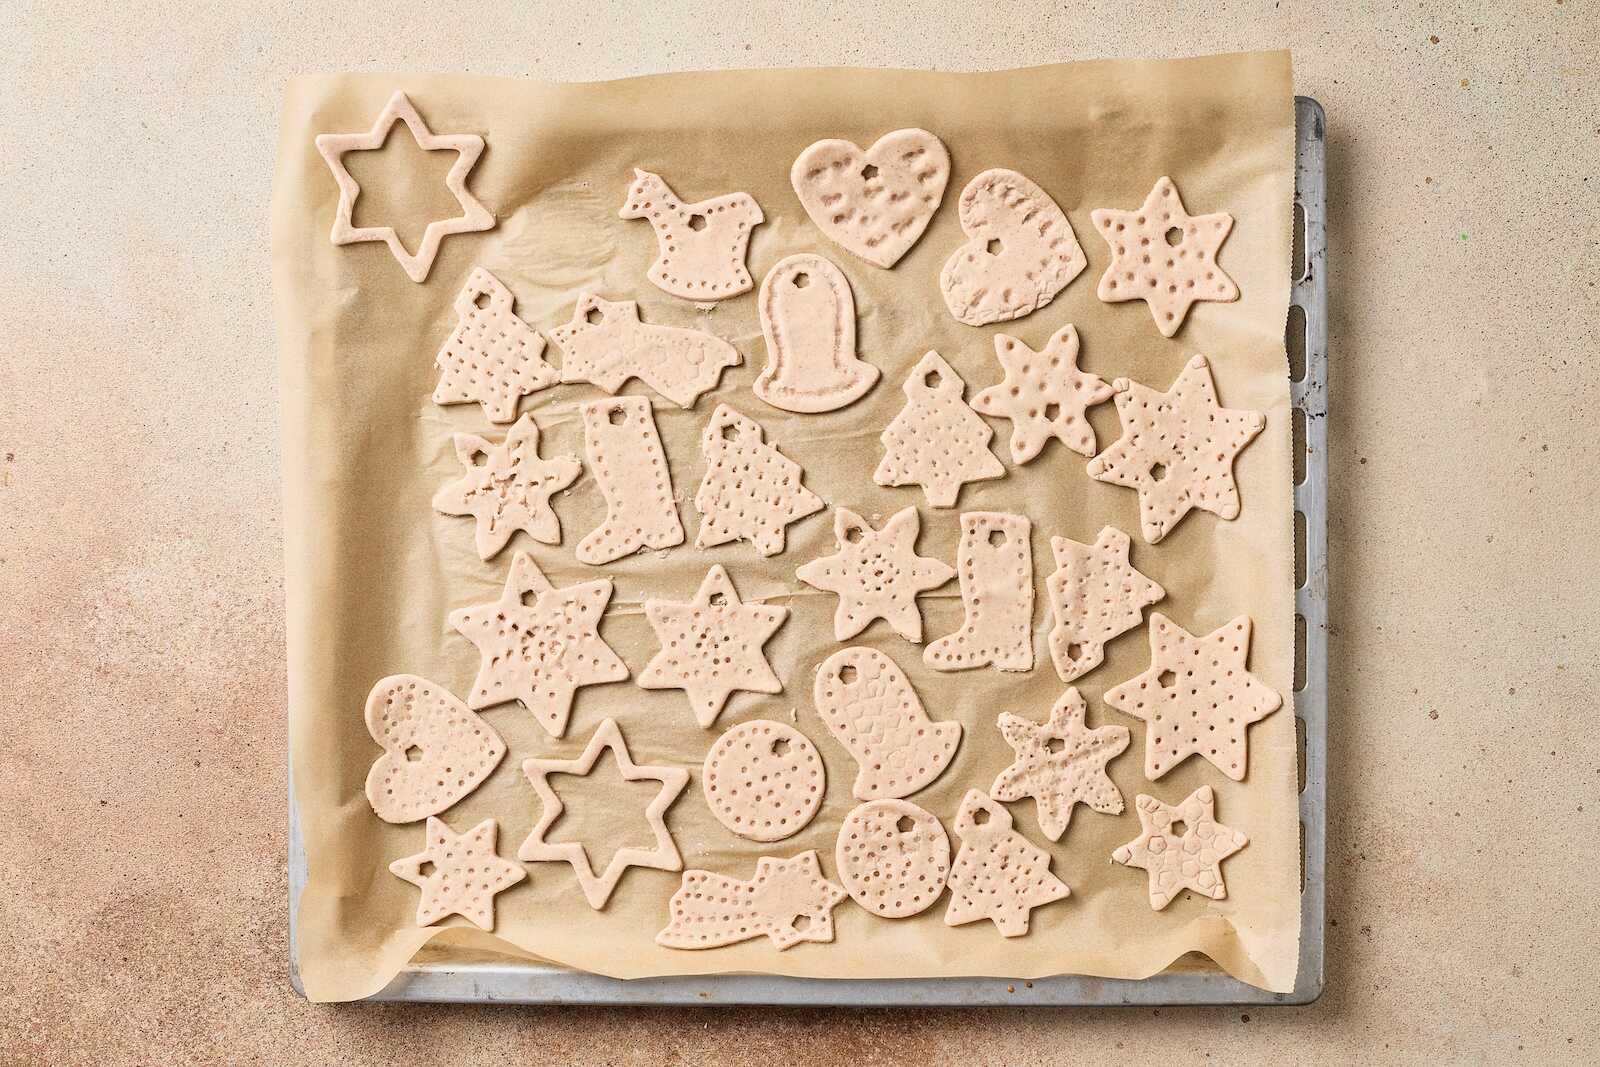
Preheat the oven to 250°F (120°C). Place ornaments on a parchment-lined baking sheet and bake for 2–3 hours, flipping once halfway through. Let cool completely before decorating.
Air Drying Method:
Let the ornaments sit in a warm, dry place for 2–4 days, flipping occasionally.
Note: The drying method can affect the color and texture. Baking may cause some puffiness, while air drying preserves the smooth look.
Step 6: Cool and Decorate
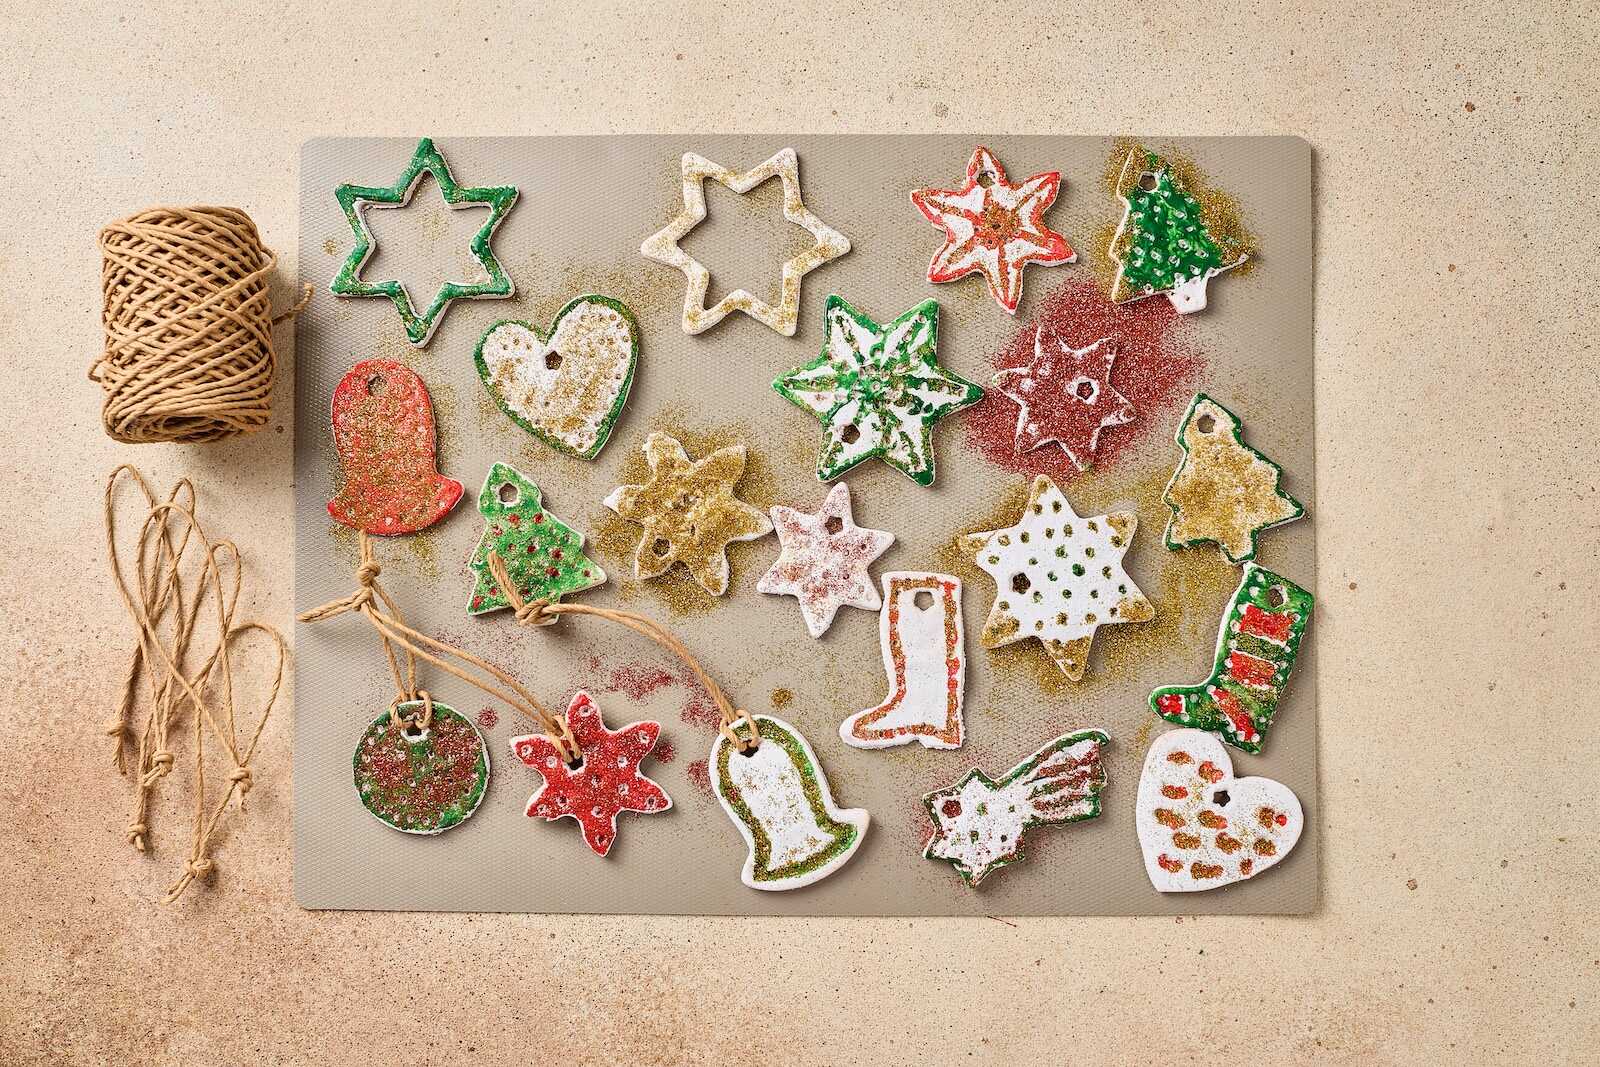
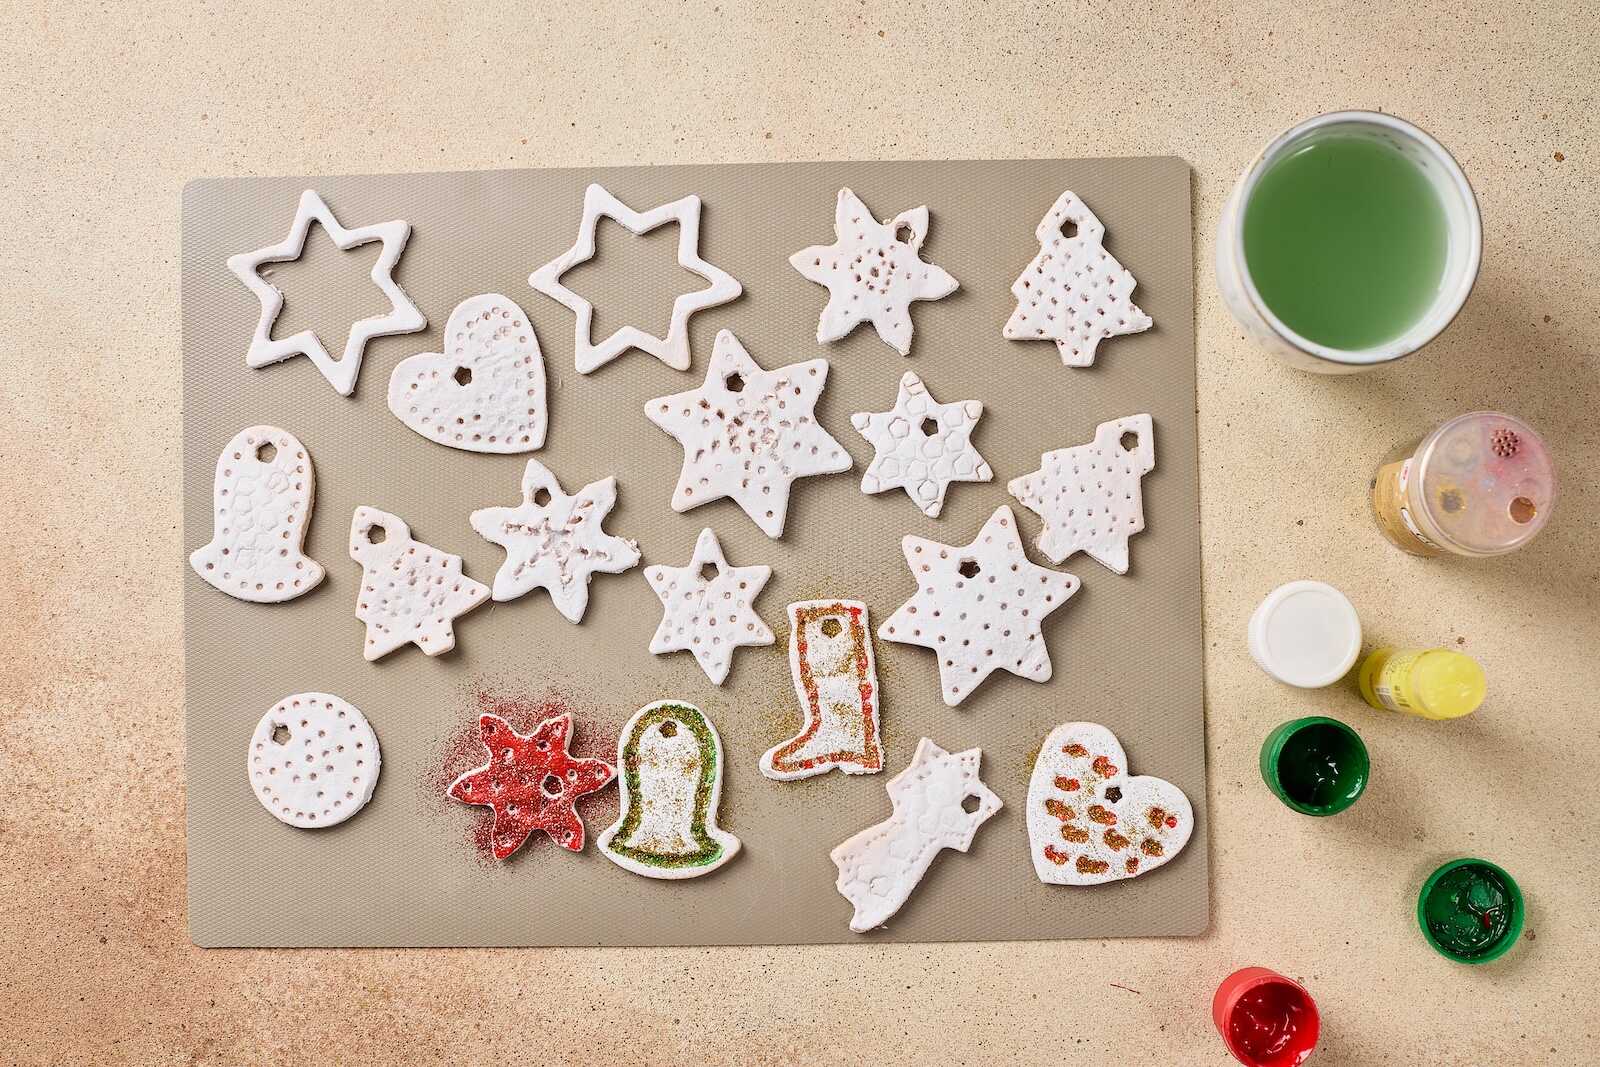
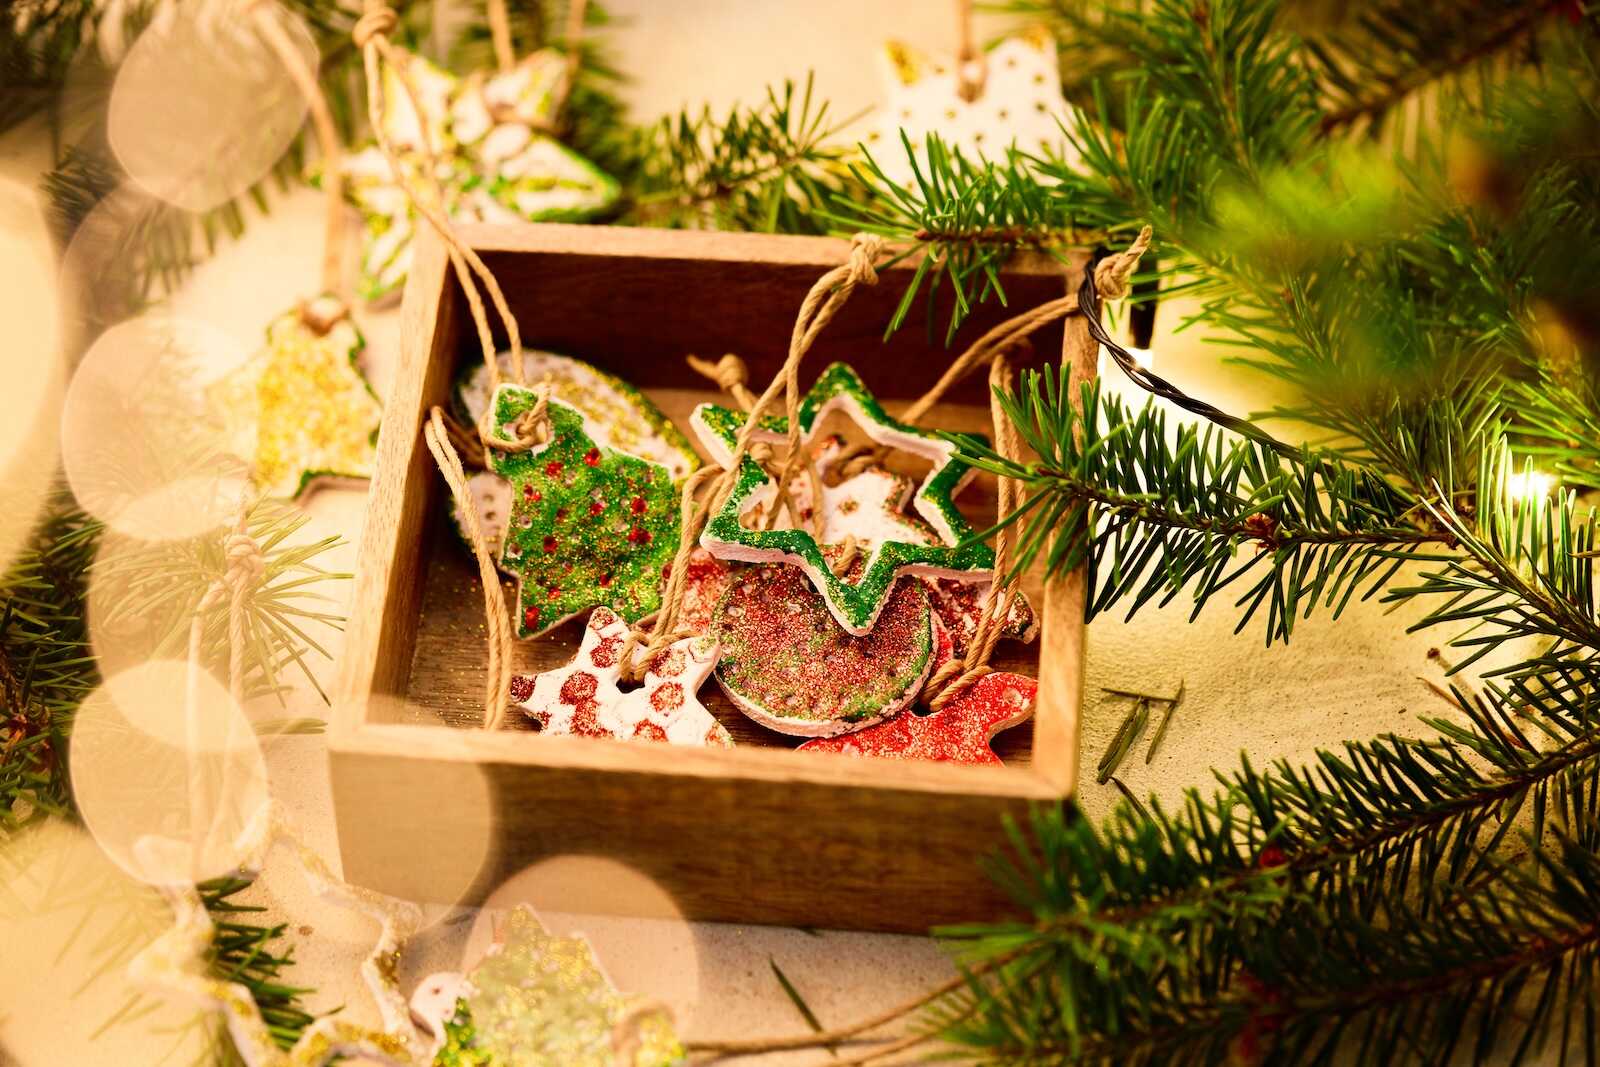
Once completely dry and cooled, your ornaments are ready for painting! Use acrylic paint, watercolors, or even markers. Add glitter, sequins, or stickers for extra flair. Consider sealing with Mod Podge or a clear acrylic spray to protect the finish.
Note: While the paint is still wet, sprinkle glitter over the surface to get the glitter to stick. Let everything dry completely.
Step 7: Hanging Your Ornaments
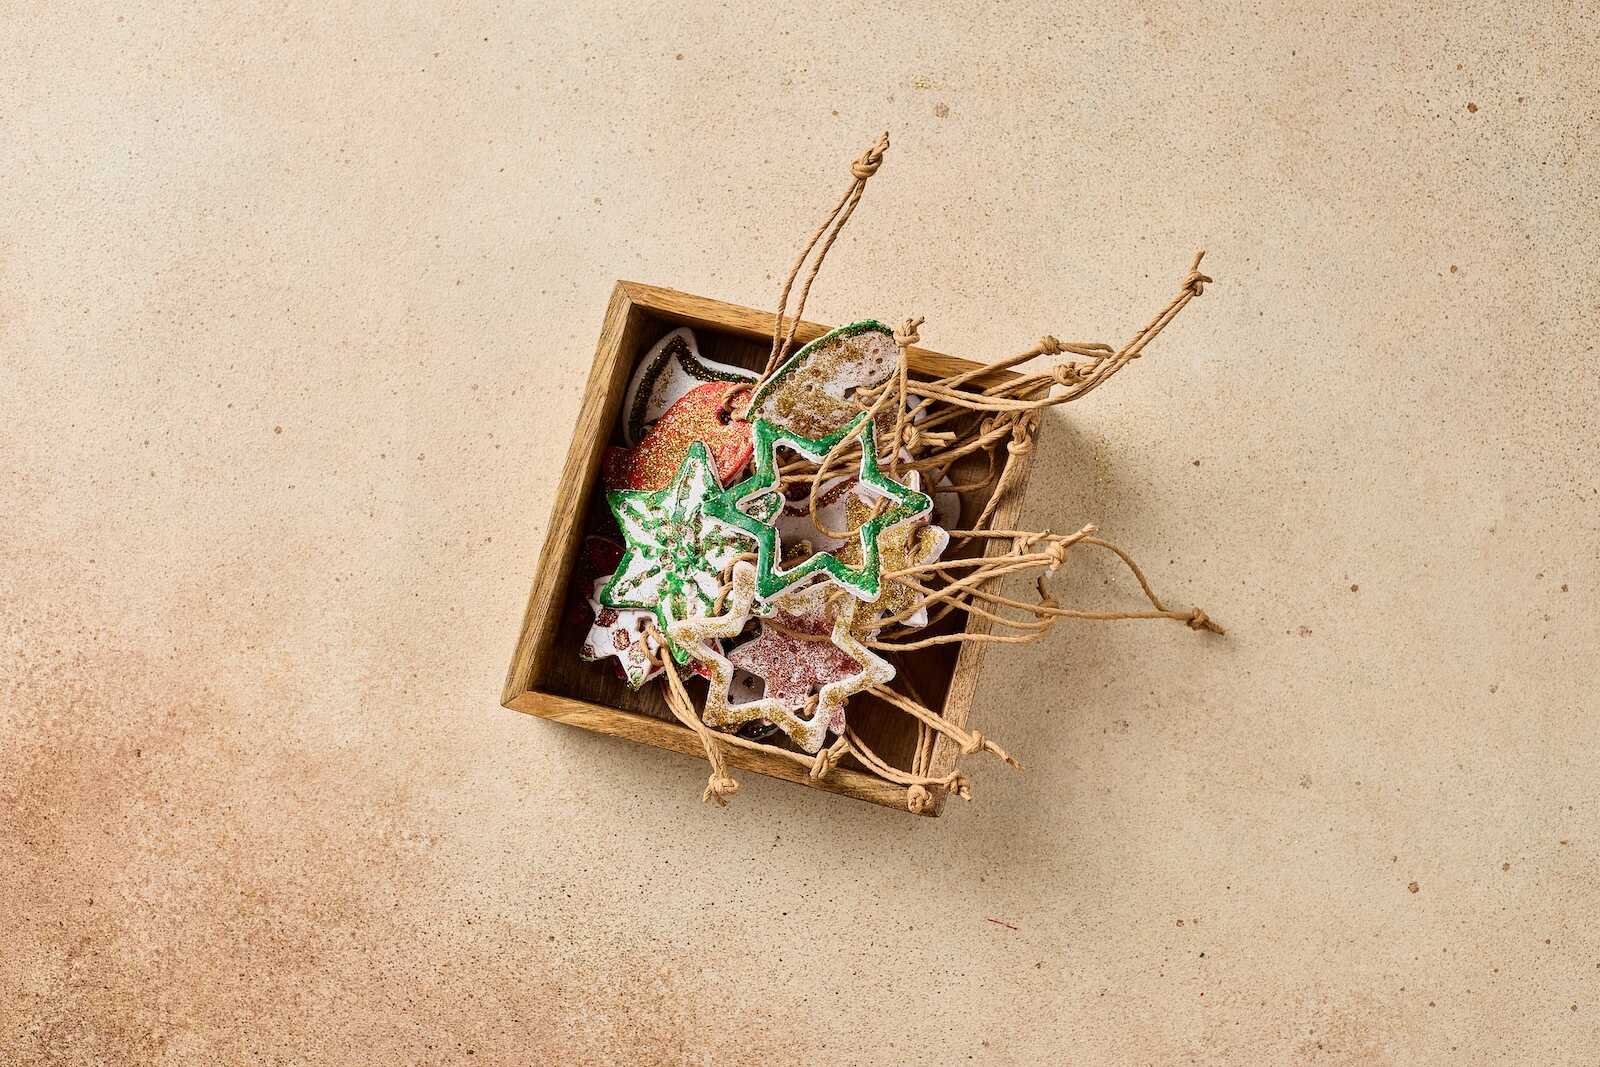
Thread ribbon or twine through the holes and tie to create loops for hanging.
Salt Dough Ornament Decorating Ideas
Classic Christmas Icons
- Snowflakes: White paint on a blue background with silver glitter.
- Candy Canes: Red and white stripes with a glossy finish.
- Christmas Trees: Green paint with tiny dots of red, gold, and white to mimic ornaments.
Personalized Ornaments
- Use letter stamps, a toothpick, or paint pens to write names and dates.
- Great for commemorating Baby’s First Christmas or pet paw prints.
Handprint or Footprint Keepsakes
- Roll dough into a circle large enough to press a small hand or foot.
- Use a straw to poke a hanging hole and let dry.
- Once hardened, paint the print and add the date.
Nature-Inspired Looks
- Press evergreen branches, pinecones, or star anise into the dough for natural imprints.
- Leave unpainted or paint with metallic accents.
Metallic Finishes
- Try painting ornaments in gold, silver, or bronze for a chic, modern tree.

Fun Variations
Cinnamon Salt Dough
For a warmer color and a cozy scent:
- Add 1/2 cup of ground cinnamon to the dough.
- Note: These are not edible, but they smell amazing!
Glitter Dough
Mix fine glitter directly into the dough before shaping. It adds sparkle without the mess of gluing glitter afterward.
Scented Ornaments
Add a few drops of essential oils (like peppermint, cinnamon, or pine) to the dough or paint for a scented tree.

Tips for Success
- Uniform Thickness: Keep all ornaments about the same thickness to ensure even drying.
- Watch for Cracks: Avoid overbaking or drying too quickly.
- Store Carefully: After the holidays, wrap each ornament in tissue paper and store in a dry container to prevent breakage or moisture damage.
- Use Non-Stick Tools: A silicone mat, parchment paper, or lightly floured rolling pin helps prevent sticking.

How to Preserve Salt Dough Ornaments
While salt dough is surprisingly sturdy, it’s still susceptible to moisture and humidity. To extend the life of your ornaments:
- Let ornaments dry completely before sealing.
- Use Mod Podge, clear varnish, or acrylic sealant on both sides.
- Avoid hanging in damp areas or near windows with condensation.
With proper sealing and storage, salt dough ornaments can last for many years!


Great Occasions for Salt Dough Ornaments
- Holiday Craft Nights: Fun for family, friends, or classroom activities.
- Christmas Countdown: Create 25 mini ornaments and hang one each day on an advent branch or wall tree.
- Gift Tags: Add a personal ornament to wrapped gifts for a sweet extra touch.
- Party Favors: Use holiday shapes at a Christmas party or cookie exchange.
- DIY Holiday Market Items: Sell your handmade ornaments at local craft fairs or online.


Why Kids Love This Project
Salt dough ornaments are one of those crafts that truly feel magical to children. The tactile experience of kneading, cutting, and painting brings holiday excitement to life. It’s also an easy way to introduce kids to creative independence and gift-giving—something they can proudly hang on the tree or wrap up for Grandma.

Conclusion
Making DIY Christmas Salt Dough Ornaments is more than just a fun seasonal activity—it’s a meaningful way to slow down, create with your hands, and make something beautiful and lasting. Whether you’re decorating your tree, crafting with your kids, or looking for homemade gift ideas, this charming craft is a holiday classic that never goes out of style.
So gather your supplies, roll up your sleeves, and enjoy the sweet simplicity of salt dough magic. Your tree (and your heart) will thank you.

